This article is about how to install Android P on PC using Android Studio. Did You know About Android P? Do you know how to install it on PC? Do you want to experience the new version? Did you know it has new features?. If you’re going to figure out these all answer read the article step by step, then you’ll get what you want.
Android P
Android P is the ninth major version of the Android operating system. Google has just released the Android P Developer. Here everything we know about and how to install it on PC. The Android P Developer is available only to the Pixel, Pixel XL, Pixel 2 and Pixel 2 XL. You can download the Android P system image and flash it to your device, or run Android P in an emulator.

Android P Features
- New user interface for the quick settings menu.
- The clock has moved to the left of the notification bar.
- Battery saver no longer shows an orange overlay on the notification and status bars.
- A “screenshot” button has been added to the power options.
- A new “Lockdown” mode which disables biometric authentication once activated.
- New transitions for switching between apps or activities within apps.
- Support for display cutouts.
- Redesigned volume slider.
- Battery percentage is shown on Always-On Display.
- And Much More.
Install Android P on PC via Android Studio
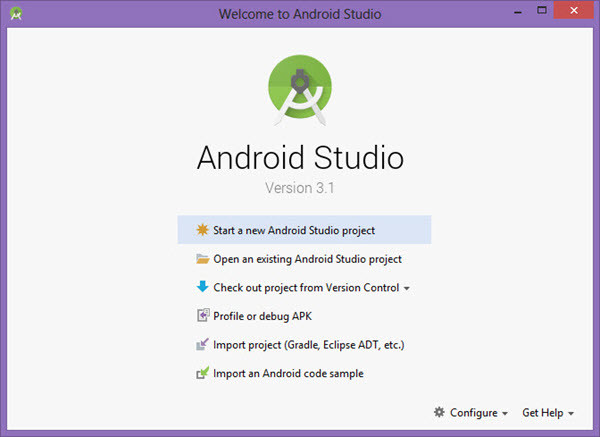
Step #1: First of all, you need to download. The “Android Studio“. Android Studio is an officially integrated development environment. (IDE) for Google’s Android operating system.
Step #2: When downloading done then install it
Step #3: When the installation has is done, then run it. Now start a new Android Studio project.
Android P
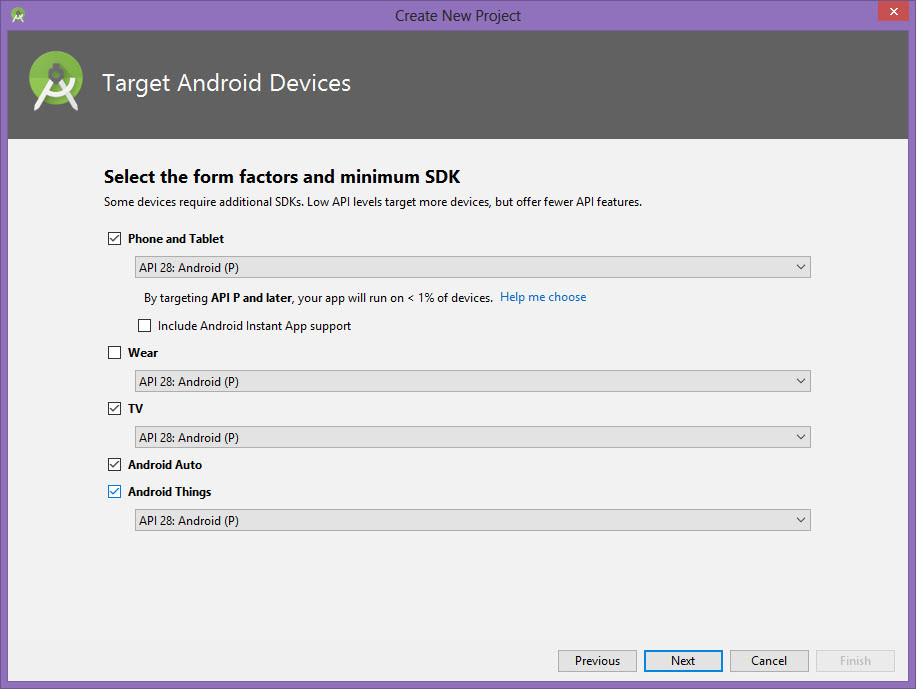
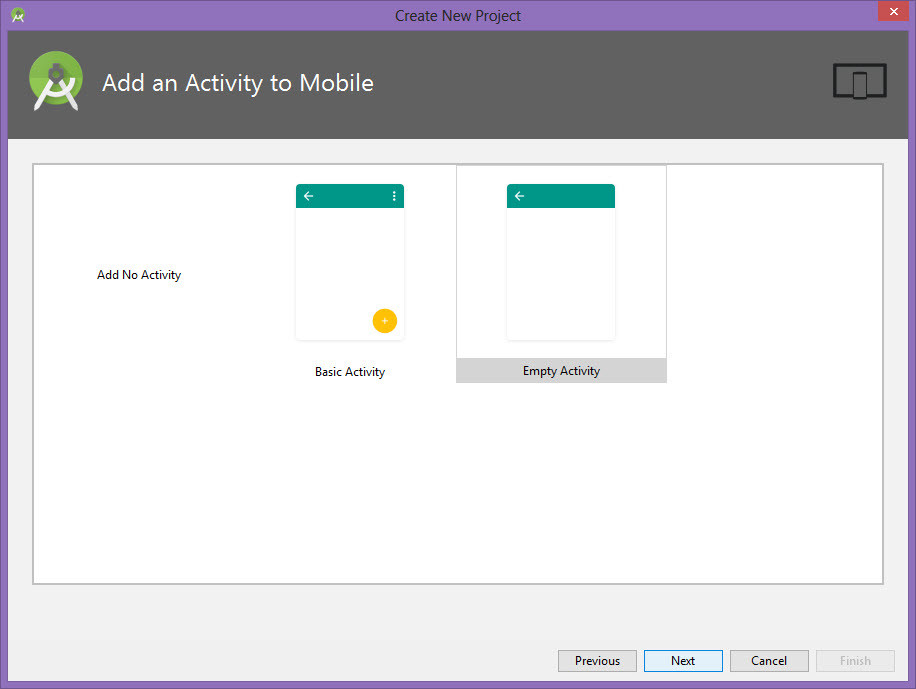
Step #4: Now you need to set up for the new project, as the picture below, you need to download the files and updates which may take a little time, so it belongs on your internet speed. When it has done, do this Steps.
Setting Android P
Setting Android P
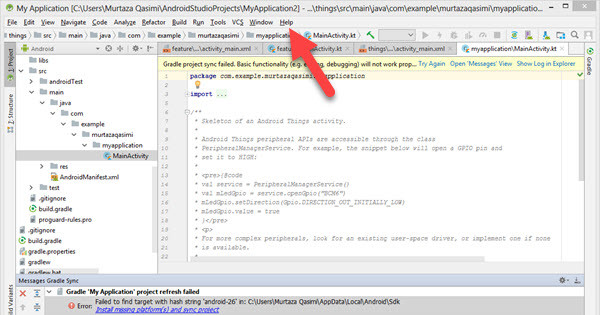
Step #5: When downloading and updating accomplished, you’ll see a new page looking like coding. Take a look at the top of the page and find out “Help” section.
Related: How to Install Android 7.0 Nougat on VirtualBox?
Help Section
Step #6: Click on Help and then click find action, then Type ” AVD Manager” Double click to open.
Related: How to install Android 7.0 Nougat on PC?

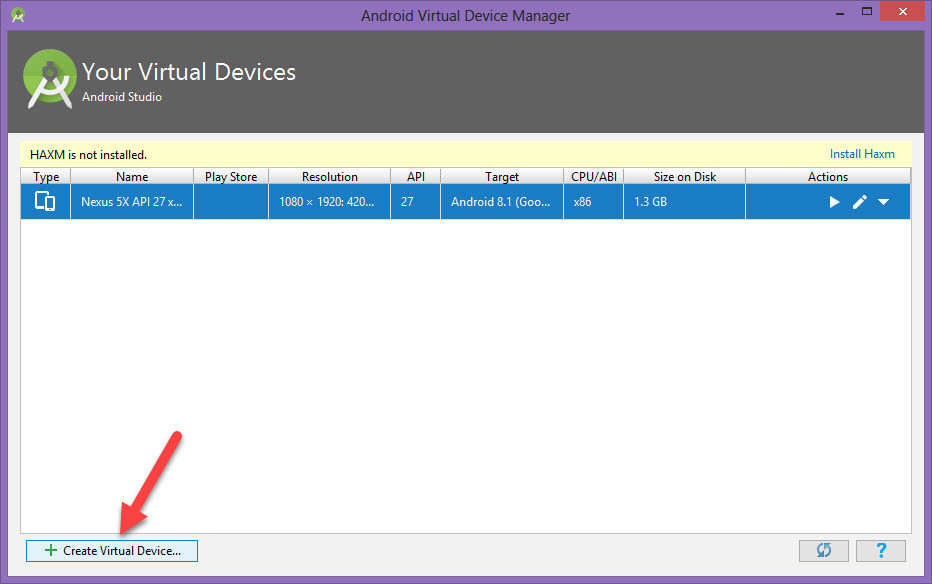
AVD Manager
Step #7: Take a look at the bottom left “Create Virtual Device” click on it. Then Select pixel 2 in the phone section Click Next.
Create a Virtual Device
Step #8: In this section, you’ve select which version you want to download, Click on download, and you’ve to wait until downloading and installation finished. Then click next and finished.
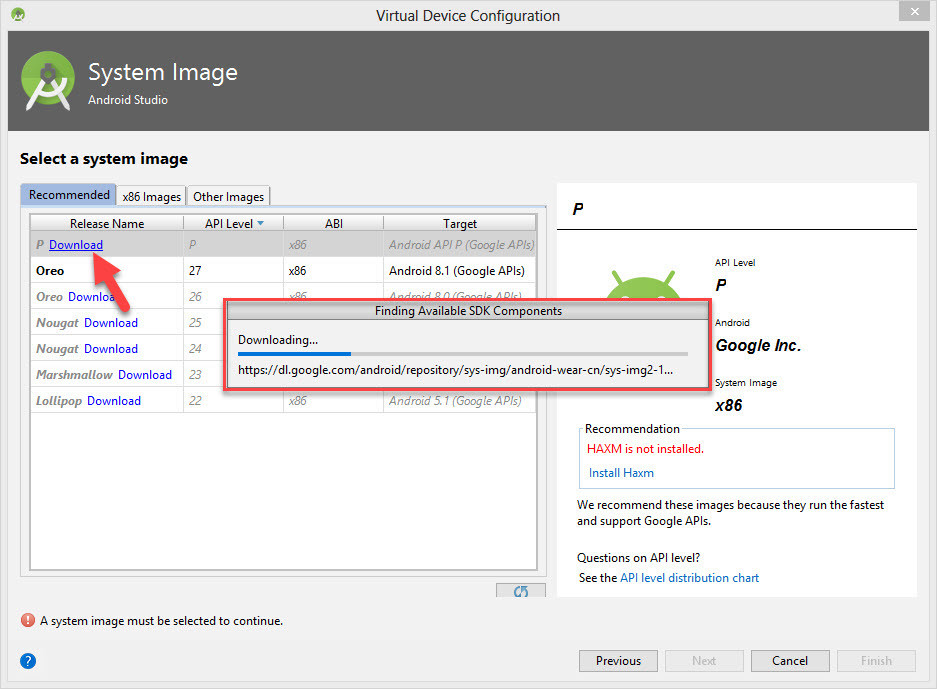
Download Android P
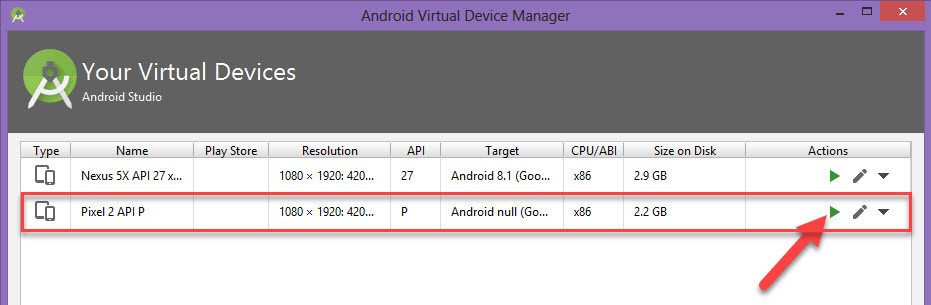
Step #9: When installation and download completed, then click on the arrow of Play or AVD launcher in the emulator. Then wait till it has not opened.
Related: How to install Android 7.0 Nougat on VMware?
Android P
Step #10: A Device will be opened. Which is the Android P Version, now find the setting and about. Then on the version build, you’ll see the version is Android P.
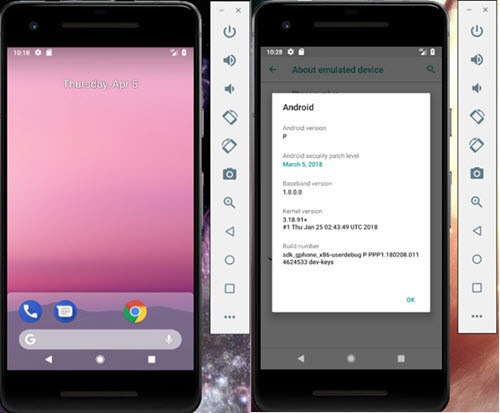
Android P
Conclusion
So the above article was about How to install Android P on PC, you can do it on VMware as well as on VirtualBox, in the next section we’ll show you how to do it. Hope you’ve got something from this article, if you’ve faced any issue, please inform us we’ll solve your problem, don’t forget to share and visit our website every day.
Leave a Reply