In this article, I am going to show you how to install macOS Catalina on VMware using VMDK on Windows using VMDK. So, Apple announced macOS Catalina in WWDC 2019. If you want to give macOS Catalina a try and install macOS Catalina on VMware on Windows 10, then you’re in the right place. In this article we will provide a VMDK for you to download which has macOS Catalina’s setup but if you want you can install it using an ISO or make your own ISO. We will prepare the guide and link it below if you want to use those methods. So without wasting any more time, let’s jump into it.
Required: If you haven’t already then you should enable Virtualization Technology (aka Intel VT or AMD-V).
Steps to Install macOS Catalina on VMware using VMDK
- Download the prerequisites
- Install the Prerequisites
- Extract macOS Catalina VMDK File
- Unlock VMware to Install macOS Catalina
- Create a New Virtual Machine
- Edit the Virtual Machine
- Edit macOS Catalina VMX File
- Start macOS Catalina Virtual Machine
- Perform Clean Installation of macOS Catalina
- Install VMware Tools (Optional)
Step 1: Download the Prerequisites
Before you begin, you should download some files, and you may also download & install some applications, which are required later on in this guide. But if you have done any of the followings already, then you may skip it. Here is the list:
- Download WinRar, 7zip or any other .rar Extractor of your choice
- Download VMware Workstation Pro 15.5.x or VMware Player 15.5.x.
- Download the macOS Unlocker V3 for VMware
- Download macOS Catalina VMDK
- Download VMware Tools (Optional)
Step 2: Install the Prerequisites
Now install the following applications, and if you already have it by any chance then you’re welcome to skip but make sure then it works properly and updated to the latest version.
- Install WinRar, 7zip or any other .rar extractor of your choice
- Install VMware Workstation Pro 15.5.x or VMware Player 15.5.x
Run the VMware Workstation Pro/Player and WinRar/7zip setup and follow the prompt leaving all the options as default.
Step 3: Extract macOS Catalina VMDK File
If you have downloaded the beta version of macOS Catalina then Locate the downloaded macOS Catalina Beta.rar then right-click on it and select Extract Here. You should end up with a .vmdk file. If you have downloaded macOS Catalina 10.15.5 VMDK then you don’t need to extract since it is already in .vmdk file.
-
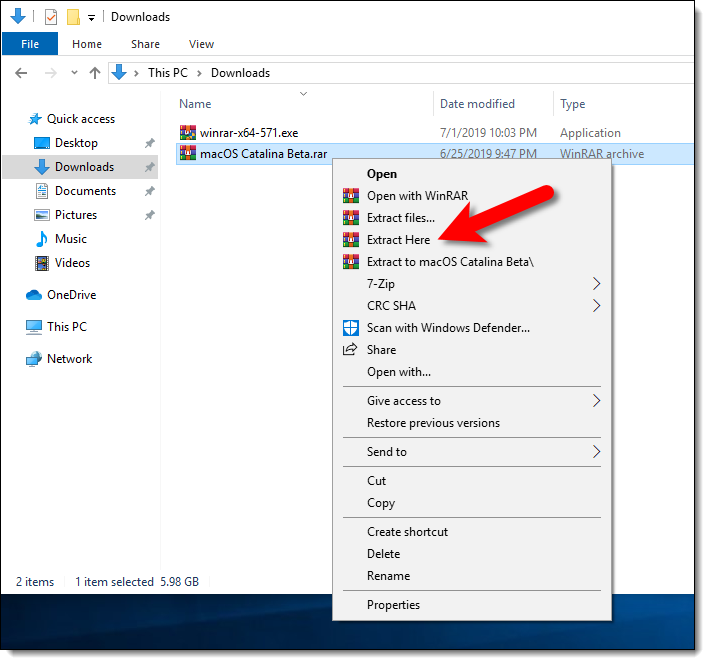
- Extract macOS Catalina Beta.rar
-
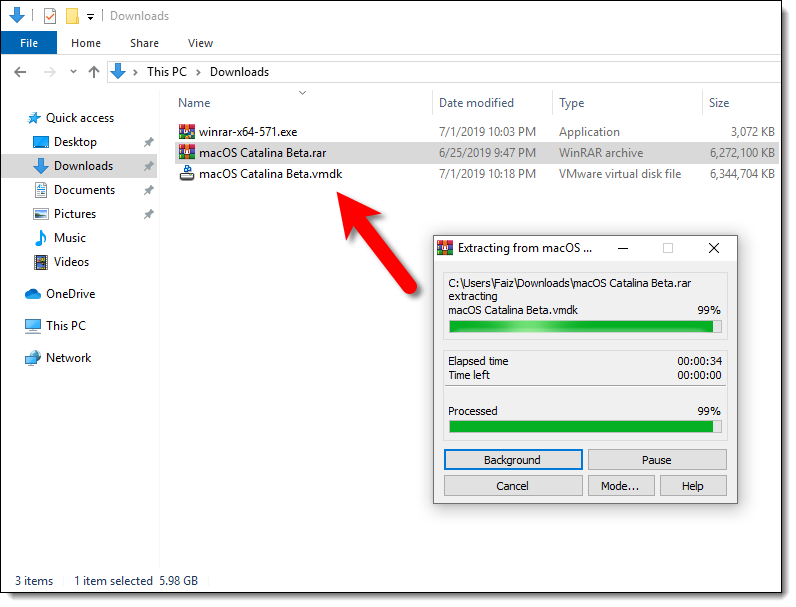
- macOS Catalina VMDK
Step 4: Unlock VMware to Install macOS Catalina
Firstly make sure VMware Workstation application is closed completely otherwise the VMware unlocker won’t work. You can do this by Clicking on File Tab > Exit.
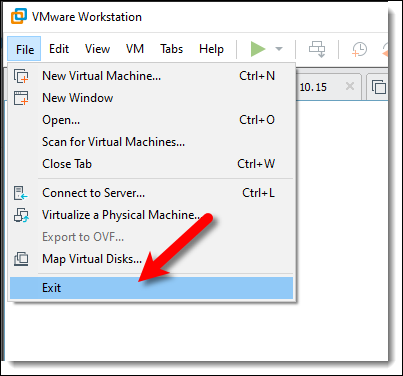
Exit VMware Workstation
You should have downloaded macOS Unlocker V3 for VMware Workstation from GitHub or the direct link. So now extract the macOS Unlocker V3.0 for VMware Workstation. Right-click on win-install.cmd and select Run as Administrator.
Note: You may always uninstall the previous version of the Unlocker before using a new release. Failure to do this could render VMware unusable. – David Parsons
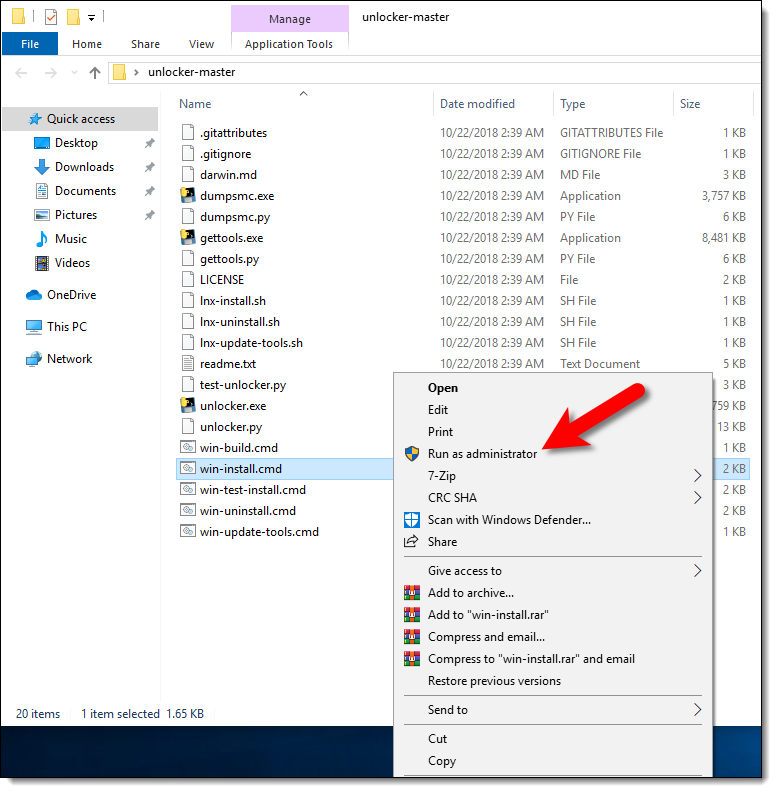
Run win-install.cmd As Administrator
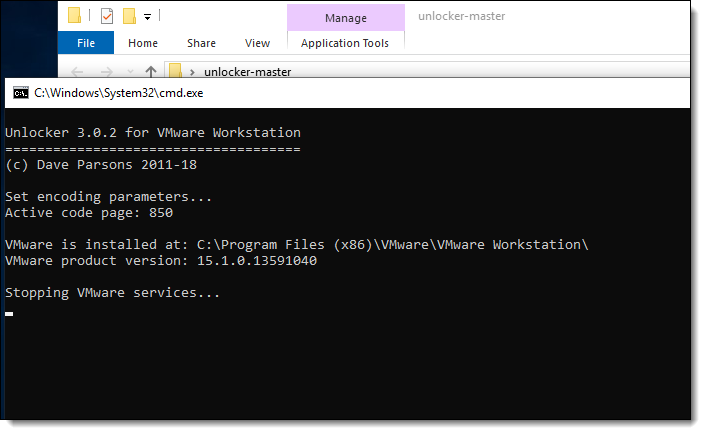
Unlocker 3.0.3 for VMware Workstation
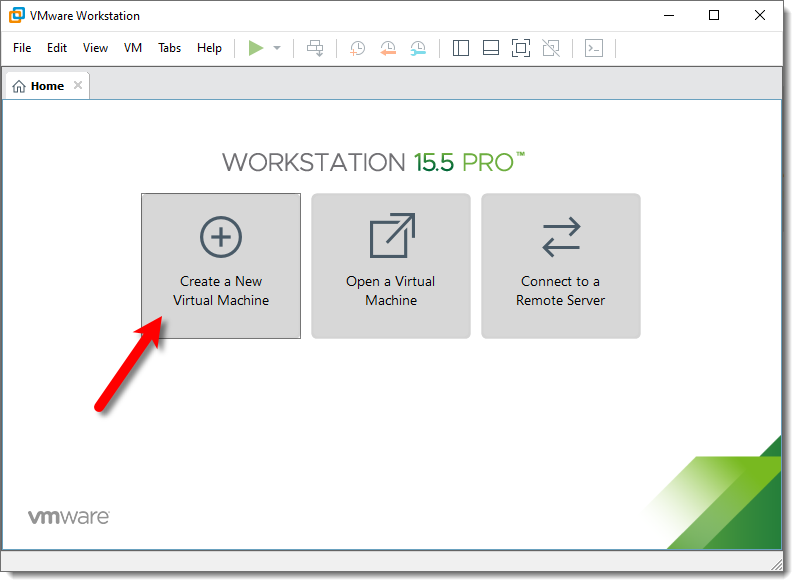
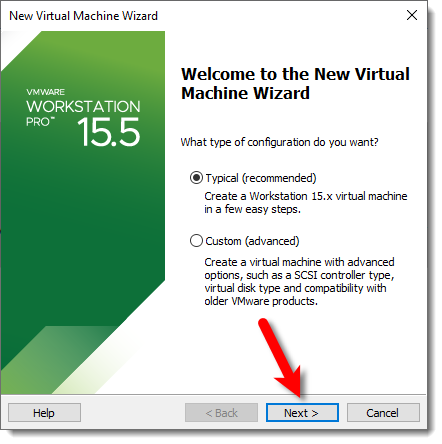
Step 5: Create a New Virtual Machine
#1. Open VMware and click on Create a New Virtual Machine (Ctrl+N) then select Typical (Recommended) and click Next.
-
- Create a VM
-
- Select Typical (recommended)
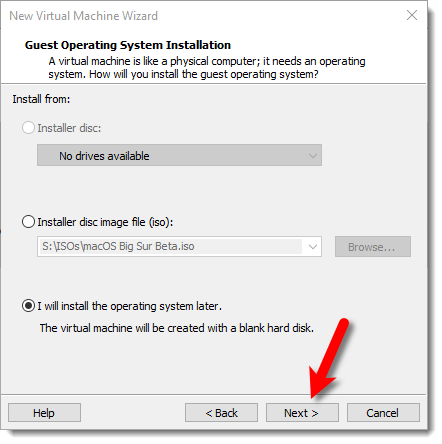
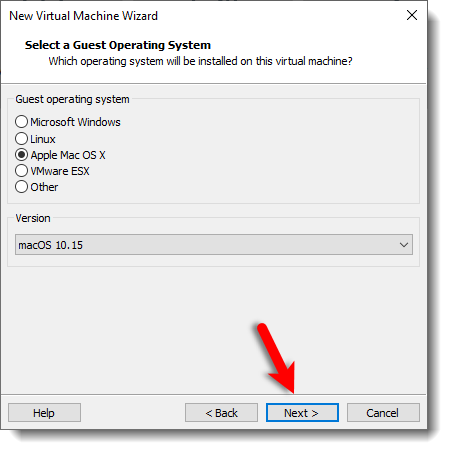
#2. Now select I will install the operating system later and click Next. Choose Apple Mac OS X from operating system list then select macOS 10.15 from version and click Next.
-
- Select Install the Operating System Later
-
- Select macOS 10.15 Verizon
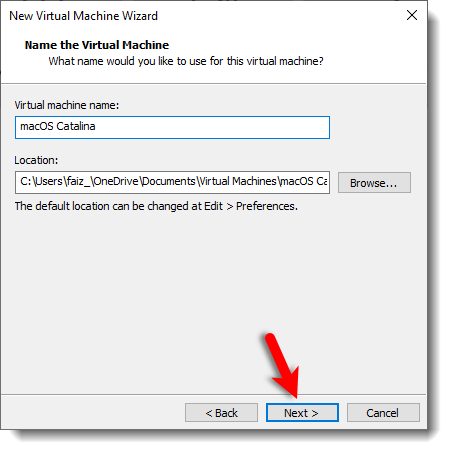
#3. Name the virtual machine as you prefer like macOS Catalina. Click Browse then choose a location to save virtual machine files and click Next, or you may let it as default (recommended).
Name & Save macOS Catalina VM
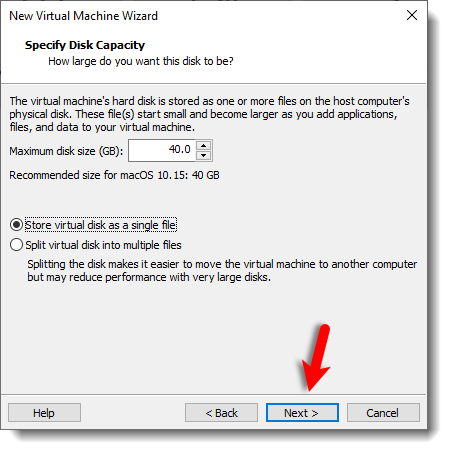
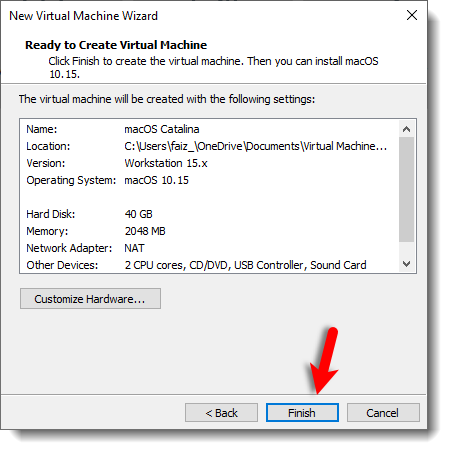
#4. Don’t Specify the disk space just select Store virtual disk as a single file and click Next. On Ready to Create Virtual Machine, Click Finish.
-
- Specify Disk Capacity
-
- Create macOS Catalina VM
Step 6: Edit the Virtual Machine
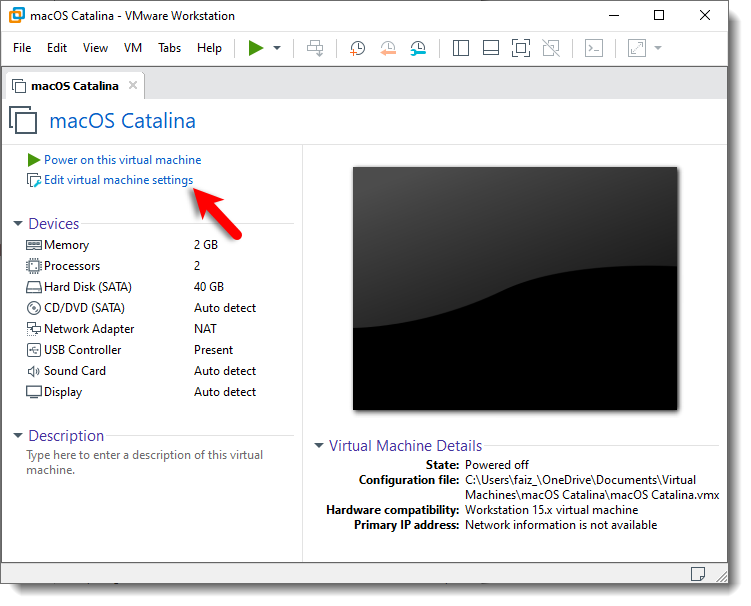
#1. Click on Edit Virtual Machine Settings.
Edit macOS Catalina Virtual Machine Settings
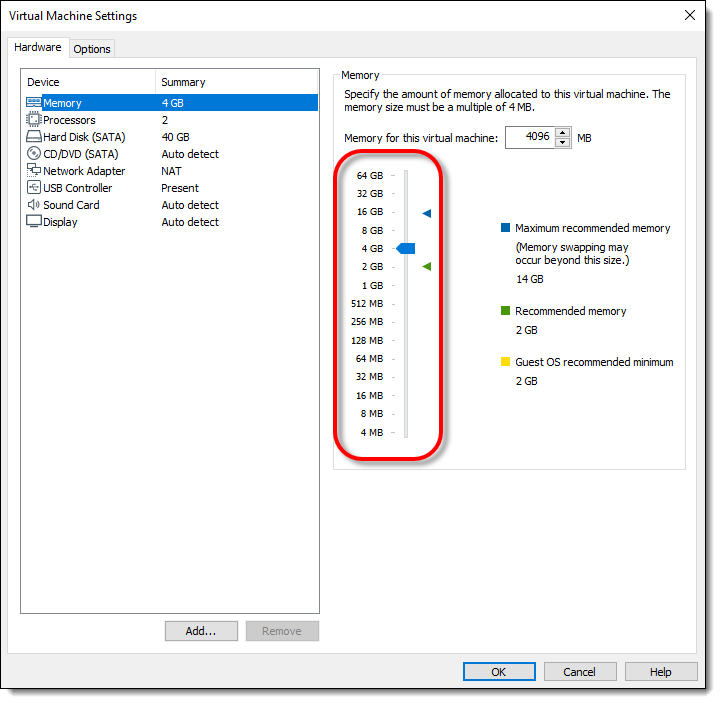
#2. Increase the Memory from 2 GB to 4 GB or higher for better performance.
Increase RAM
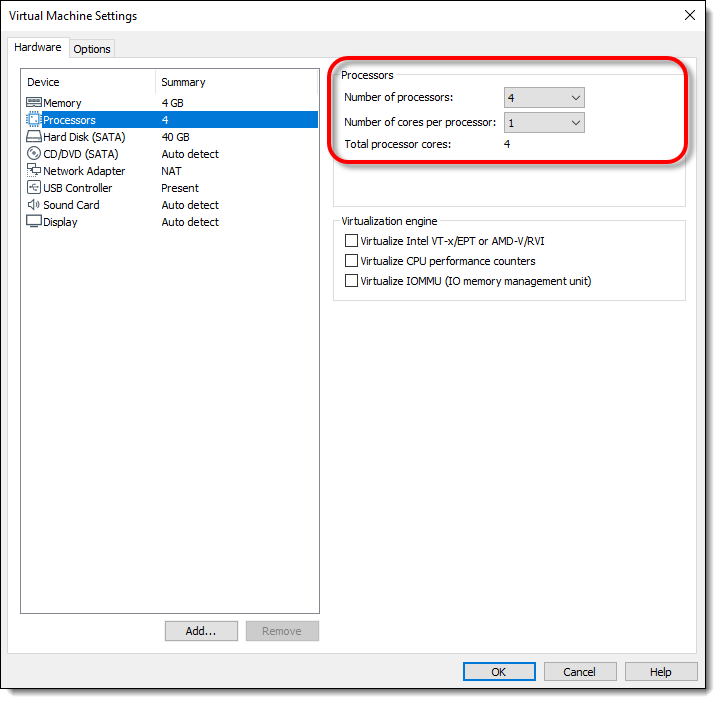
#3. Select Processor menu then increase the CPU processor core from 2 cores to 4 or Higher cores for better performance.
Note: If you don’t have enough resources then you may not increase the Memory and Processor since the minimum requirement is 2 GB Memory and 2 Cores of Processor.
#4. Select Hard Disk from device section and Remove it.
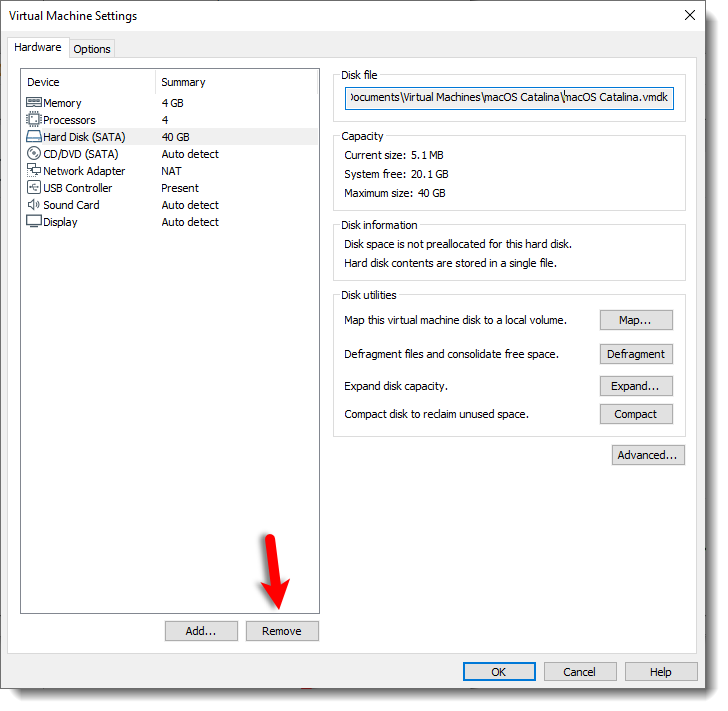
Remove Hard Disk
#5. Click Add button at the bottom of Virtual Machine window. Select Hard Disk from the Hardware section and click Next.
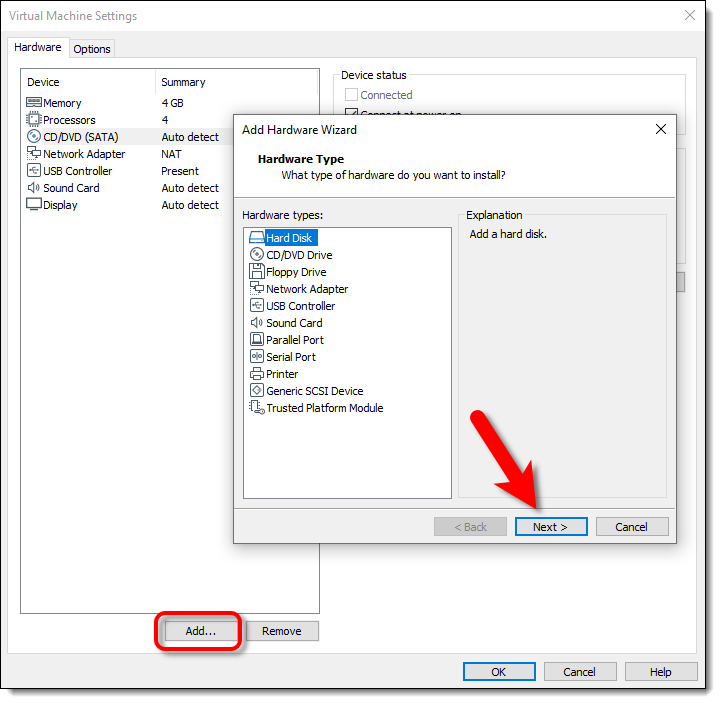
Add Hard Disk
#6. Select SATA as disk type and click Next.
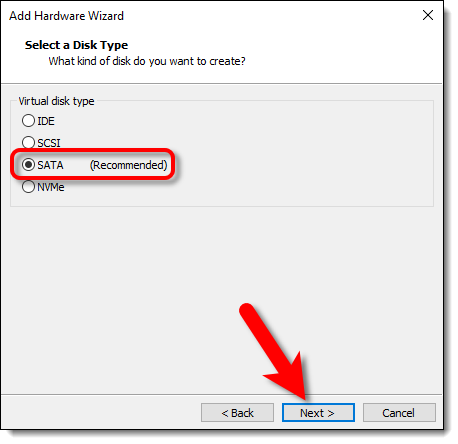
Select SATA Disk Type
#7. Select the Use an existing virtual disk and click Next.
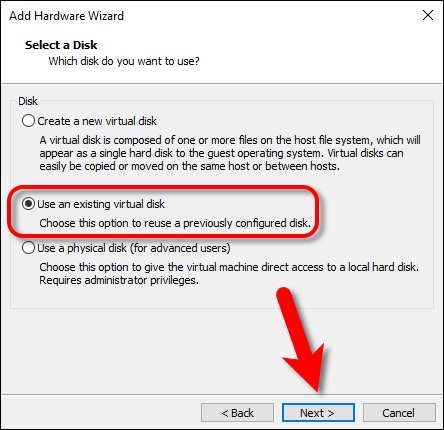
Select Existing Virtual Disk
#8. Now, browse for macOS Catalina VMKD file. Select macOS Catalina 10.15.5 VMKD File and click Open.
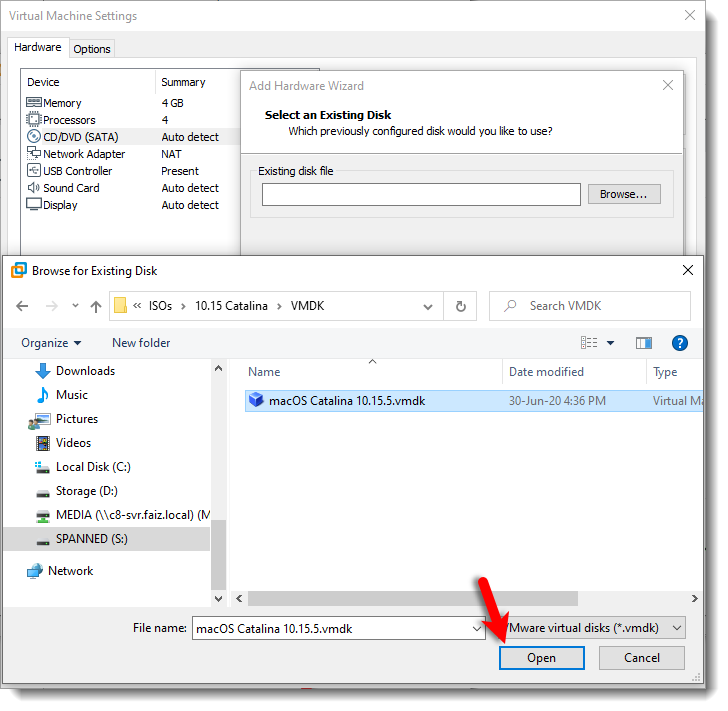
Select macOS Catalina VMDK
#9. After selecting the macOS Catalina VMDK then click Finish.
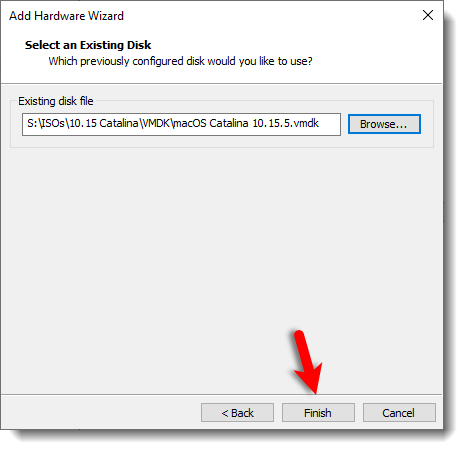
Select macOS Catalina 10.15.5 VMDK
#10. Finally, click OK to save all the changes that you made to the virtual machine settings.
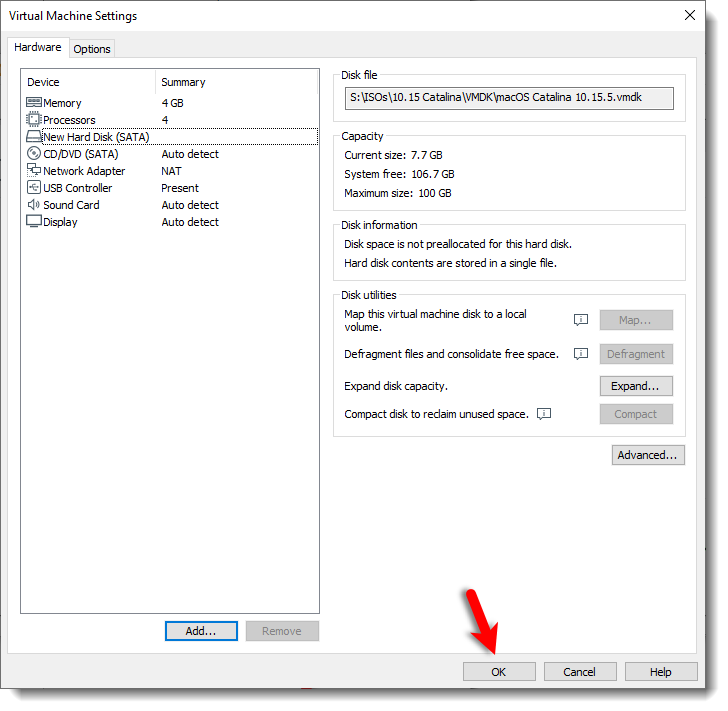
Save Change to macOS Catalina VM
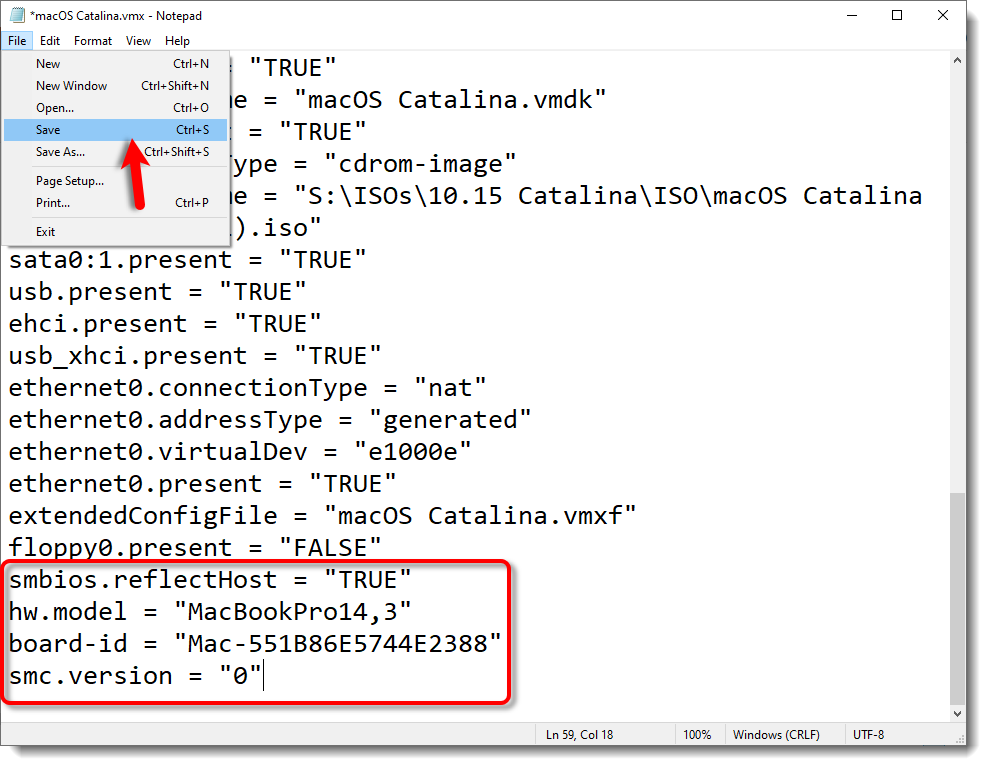
Step 7: Edit macOS Catalina VMX File (Optional)
- Do these 2 steps only if you can’t boot into macOS or have other issues. Navigate to the virtual machine folder which you select in step #5.3 of this guide. If you didn’t specify a new location, then the default location is in Document > Virtual Machine. Right-click on macOS Catalina.vmx then open it via Notepad or any third-party text editor of your choice.
- Scroll down to the bottom of texts and add the following code; then click on File > Save. After that, you may close it as you don’t need it anymore.
smbios.reflectHost = "TRUE"
hw.model = "MacBookPro14,3"
board-id = "Mac-551B86E5744E2388"
smc.version = "0"-
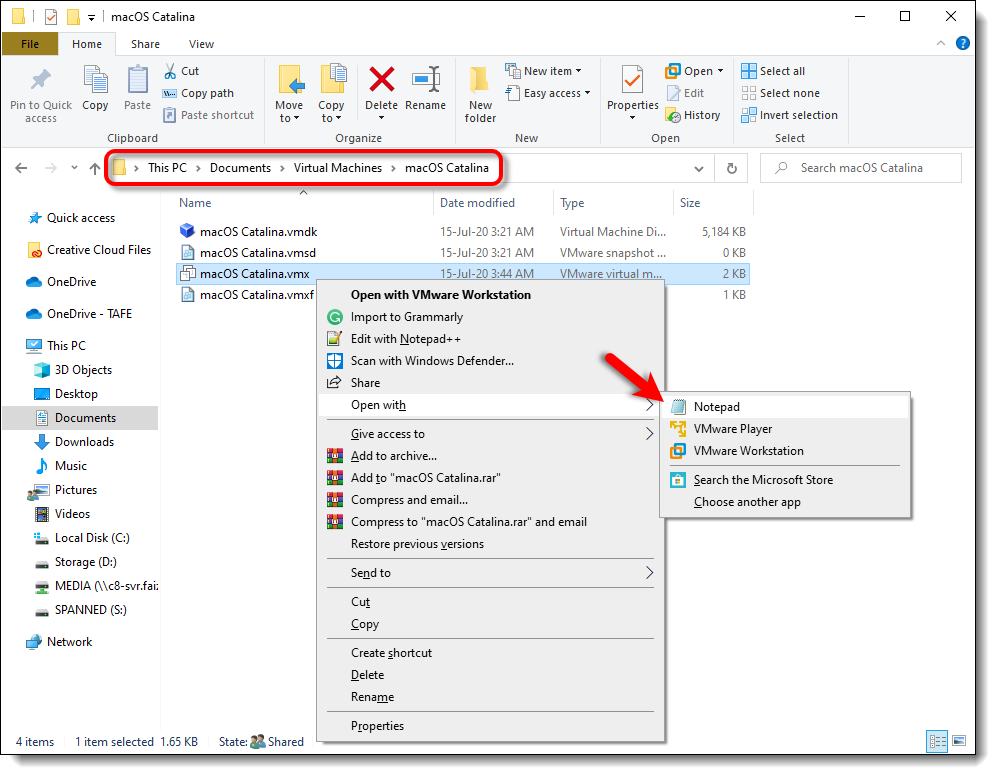
- Open macOS Catalina VMX with NotePad
-
- macOS Catalina VMX File
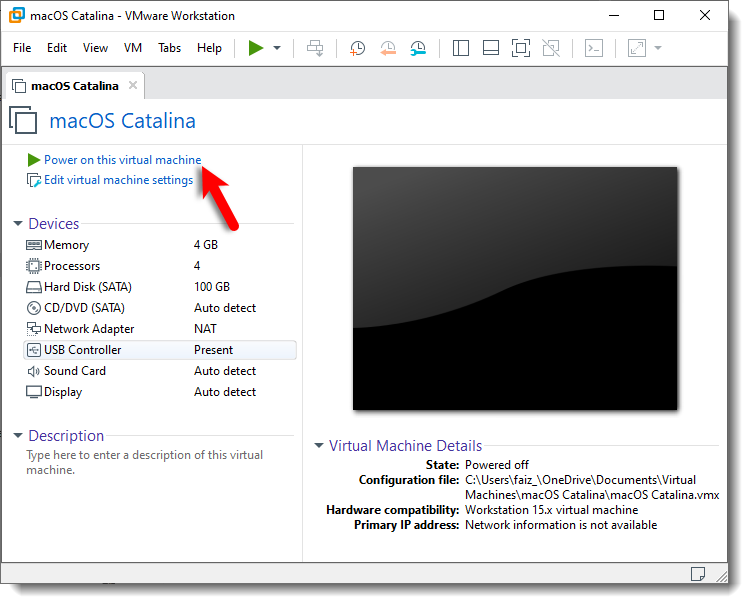
Step 8: Start macOS Catalina Virtual Machine
#1. Open VMware and on the macOS Catalina VM window Click Power on this Virtual Machine.
Power on the macOS Catalina VM
#2. Now, wait for macOS Catalina to boot up and complete the installation itself without you touching anything. It will take roughly 15 minutes depending on your system, be patient.
-
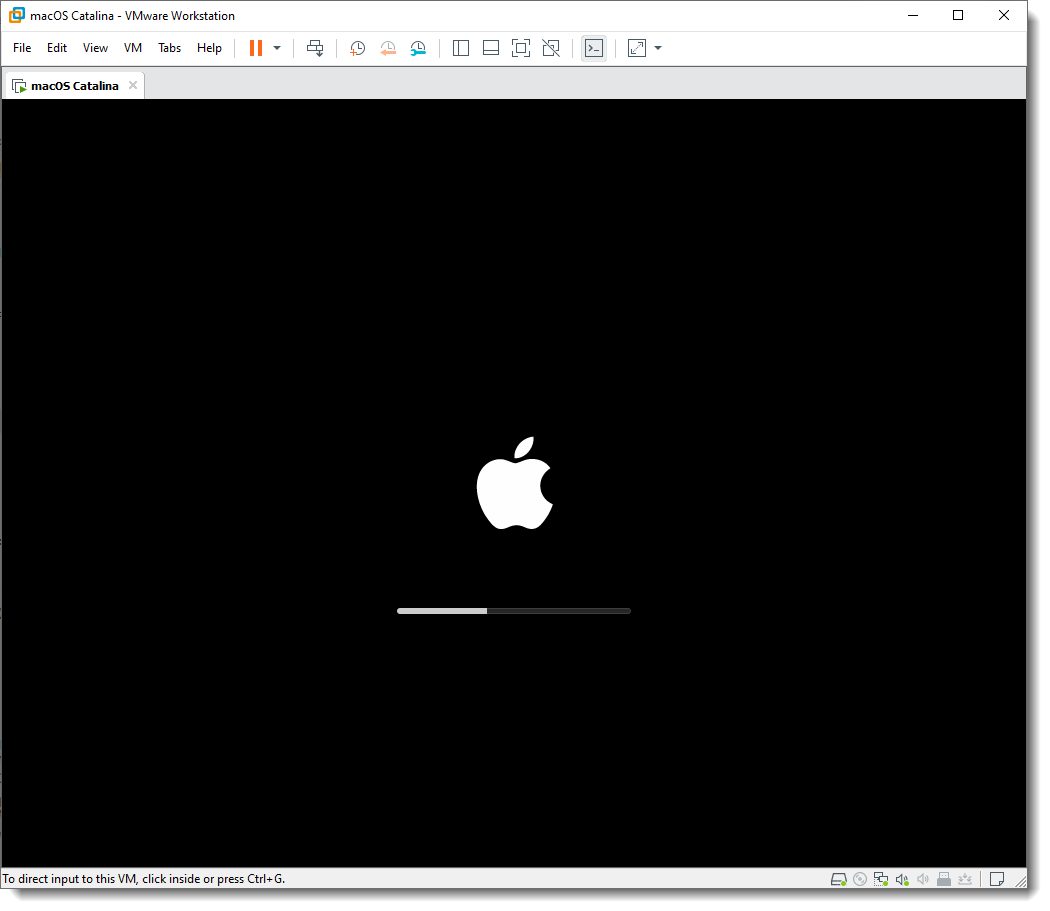
- Booting macOS Catalina 10.15.5
-
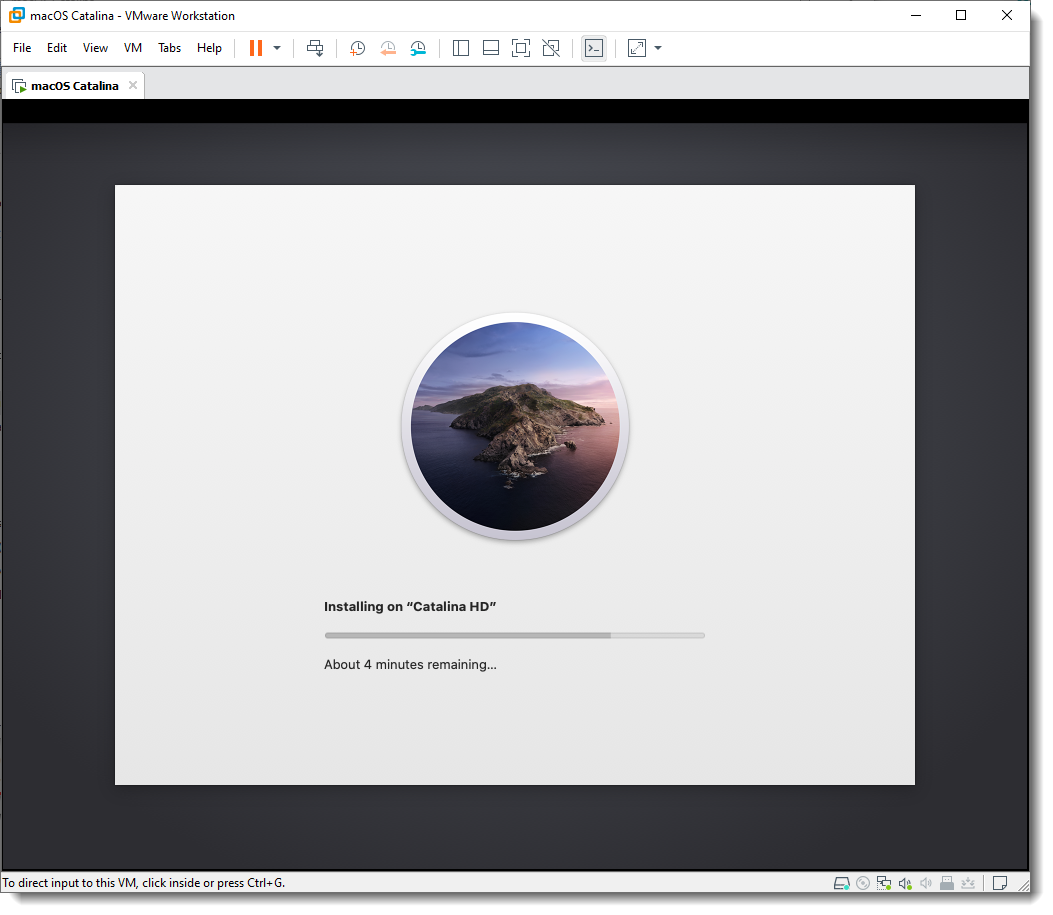
- Installing macOS Catalina on the VMDK
Step 9: Perform Clean Installation of macOS Catalina
Once the installation part complete, the VM will reboot, and after the reboot, you should see macOS Catalina Welcome page.
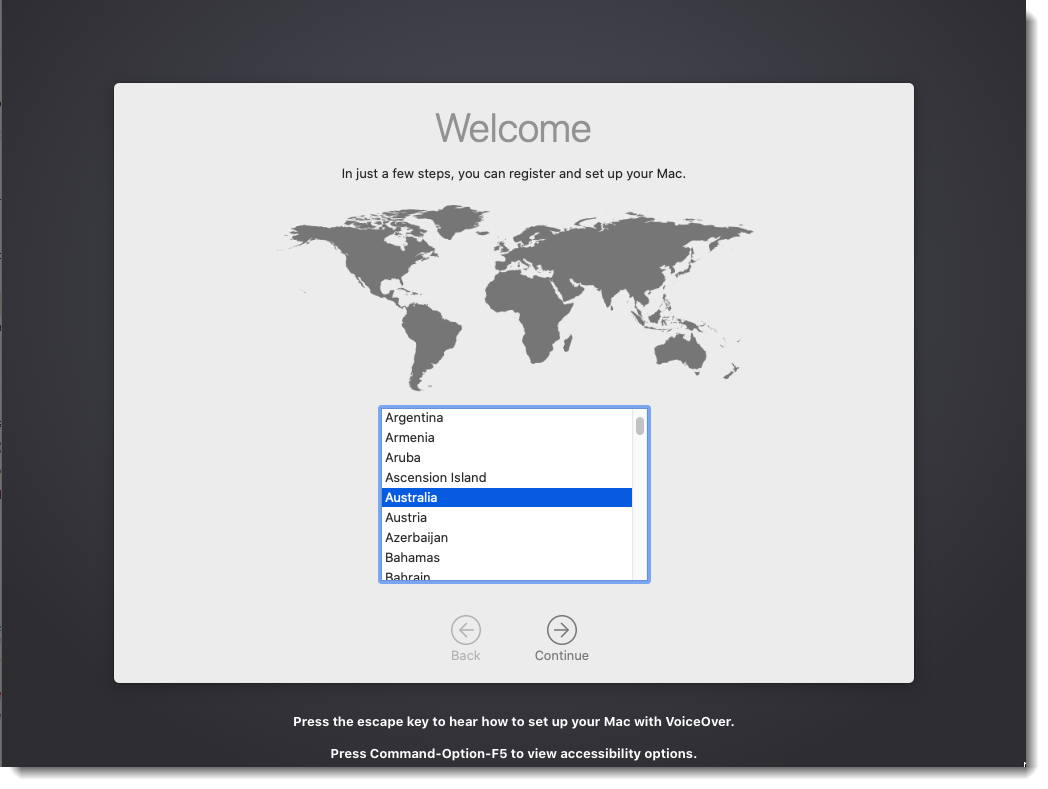
macOS Catalina Welcome Page
- Select your Country and click Continue.
- Choose a Keyboard Layout and click Continue. If you’re not happy with default settings, you can customize the Settings.
- On the Data & Privacy page, click Continue.
- Select Don’t transfer any information now and click Continue.
- Click on Set Up Later then Skip.
- Click Agree to the Terms and Conditions.
- Fill out the Full name, Account name, Password, and Hint then click Continue.
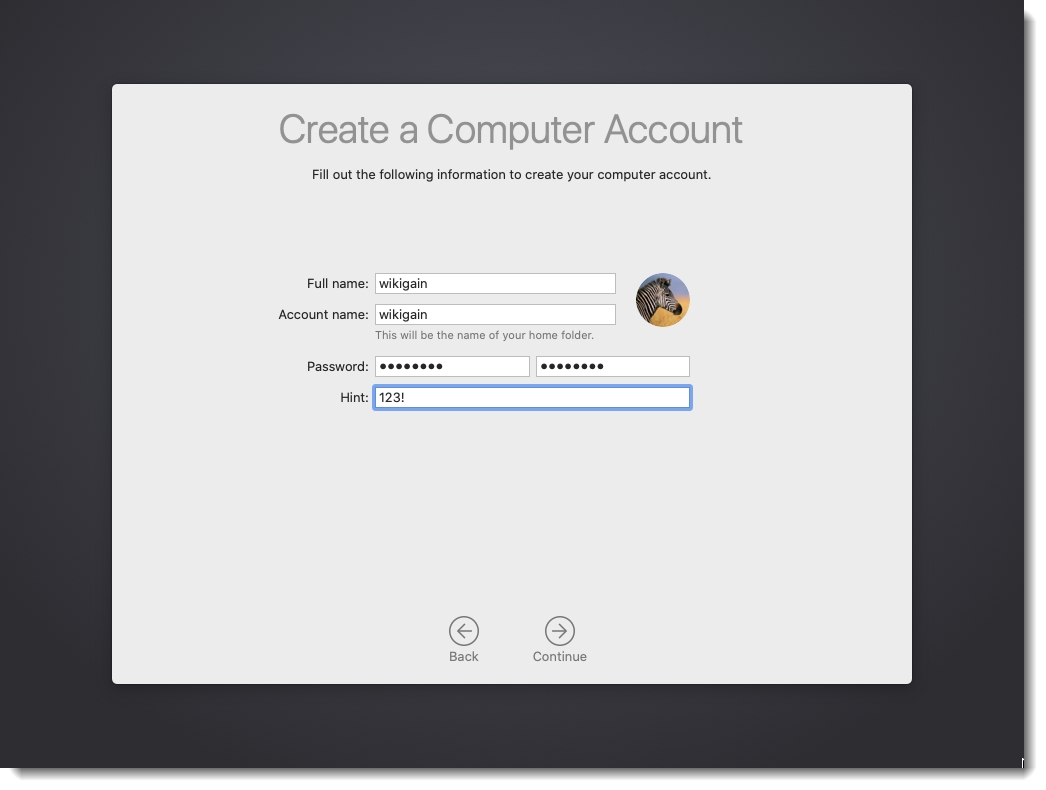
Create a Catalina Computer Account
- Click on Continue on the Express Set Up page.
- On the Analytics, click Continue.
- Click Continue on Screen Time.
- Do not set up Siri for now. Just skip it.
- Select any appearance theme and click Continue. You can choose between dark mode or light and Auto mode.
-
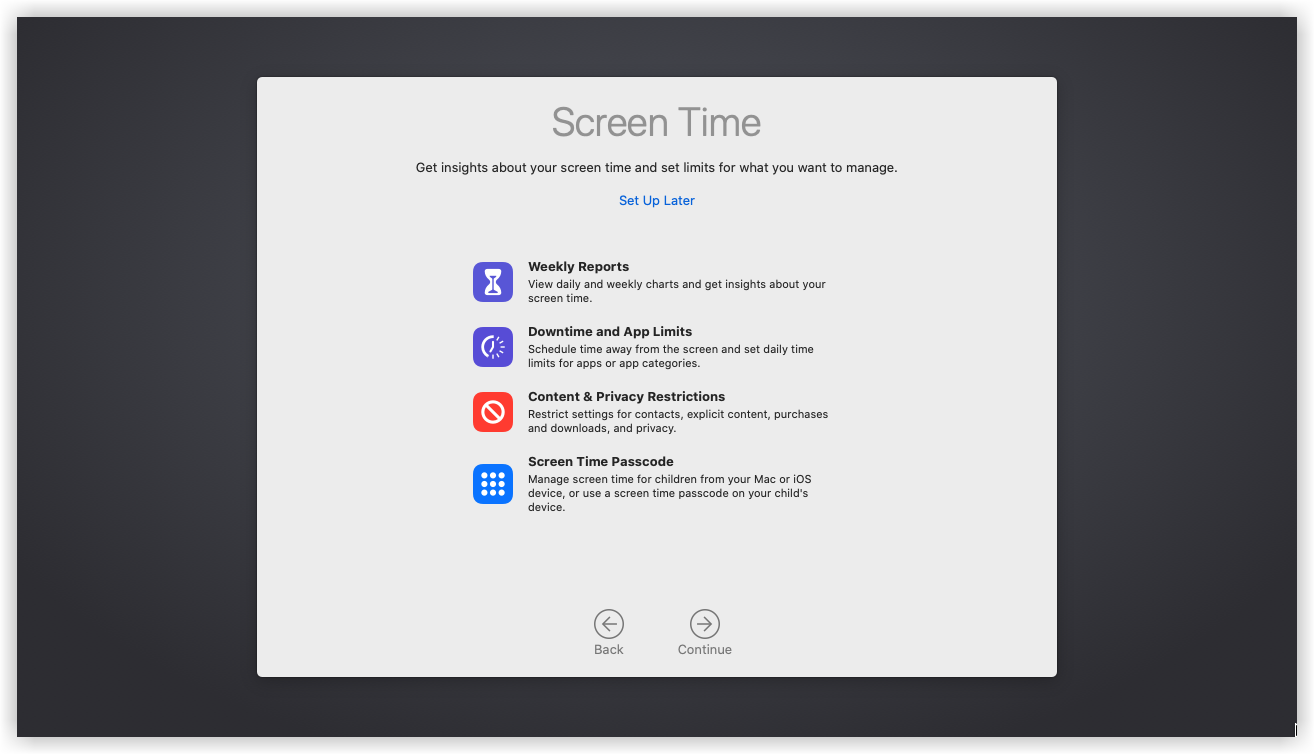
- macOS Catalina Screent Time
-
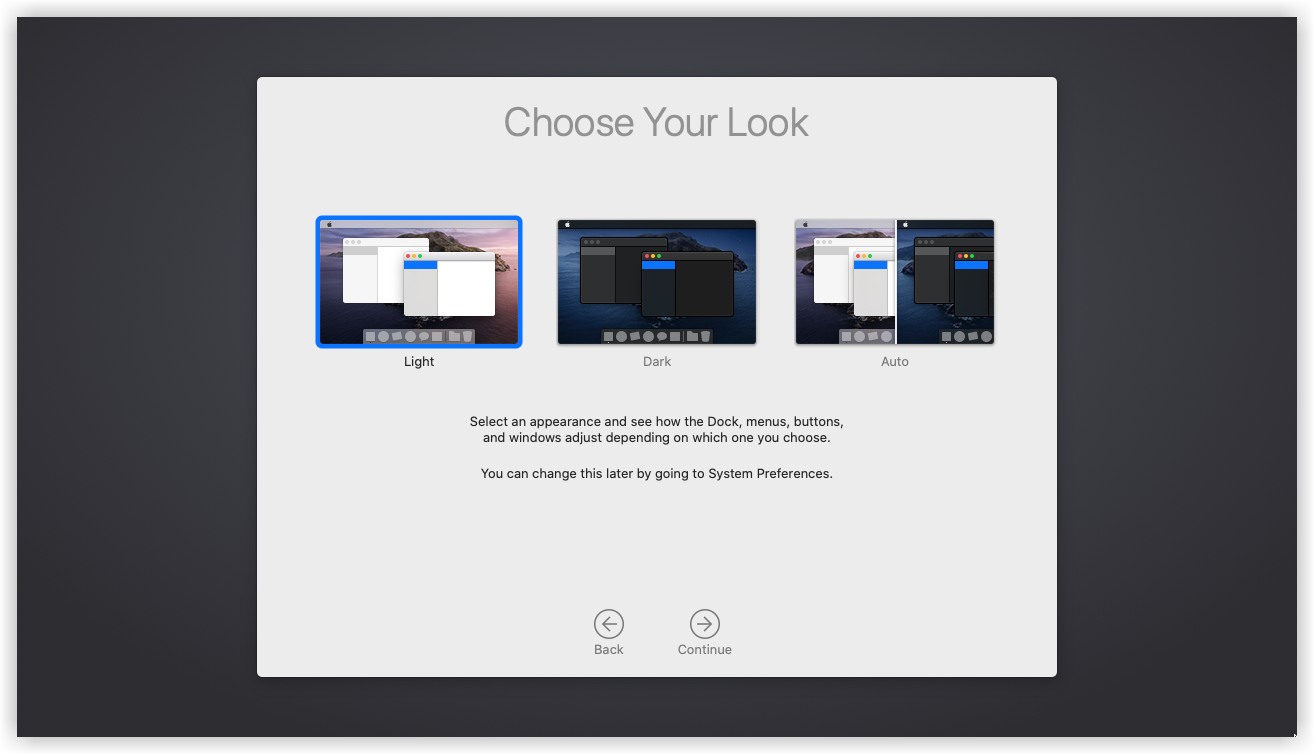
- Choose Your macOS Catalina Look
-
- Finally, wait a little while for macOS to finish setting up then it should boot into the macOS Catalina Desktop.
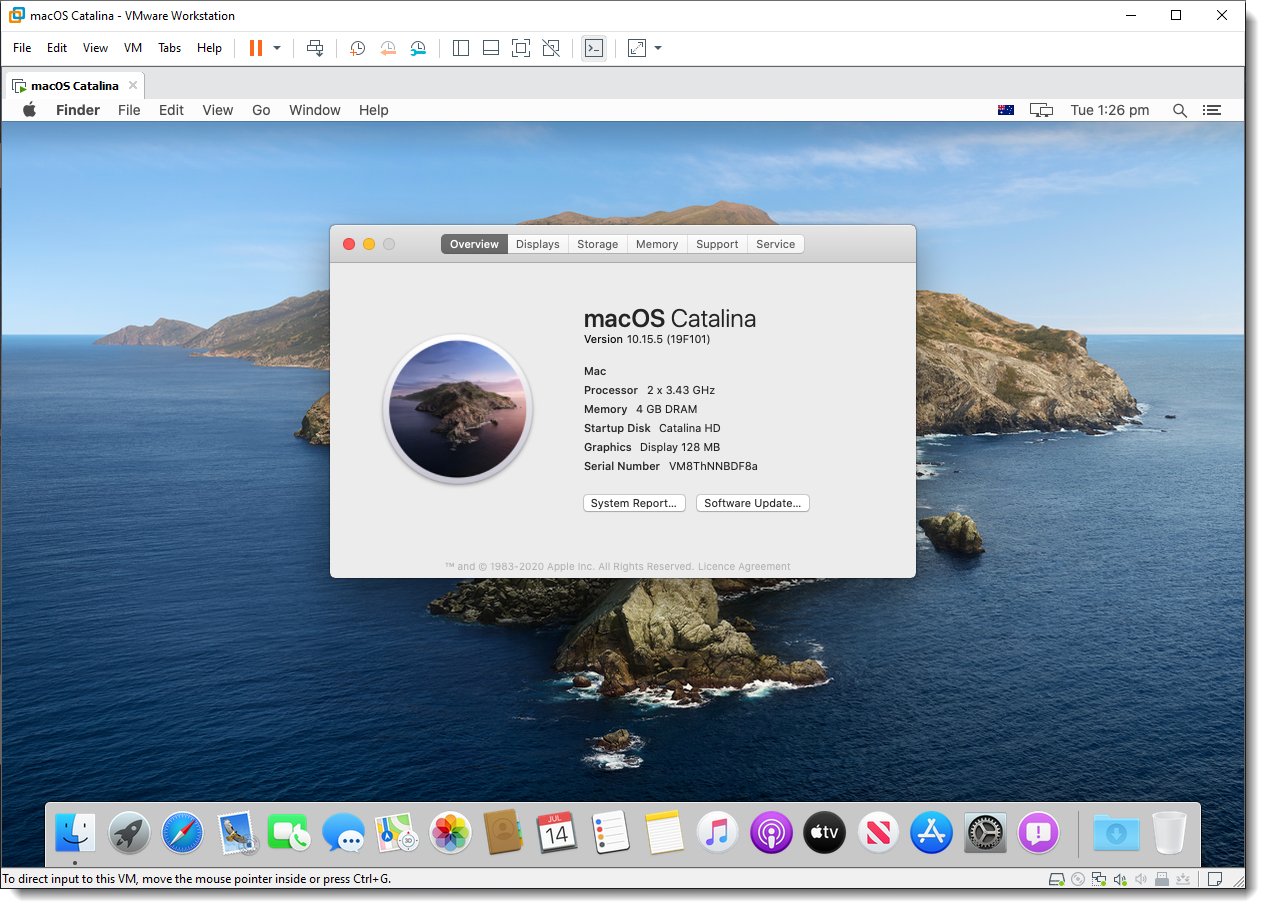
Successfully Installed macOS Catalina on VMware
Step 10: Install VMware Tools (Optional)
So now you should have noticed that the resolution of macOS Catalina can’t be changed and it’s not working as smoothly as you expected. To fix macOS Catalina Resolution on VMware or Make it more responsive, you need to install something called VMware Tools. It’s quite easy and straightforward to work with any system. So to do that we have created a comprehensive guide. Please click the link below and follow the guide Step by step.
See this guide: How to install VMware Tools on macOS Catalina
Summary
Basically, in this article, I’ve shown you the step by step pictorial guide on how to install macOS Catalina on VMware using VMDK on Windows. After reading and following this guide, you should have done the following:
- Download the prerequisites
- Install the Prerequisites
- Extract macOS Catalina VMDK File
- Unlock VMware to Install macOS Catalina
- Create a New Virtual Machine
- Edit the Virtual Machine
- Edit macOS Catalina VMX File
- Start macOS Catalina Virtual Machine
- Perform Clean Installation of macOS Catalina
- Install VMware Tools (Optional)
We are ready to keep receiving your feedback about this article, and other posts on wikigain. Your suggestion and feedback are highly appreciated.
Hi Faiz
Thanks for your doc and video
I am following your doc and your videos for mac on windows 10.
I am using Vmware Workstation 16 pro (16.2.4 build-20089737) installing macOS Catalina
ISO: macOS Catalina Final [Geekrar].iso
I am getting only appile log after that it is not even moving. could you please hlep me on this.
Worked perfectly man thank you so much!
hello good day!
why i cant open step 4:3 and the apple mac os x not showing what can i do?
Can we do the uptdate to Macos 11 without any problem or if we do any update to the OS it will broke it the VM?
Hello, mine starts well but does not go beyond loading point then restarts. I’ve done the optional steps but not working still. Any suggestions on the way forward.
I am getting below error, What should I do. I am installing 10.15.5 on vmware 15.5
macOS could not be installed on your computer.
An error occured installing macOS. To use apple diagnostic to check your mac hardware, shut down, press the power button, and immedietly hold the D key until diagnostic begins.
Quit the installer to restart your computer and try again.
Hi,
#1. Navigate to the virtual machine folder which you select in step #5.3 of this guide. If you didn’t specify a new location, then the default location is in Document > Virtual Machine. Right-click on macOS Catalina.vmx then open it via Notepad or any third-party text editor of your choice.
#2. Scroll down to the bottom of texts and add the following code; then click on File > Save. After that, you may close it as you don’t need it anymore.