In this article, I will show you how to install VMware Tools on macOS Catalina. If you want to make macOS Catalina responsive, work fast and enable the drag and drop feature then you install VMware tools since it’s the tool created by VMware to make Virtual Machines work smoothly and have the benefits of install macOS as a VM.
Install VMware Tools on macOS Catalina
- Download VMware Tools ISO
- Attach the ISO to macOS Catalina
- Install the VMware tools
- Allow VMware tools from macOS Security Settings
- Reinstall the VMware tools if required
Step #1. Download VMware Tools ISO
Click the link below to download the VMware tools for macOS Catalina.
Step #2. Attach the ISO to macOS Catalina
#1. First, power on the macOS Catalina VM, right-click on macOS Catalina Tab/Window then click on Removable Devices > CD/DVD (SATA) > Settings.
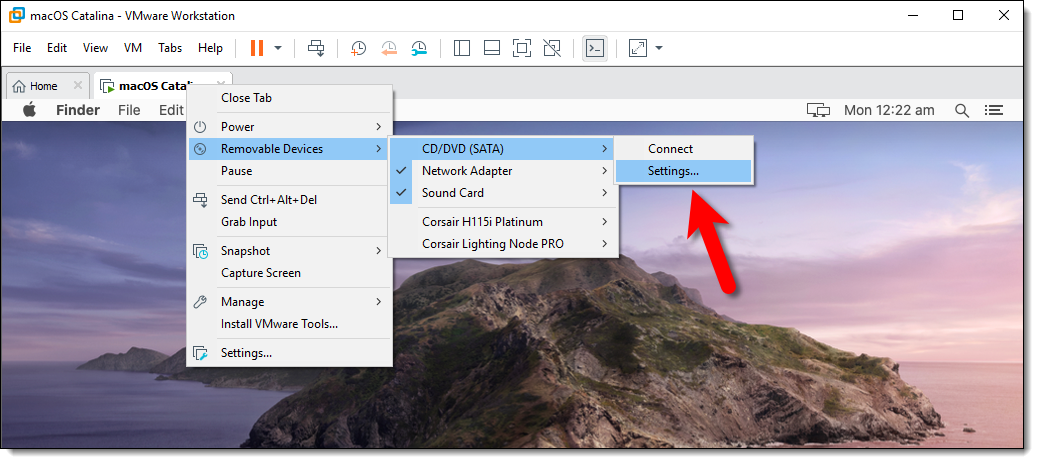
Go to Removable Devices – CDDVD(SATA) 0 Settings
#2. Select Use ISO image file option and click Browse.
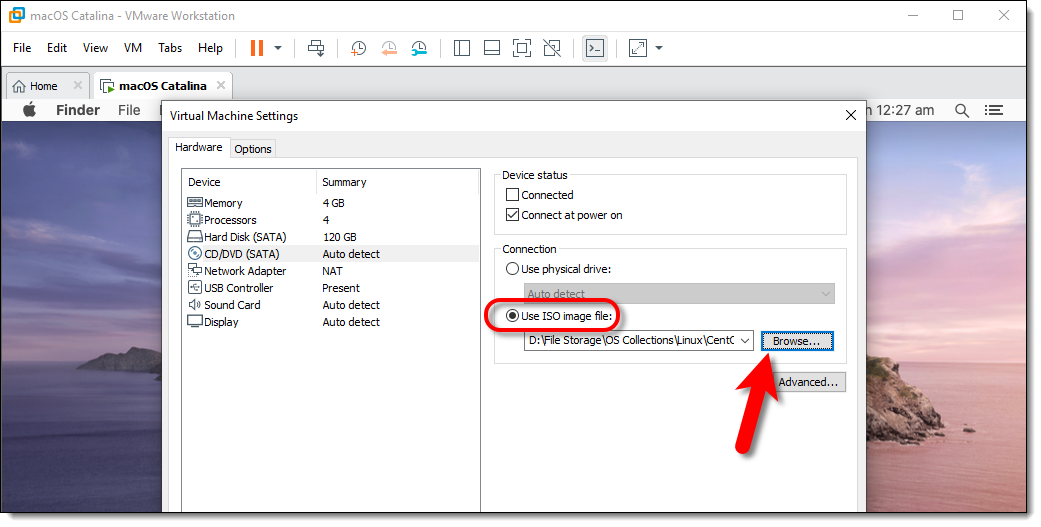
Use ISO Image File
#3. Locate the VMware Tools you downloaded in step #1. Select VMware Tools.iso and click Open.
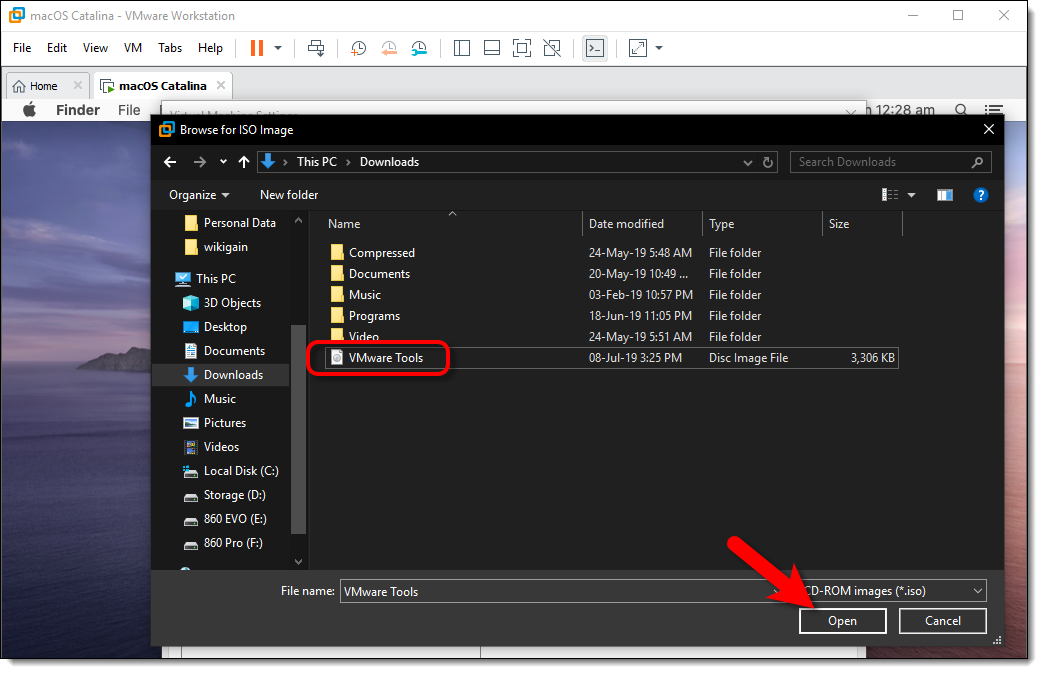
Select VMware Tools.iso
#4. Once you have selected the VMware tools.iso, then make sure the device status is Connected and Connect at Power On and click OK.
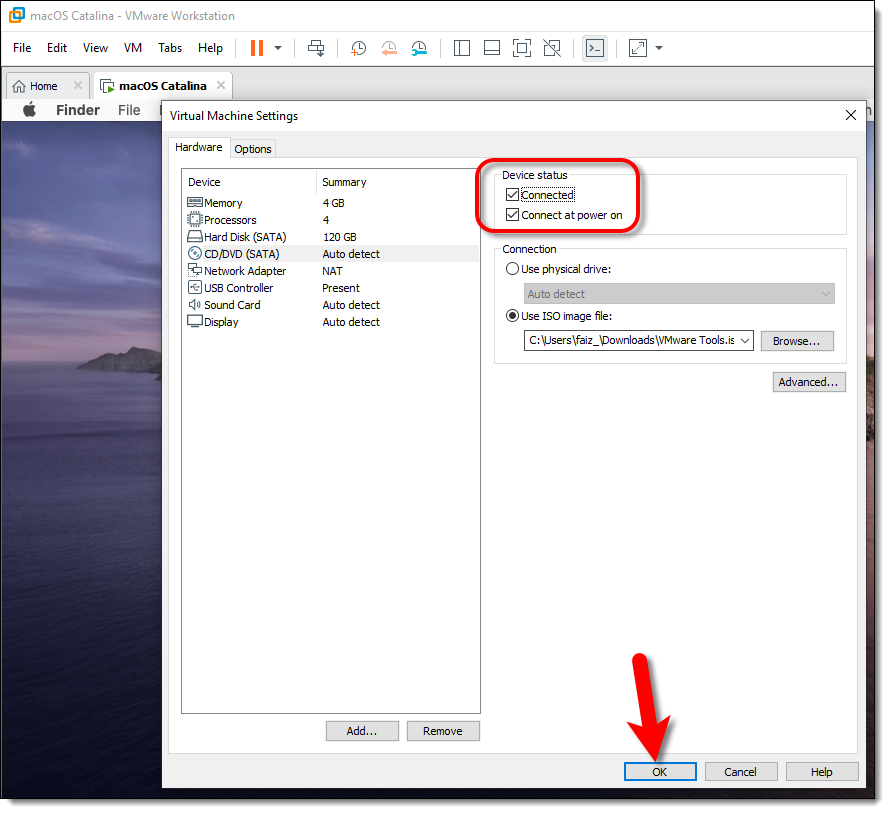
Connect Device and Save Changes
Step #3. Install the VMware Tools
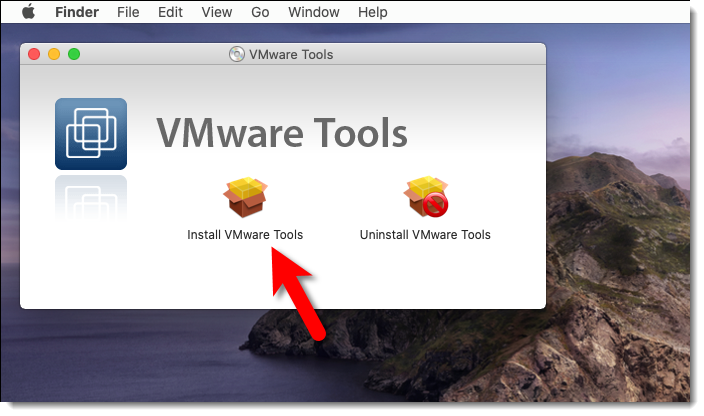
#1. The VMware tools will automatically appear on your desktop. You have to click on Install VMware tools.
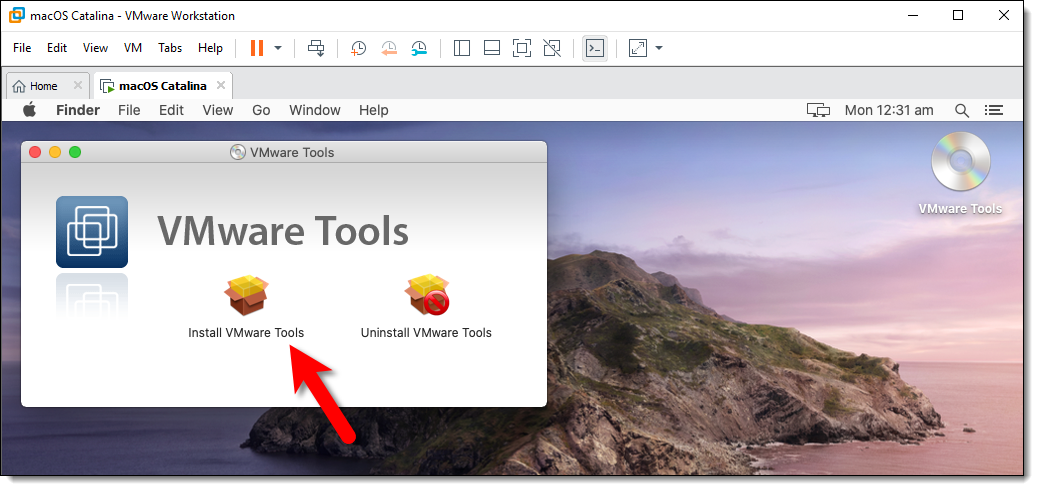
Install VMware Tools
#2. When the pop-up asking for permission appears, click OK.
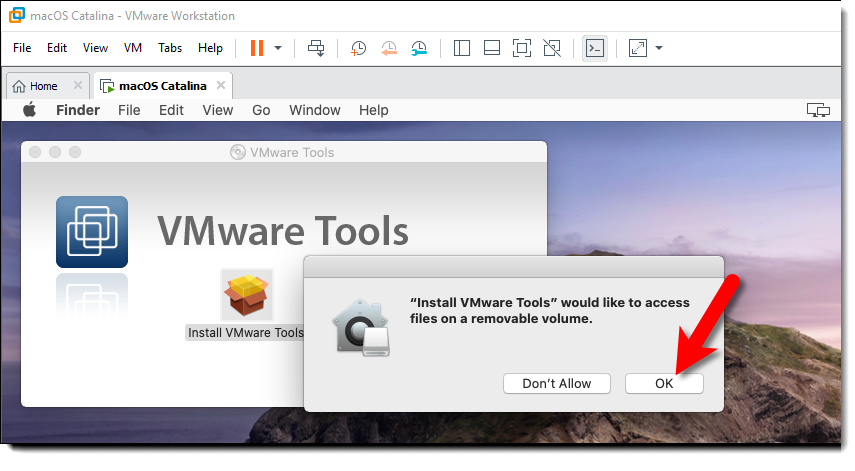
Allow Install VMware Tools
#3. On the welcome to VMware tools Installer page, click Continue.
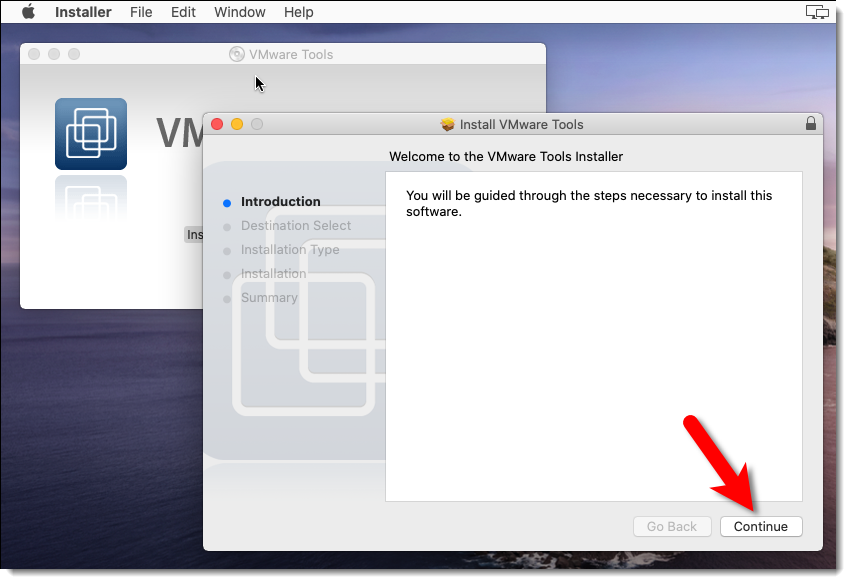
Welcome to the VMware Tools Installer
#4. Click on the Install button, you will see a warning message and don’t worry about that, click Continue Installation.
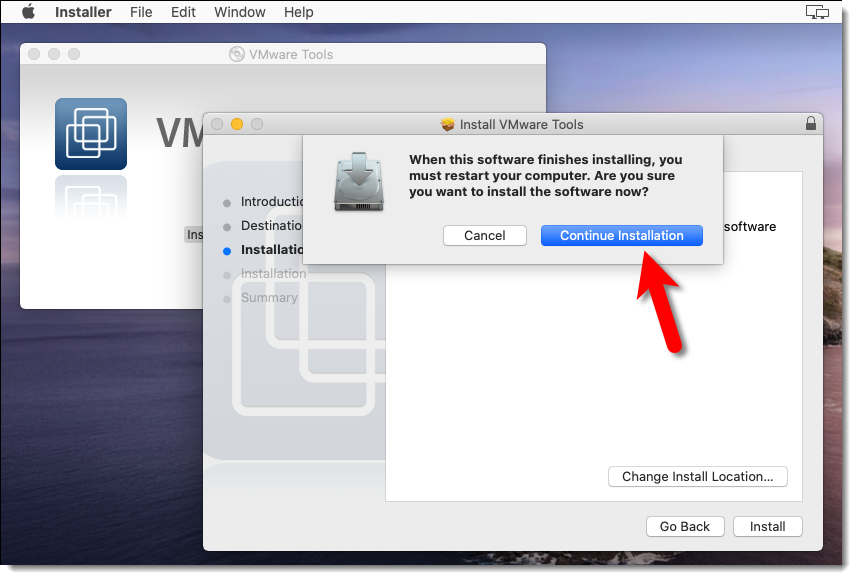
Continue Installation
#5. Type your username plus password and click Install Software.
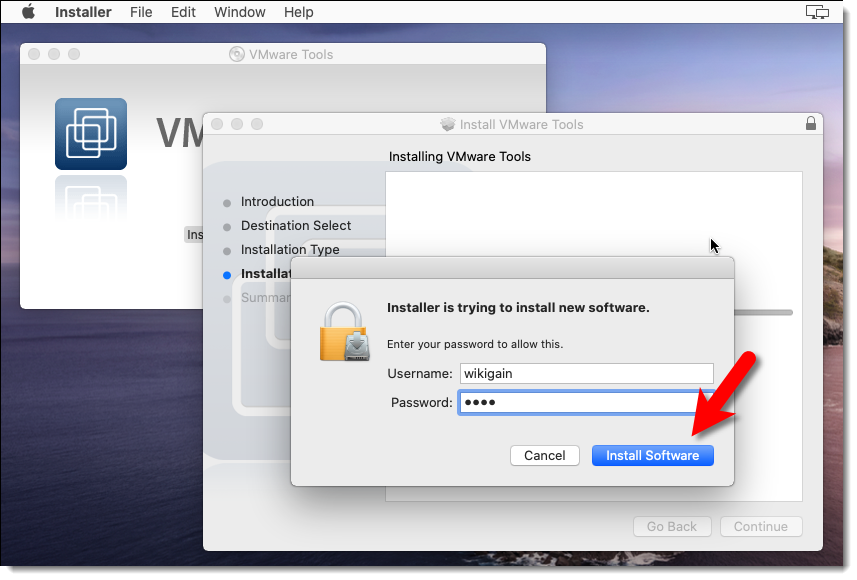
Click Install Software
#6. Click Ok on the pop-up again.
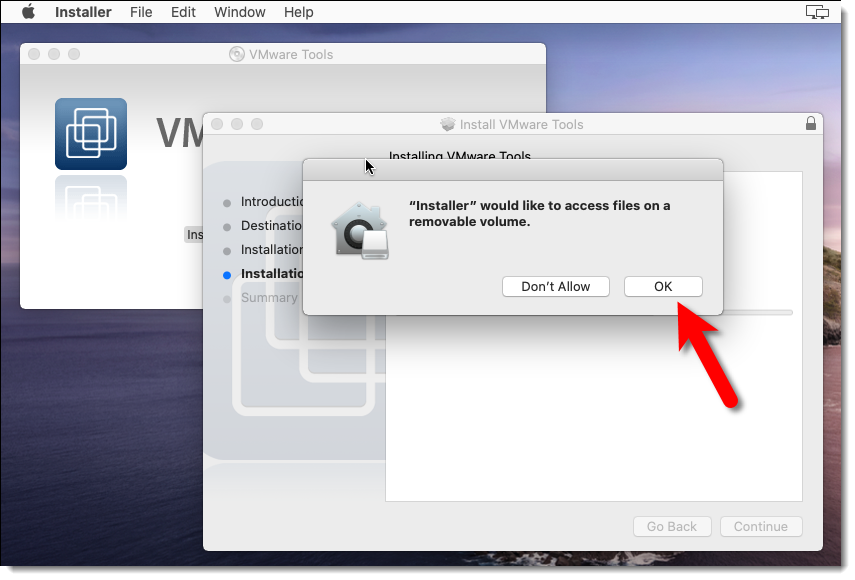
Allow Installer to Access Files
Step #4. Allow VMware Tools through macOS Security Settings
#1. You will a pop-up System Extension Blocked. After the pop-up appears, click Open Security Preferences.
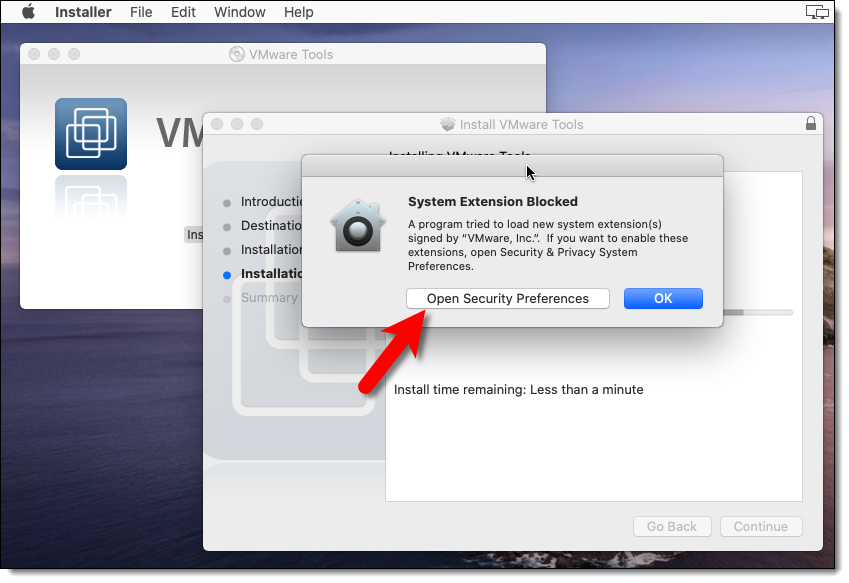
Go to Security Preferences
#2. Click on the Padlock icon then type your password. It allows you to make changes.
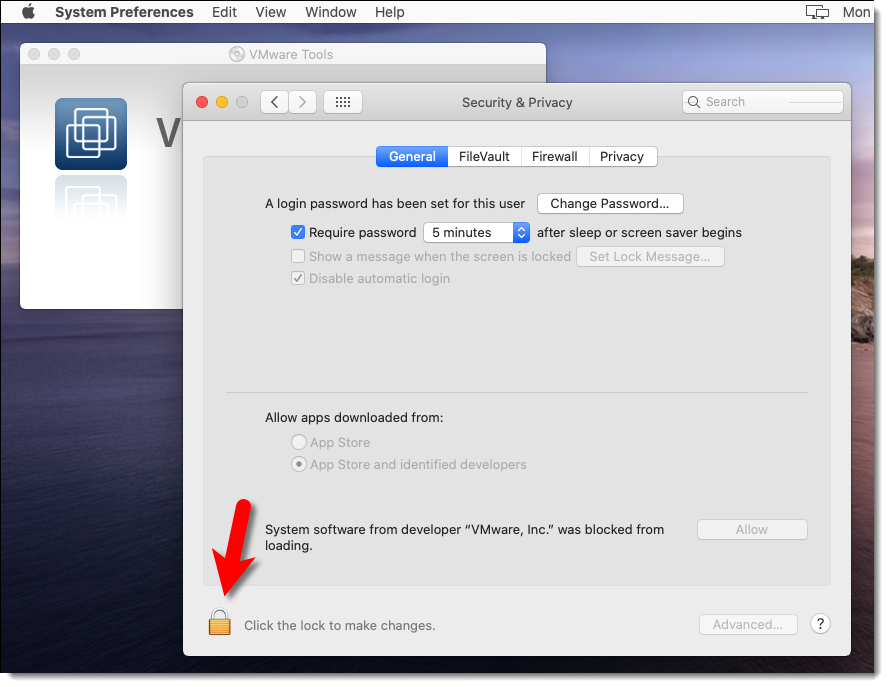
Unlock Security & Privacy Settings
#3. Click Allow to enable the VMware tools extension to be installed from the security & privacy window.
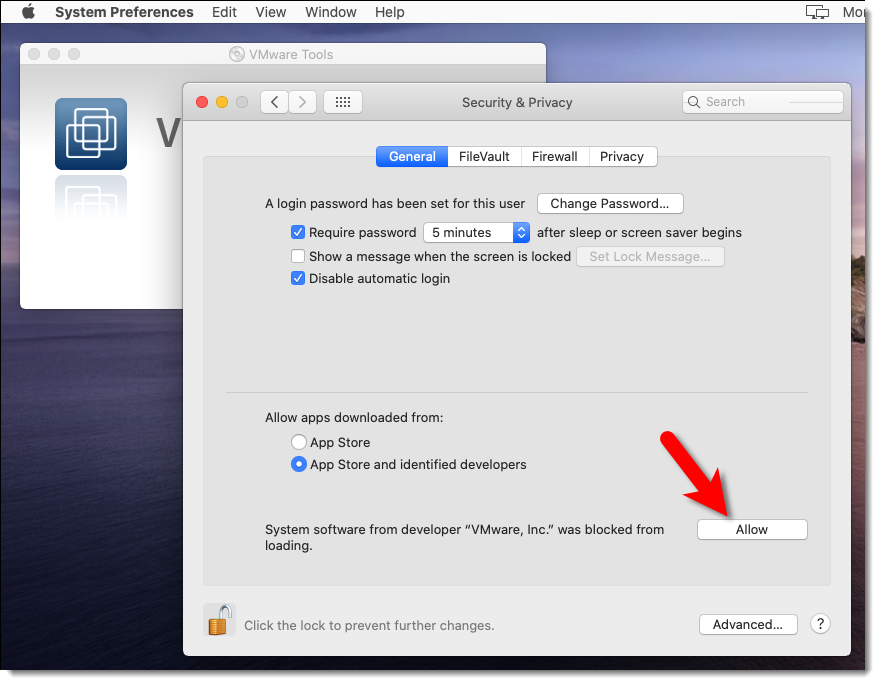
Allow VMware Tools from Security & Privacy
#4. On the Legacy system Extension, click OK.
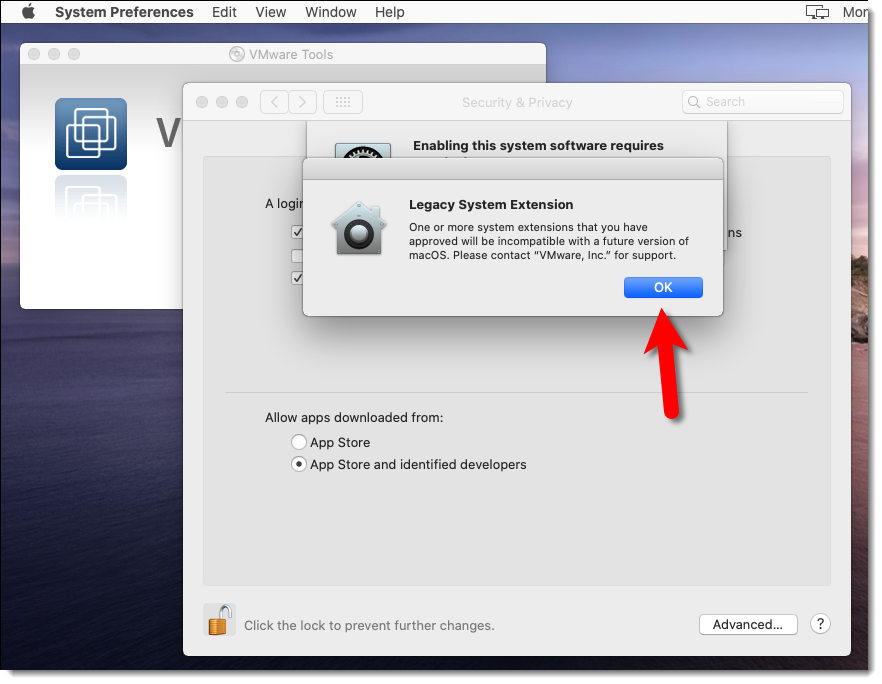
Legacy System Extension
#5. Click on OK again on the Security and Privacy windows.
Click Ok on Security and Privacy
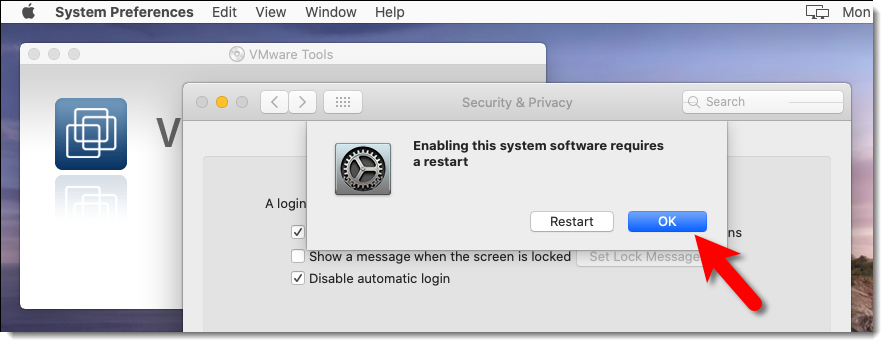
#6. Once the installation is successfully done, click the Restart button.
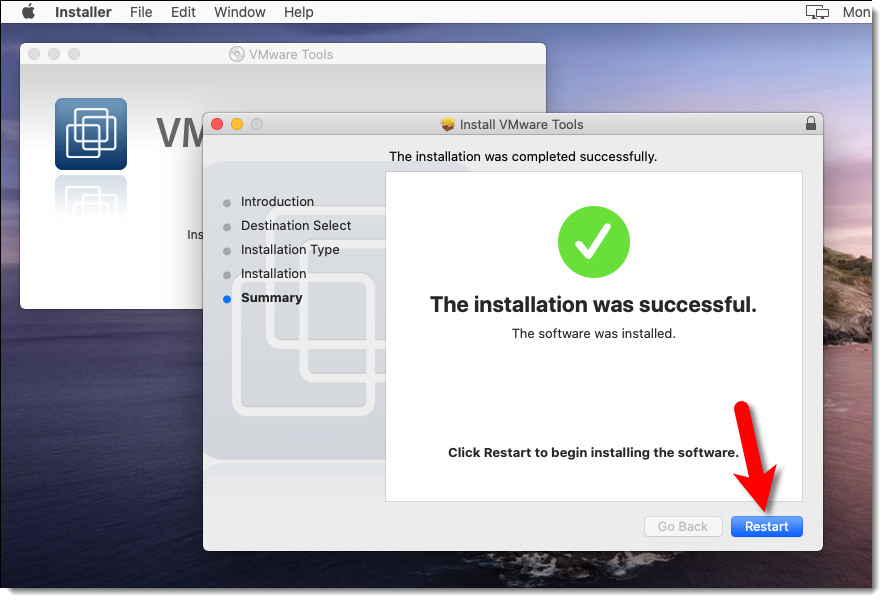
Restart to begin installing the software
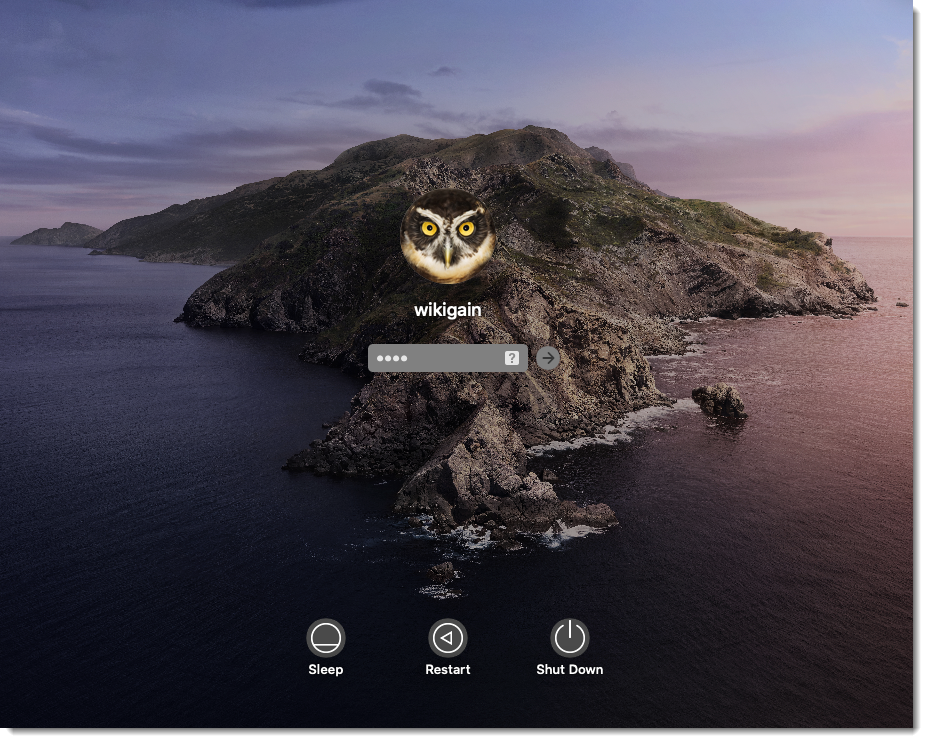
#7. macOS Catalina VM will restart and after the restart login with your Username and Password.
#8. You may see the same System Extension Blocked pop-up again. Click Open Security Preferences.
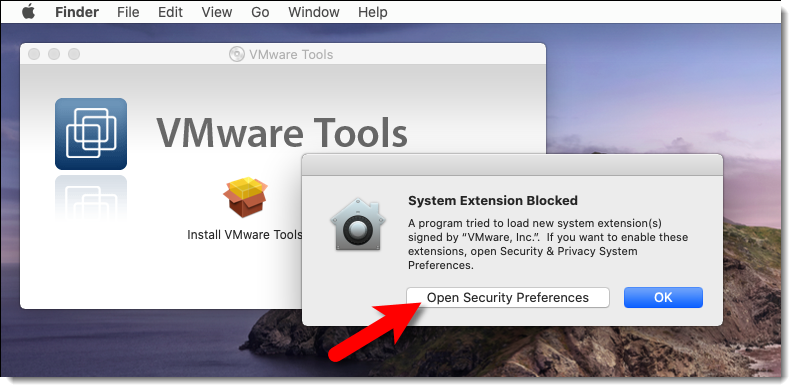
System Extension Blocked
#9. Click Allow again from the Security & Privacy window.
Allow VMware Tools from Security & Privacy
#10. Restart your VM and test the enhanced features are working.
Step #5. Reinstall VMware Tool if required
Sometimes the VMware tools don’t work when you install, so If the VMware tools didn’t work, then you need to reinstall it, to make it work. So follow the Steps below.
- Click on Install VMware Tools.
- Click on Continue.
- Click on Continue Installation.
- Type your Username and Password and Click Install Software.
- Click Restart.
- login to macOS Catalina
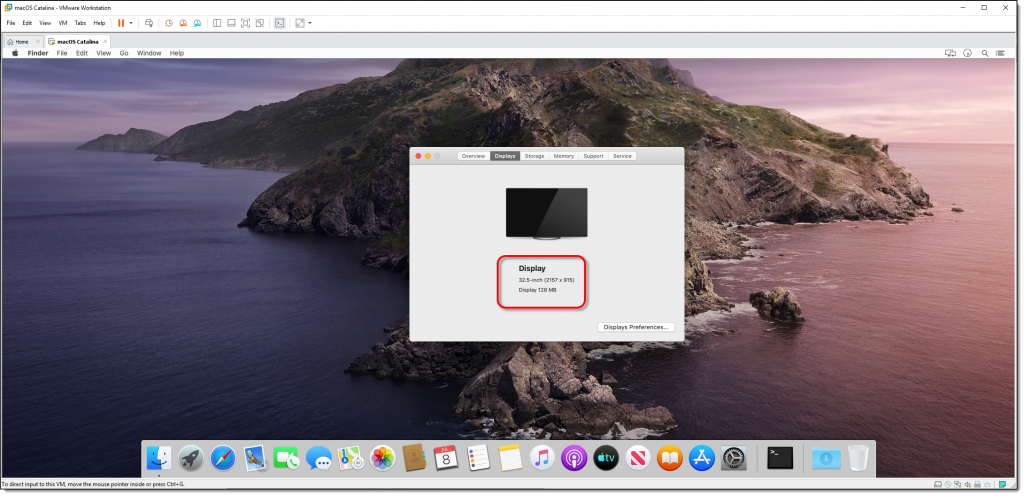
- Full screen your macOS Catalina to make sure it’s work properly.
Install VMware Tools on macOS Catalina 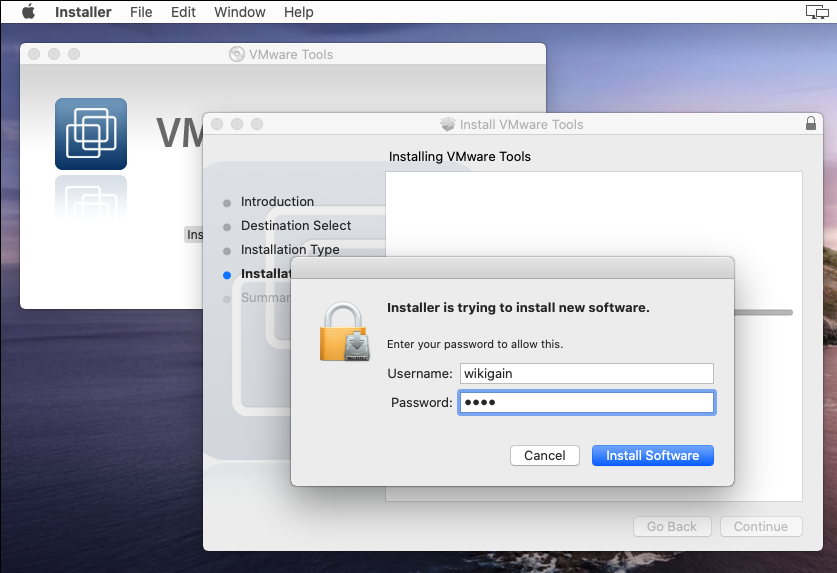
Type your username and Password Restart to begin installing the software 
Login to macOS Catalina Beta
Ok the first time I understand everything and I worked perfectly for me thank you so much for that tuto : precise, detailed, accurate. A super job 🙂
Thank you very much!
Same issue as Naz:
How to fix this i am stuck at step 2 : This operation cannot proceed because your Mac OS guest is using the CD/DVD.
Dismiss this message, eject the disc from inside the guest, and retry this operation.
What do we do?
Shut down your VM first and then change the settings
Thanks, it is working charmly
Thank you for your feedback
It goes thru the install for me fine but its not installing video drivers for me as it wont switch to full screen even after i did a uninstall reinstall so their must be something missing from this tools . I installed older versions of mac on vmware & the tools worked but not this one . installed on a Dell inspirion pc
Were you able to fix this i am running into same issue
How to fix this i am stuck at step 2 : This operation cannot proceed because your Mac OS guest is using the CD/DVD.
Dismiss this message, eject the disc from inside the guest, and retry this operation.
bro you need turn CD/DVD in the program VMware for your machine to auto detect (use physical path)
You need to right click at the dvd drive at the desktop and click eject first before import another iso