
In this post, you will learn How to Speed Your Website by converting Images to Webp automatically. If it could not solve the speed issue of your website, perhaps you should consider purchasing a CDN.
One of the most important factor of any website is speed, even if you have a dedicated server. Apparently scripts, images, videos, theme and etc have all effects on the server and on the speed of your website. Last year when Google announced the next generation of images for the web is webp instead of JPG and PNG, every website have updated their website into that format. And by far I have also used these format and it is by far one of the most amazing method which can help decrease the amount of images in a significant amount without losing any quality of the image. So, you have two option either you have to manually upload a webp image into your website, or you have to convert all of your websites current images into the webp format. What is the choice for you.
There are two options:
- If you are creating a new website from the start, you have to start uploading webp images.
- Or you can install WordPress plugin to convert those images automatically into the next generation of images known as webp automatically.
Don’t worry you don’t have to pay a single coin in order to convert your images into webp, unless you have a small business or an enterprise business. Also if you are running a website such as CNET, Business Insider, how to Geek, then you should consider purchasing a plugin that can convert automatically all of the images into Webp format.
What is Webp?
It is an image format which is developed by Google that uses lossy compression to reduce file size without losing quality. At the moment it is supported on every browser such as Google Chrome, Firefox, Safari, opera and Microsoft Edge.
There was a goal that Google developed webp format. The goal was that to create an image format, at the same time which could deliver high quality images with a lower file size then the other image formats. In the end they named it Webp which archived this goal simply by using lossy compression techniques. It can reduce the amount of data that needs to be transmitted over the network.
In simple words if I have to say, the end result is that the image looks 100% similar to JPEG and PNG but not identical and at the same time it takes less storage on your website than the other image formats.
How to Speed Your Website by converting Images to Webp automatically?
Since Google has not announced an official plugin for WordPress websites to convert automatically images to webp, you have to use third party plugins. Apparently there are many plugins available on the market, but the one that I am recommending is called imagify which is created by WP rocket team. Also if you have in mind an open source plugin or another plugin which is a lot better than this plugin, let me know in the comment section, I will be delighted to review and insert that into this post.
Steps to Automatically convert your websites images to Webp
Step #1. log in into your workplace website with your credentials.
Step #2. Go to the plugin section and click on new.
Step #3. Search for plugin called imagify, install it and then activate the plugin.
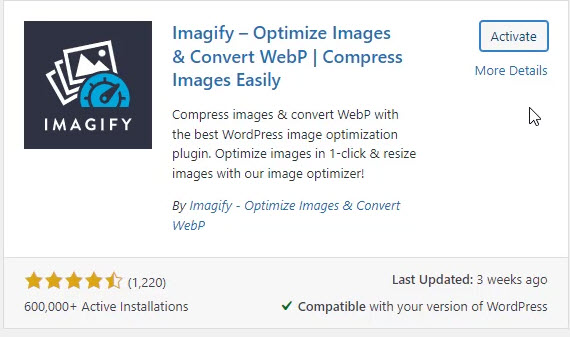
Install Imagify Plugin on your WordPress Website
Step #4. The moment the plugin is activated, you will notice a large notice at the top of your website. You need to click on sign up it is free.
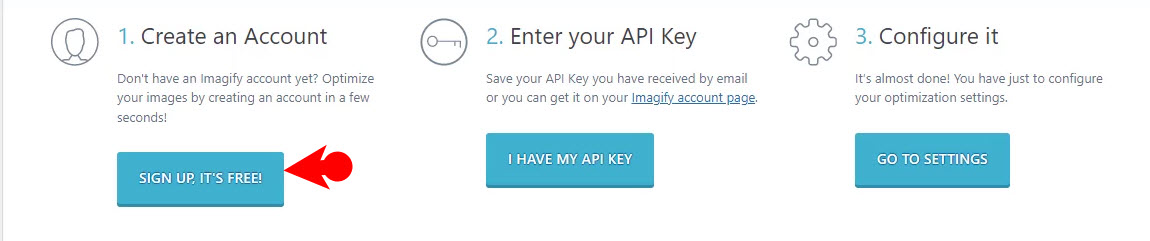
Sign up for Imagify
following that you have to enter your e-mail address.

Insert Your Email Address
Step #5. The moment you inserted your e-mail address, and checked on sign up, image file is going to send you an API key into your Email account. You need to open your e-mail’s inbox and copy the API key.
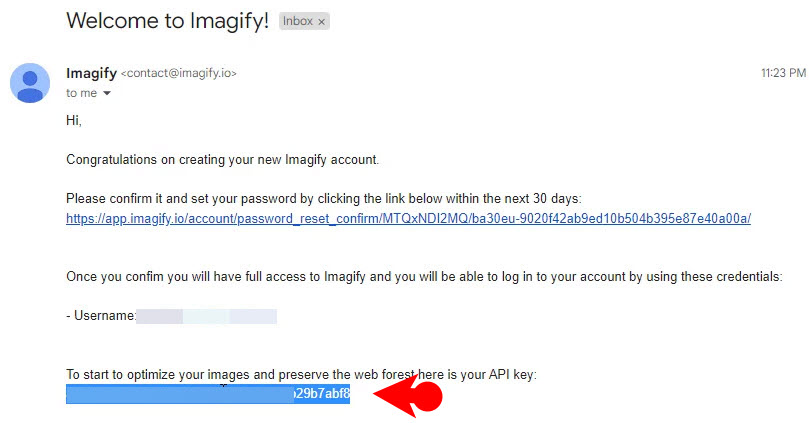
Copy the Imagify API Key
Step #6. After copying the API key, go back to the website and again on the I have the API key in the notice area. Insert API Key and click connect me.
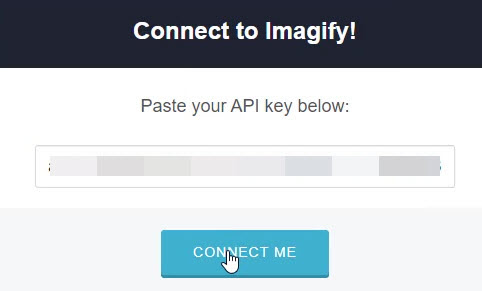
Connect Me
Step #7. Once it is connected come on you can go to the settings either from the notice area or from the left panel of your WordPress website. Either way you can configure the settings or you can go with the default options.
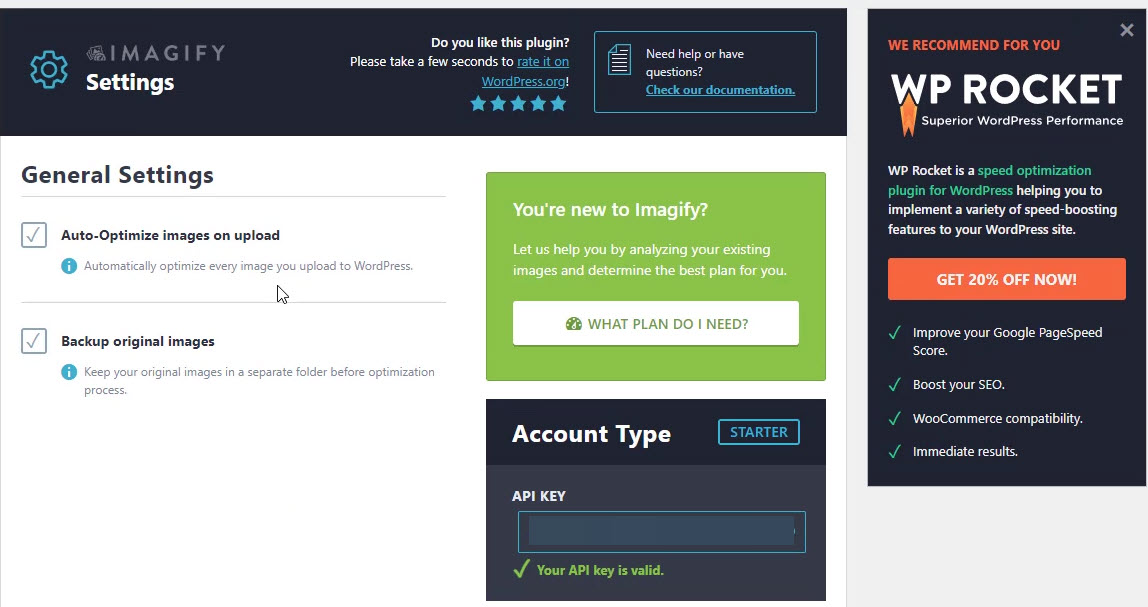
Imagify Settings
Step #8. Once you installed and configured the settings of imagify on your website, it will automatically start converting your images into webp. And now have a look at the below photo come on you will notice that the actual size of that photo is 124 KB but after compression the new image file size is 47 KB without losing the quality.
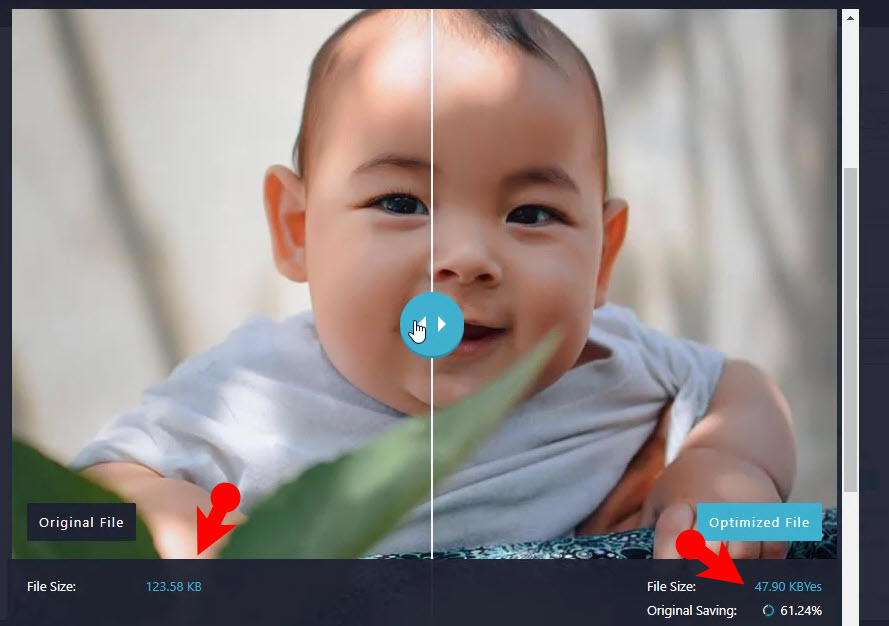
Before and After
Conclusion:
It is important to always configure the settings of your website according to the Google page speed inside which is accurate since our websites are mostly archived on the search engine of Google. In the end if the image compression cannot decrease the speed problem of your website, you must purchase a CDN (Content Delivery Network) for your website.
Watch it’s video on YouTube:
https://youtu.be/kk7b1FN5ZjI
Leave a Reply