Have you ever shared your mobile Internet with other people? The way you are sharing your data package with others using your cell phone is called a Wi-Fi hotspot. However, there is also another way that you can share your mobile Internet connection with your computer using a USB cable. This feature can be implemented on Android and iOS devices without any problem, all you have to do is you need to learn how to set up USB Tethering on Windows 11 between Android or iOS devices. USB tethering it’s not just for Windows, you can set USB Tethering on your PS4 or PS5 too as long as you’re comfortable with it.
How to Set up USB Tethering on Windows 11?
Setting up USB tethering on windows 11 is not as hard as you think, so here are the steps that you have to follow to access your smartphones Internet on your windows 11 laptop, desktop tablet or any other device that you are using.
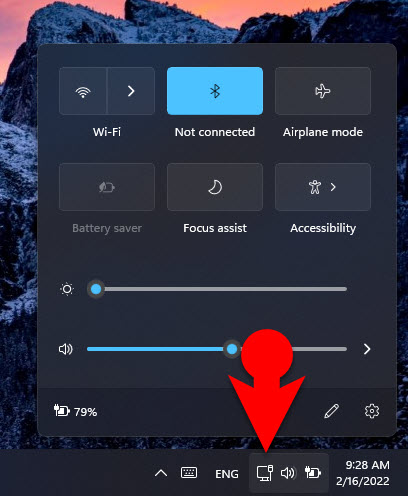
The very first step that you have to do is you need to turn off your Wi-Fi on your computer. The fastest way to turn off the Wi-Fi is simply click on the Wi-Fi icon at the taskbar and then click on it and simply turn it off.
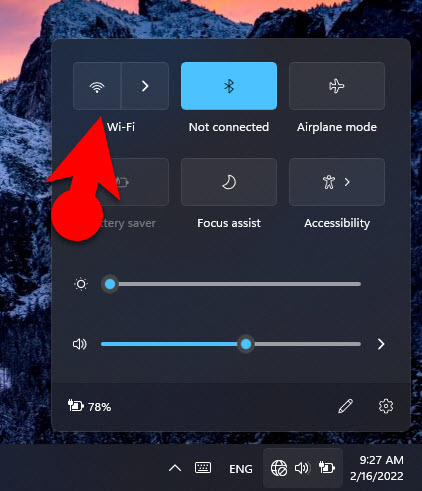
Turn off your Wifi.jpg

Image Courtesy: Lifewire- Enable Personal Hotspot in iOS
-
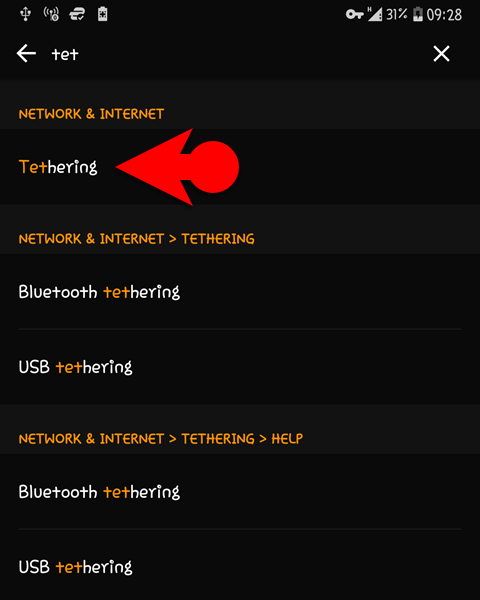
- Search For Tethering
-
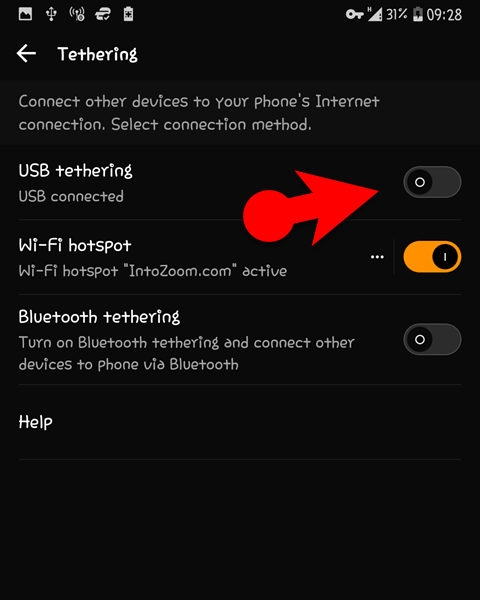
- Enable USB Tethering
-

- Warning
-
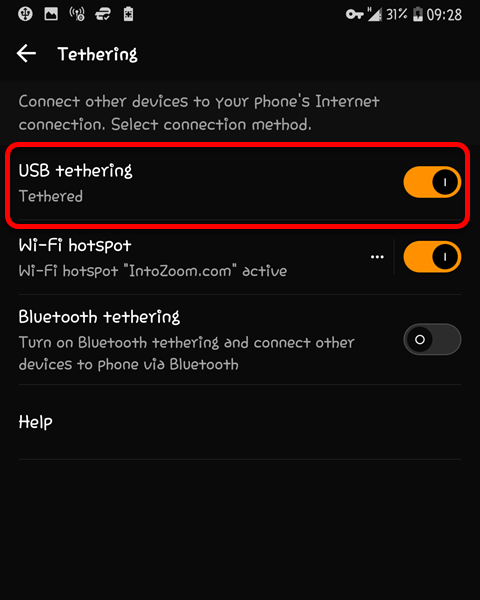
- USB tethering Enabled
USB Tethering successfully established.jpg
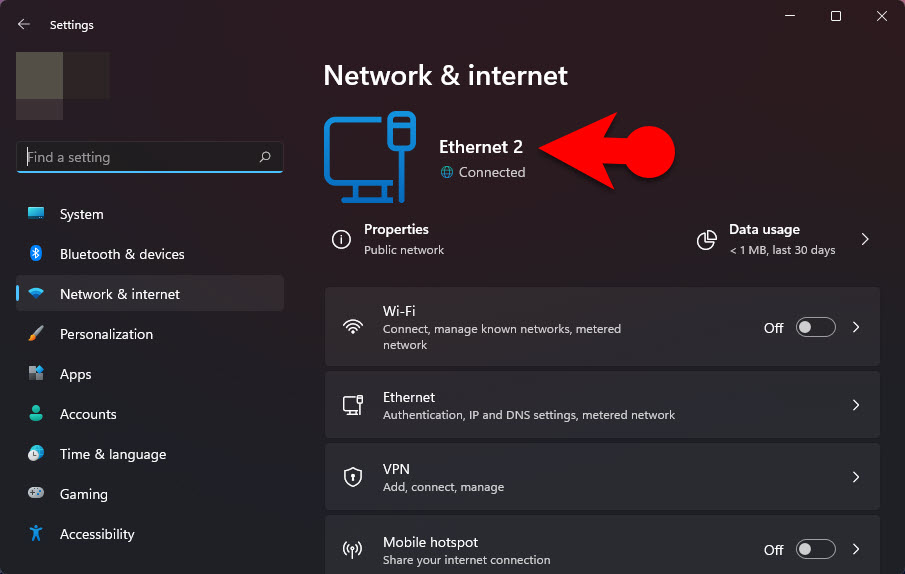
Connection Established
Conclusion:
This is how to this is how to Set up USB Tethering on Windows 11, so to summarize the post. First, You need a USB cable, a USB port on a computer, and enable Internet package on your smartphone. Once you acquired these requirements, follow the post and enable the USB tethering or Wi-Fi hotspot, and use your smart phone as an Ethernet.
Leave a Reply