You can use BitLocker To protect your files and personal data on Windows 11. Unfortunately, you cannot use BitLocker to lock a single folder or a file. It is supposed to protect your entire drive. People are using third-party applications to protect a single folder or file however what if I tell you that there is a way that you can use to lock folders on Windows 11 using BitLocker? First, you will need to create a virtual drive then within that drive locate your important documents and images. The virtual drive works like an external drive to which you can attach an eject. You can easily use BitLocker to protect it since it is a part of the virtual drive. If you got the idea go ahead and start using BitLocker on a specific folder. However, if you do not know then follow the below step-by-step guide to learn how to lock folders on windows 11 easily.
How to Lock Folders on Windows 11 using BitLocker?
Step #1. Create a Virtual Drive
- Right-click on the start menu and choose disk management.
- Go to the action menu and choose to create VHD
- click on browse and save it in a place where you can access it
- Then enter the amount of storage for the virtual drive and configure the size of the Virtual drive too.
- Under the Virtual Hard, Disk format chooses VHDX and click OK.
- Right-click on the Disk and choose Initialize disk.
- Then Choose a partition style (GPT or MBR) and click OK.
- Right-click on unallocated and choose New Simple Volume.
- Click Next> again click next.
- Assign a drive letter and click next.
- Format the partition with the default settings and click next.
- Click Finish to create a New Volume.
Step #2. Enable BitLocker and Protect your Files
- Open the Windows Settings> system and click on Storage.
- Click on Advanced Storage settings
- Click on Disks and Volumes.
- Find the Virtual Drive and click on the Properties.
- Scroll down to the end and choose Turn on BitLocker.
- Expand the Fixed Data drives, Find the Virtual drive and choose Turn on BitLocker.
- Choose to Use a Password to unlock the drive.
- Save the recovery file anywhere that you are comfortable. For Now, I will choose to save it to a file. Please don’t lose that key because it is the only way that you can recover and set a new password.
- For the next step, click on the Encrypt used Disk space only.
- Next, you have to choose New encryption mode and click.
- Finally, choose to start encrypting.
Step #3. Access the data of the Locked Virtual Drive
To view the locked virtual drive, double-click on open it, enter your password and access all your confidential data.
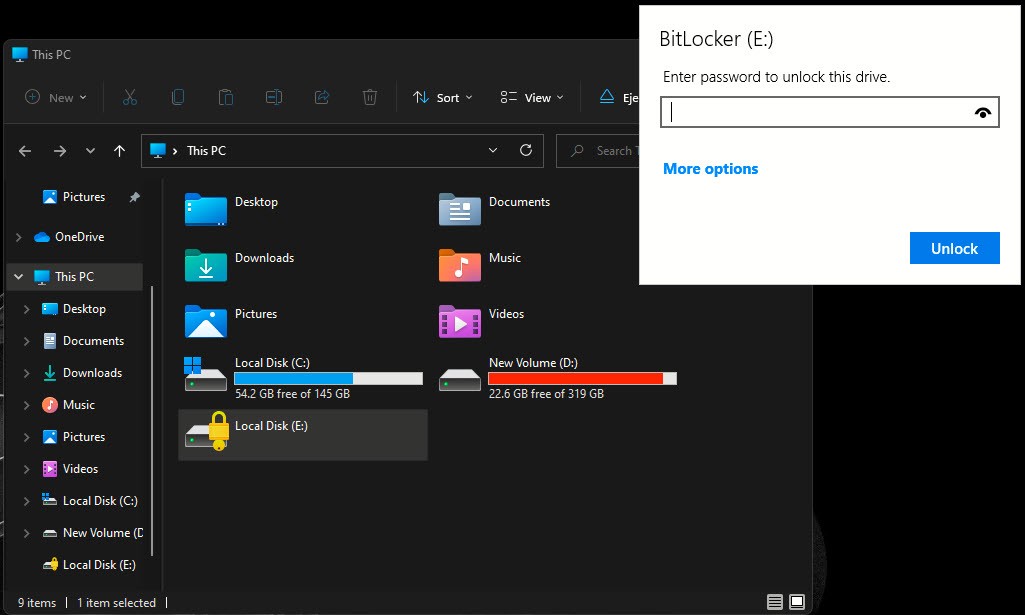
Enter your Password
Conclusion:
This is How you can Lock Folders on Windows 11 using BitLocker to protect your most confidential files. You can use third-party applications to lock your most important data however I still recommend using the virtual drive to protect your files.
Leave a Reply