Let me guide you through the steps of How to Install Windows 11 on M1 Mac, I hope you will enjoy it.
It is clear that Microsoft released Windows 11 in June 2021 with tons of new features and capabilities. Among the many features running Android apps directly in PC and direct storage for gaming are the features that users are really looking forward to. Yet Microsoft has not released the official version of either of these options, however there are methods that you can install Google Play store and run Android apps directly in Windows 11. At the same time Windows 11 has specific hardware requirements, and among them the TPM 2.0 is required. Besides the TPM 2.0 chip is only available from intel’s 8th gen processor forward.
Those are the points that you learned about the Windows 11, back in 2020, Apple released M1 chip MacBook series. The M1 processor is based on the ARM processor, and the usual Windows cannot be installed on it.
So here is a question; can you really install Windows 10 or Windows 11 on your M1 MacBook or no. I mean literally can you even use the Virtual machine or the boot camp assistant to test Windows 11 on M1 MacBook or no?
Well, the answer is simple, it is yes if you have the ARM edition of Windows 11 or Windows 10. At the same time Please remember that the bootcamp assistant is only available for the Intel processor, it is not available for the M1 chip, please forget about the dual boot.
Ways to Run or Install Windows 11 on M1 MacBook
One thing is very clear because M1 processor is based on the ARM architecture so there is no dual boot. However there is the option of virtualization that you can use. At the moment there are only two virtualization applications that can install Windows 11 on M1 MacBook. These two virtualization software’s are the parallels desktop 17 and the VMWare fusion for Apple silicon.
Points to remember:
- Unfortunately Oracle have not built an ARM edition of the VirtualBox, otherwise it would be cool because it is an open source software.
- Since parallels desktop 17 is supporting Windows 11, by default the TPM 2.0 is enable.
- With VMWare Fusion, you can also enable it.
In this post, I will guide you How to Install Windows 11 on M1 Mac using the parallels desktop 17.
Steps to Install Windows 11 on M1 Mac
In order to install windows 11 on M1 Mac, you have to follow the below steps.
1. Download Required files
Please get the below Virtualization software and the operating system.
- Download Parallels Desktop 17: At the moment parallels desktop 17 and the higher version is supporting Windows 11. So the previous version are not working. You have to visit the official site of parallels and get the parallels desktop 17. The bad news is that the parallels desktop 17 is not free, however you can get the 14 days trial. Upon the usage of the 14 days, if you are satisfied with the performance regarding the Windows 11, go ahead and purchase one of their plans.
- Download Windows 11 ARM Edition: In June 2021 when Microsoft released the Windows 11, they also released an ARM edition of Windows 11 too. However the Windows 11 ARM edition’s ISO is not available, but you can get the Windows 11 VHDX format. And Please remember that you must have a Microsoft insider preview account to get the VHDX format.
2. Install Parallels Desktop
After downloading the parallels desktop 17, you have to double click on the DMG file to begin the installation. The moment the installation wizard is opened you have to click on install parallels desktop.

Install Parallels Desktop 17
After clicking on the installation wizard, macOS is going to warn you about that the application that it is downloaded from the Internet. It is warning you that are you sure that you want to install this app on your Mac. You have to ignore the warning and keep going.
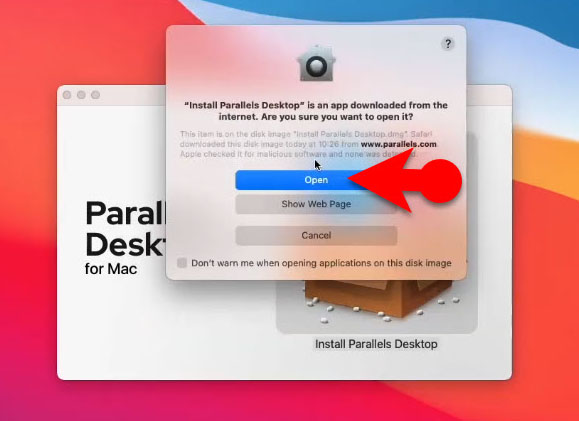
Install Install Parallels Desktop anyway
Following the above steps, the parallels desktop 17 requires permission to access the download directory.
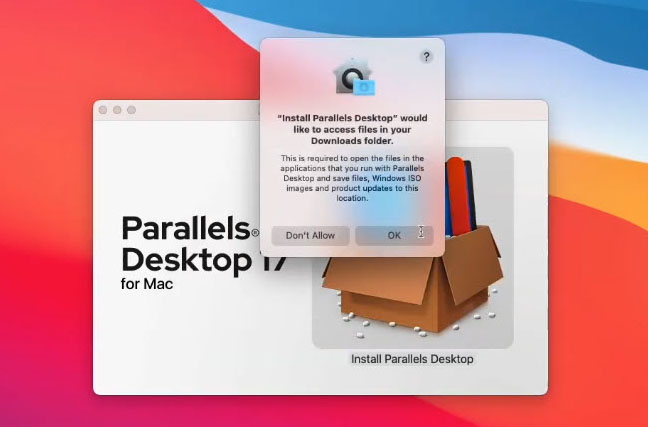
Allow Access to Downloads Folder
Wait until the parallels desktop downloads the required files from the cloud on your computer.
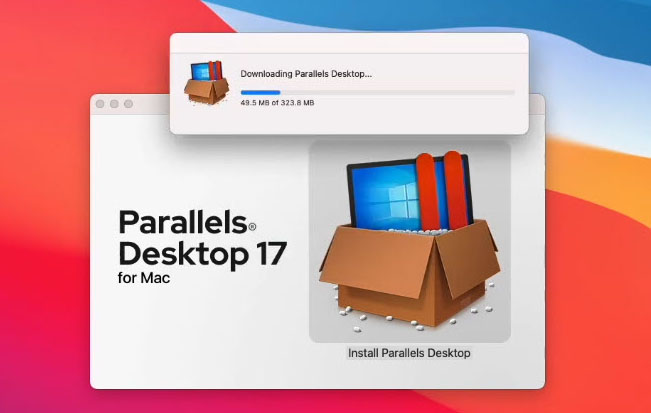
Wait Parallels Desktop to Download
Enter the credentials to allow the installation to be completed.
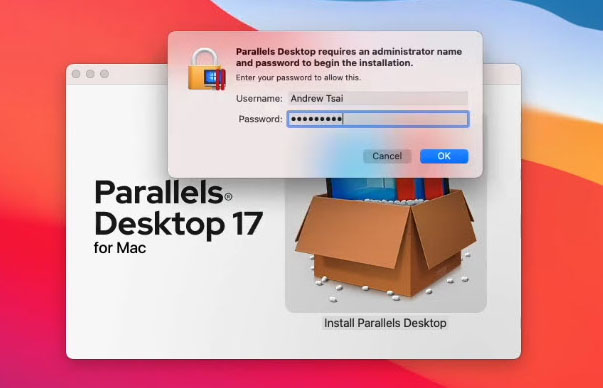
Insert your Credentials
Congratulations because the installation of parallels desktop 17 is completed. Upon the completion of the installation, Parallels desktop 17 will launch. Basically in this panel the application is explaining that you can’t install Windows X86 architecture on it. Also remember that you can only use the VHDX or an ISO of Windows 11 to test Windows 11 in your M1 MacBook.
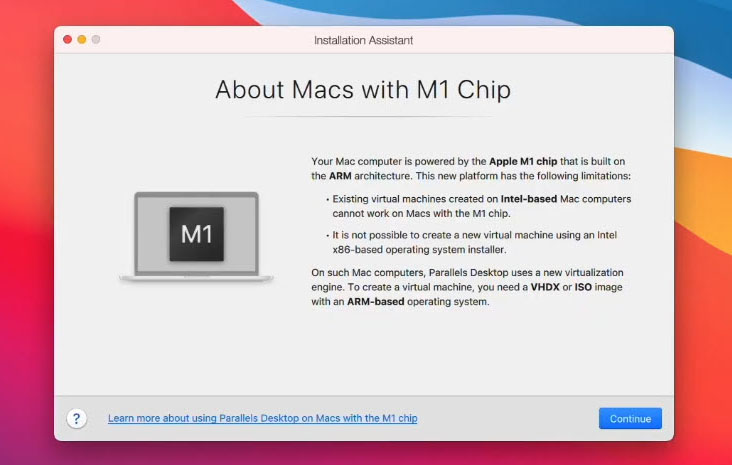
Installation Assistant
3. Create Windows 11 VM
After the installation of the Parallels Desktop 17 in your M1 Mac, we need to create a Virtual Machine for Windows 11. That is the whole plan but before you do anything, click continue.
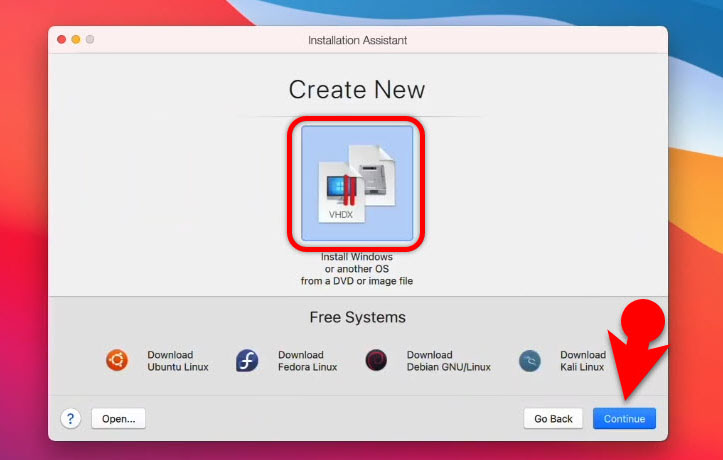
Create a New VM
If the Windows 11’s VHDX file or the ISO is located in the same directory that you allowed access earlier, it will detect the Windows 11 by default. If the Windows 11 VHDX file is located somewhere else, locate is manually.
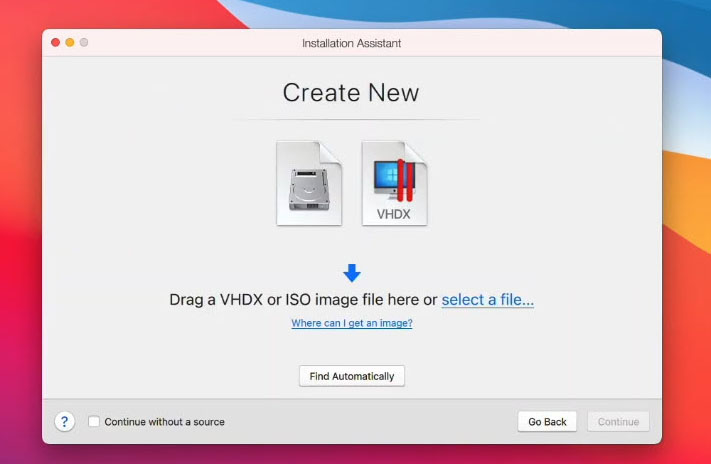
Locate the Windows 11 Image
Parallels Desktop 17 asks you what is the primary reason for using Windows 11, select an option and go to the next step.
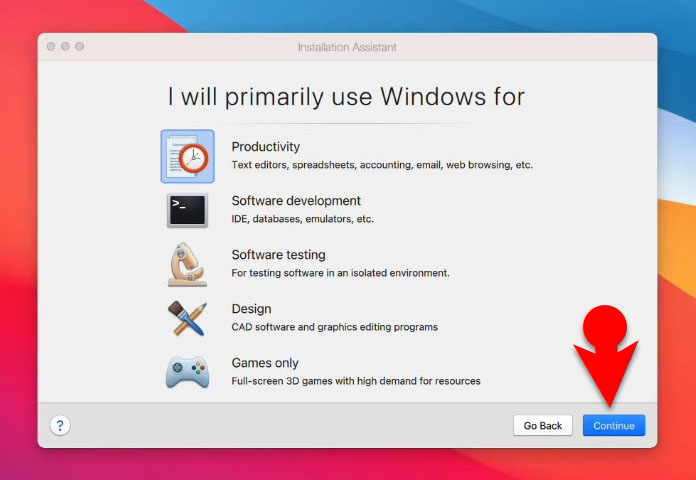
Reason for using your Windows 11
Give the Virtual Machine a Name, following that save it in a drive which has at least 11 GB of storage. However, mostly it depends what you inside the Windows 11 on Parallels Desktop.
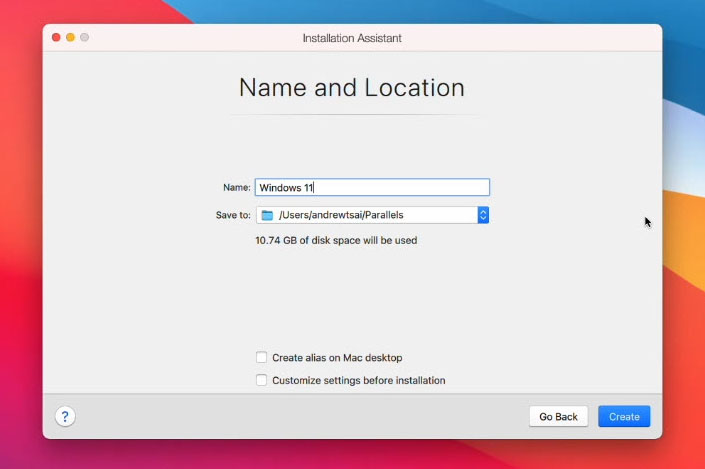
Name and Location
Following the above steps, Windows 11 will be installed instantly because of the VHDX file. However if it was an ISO image, you had to go through the usual steps to Install Windows 11. In any case, after the installation is completed, click continue.
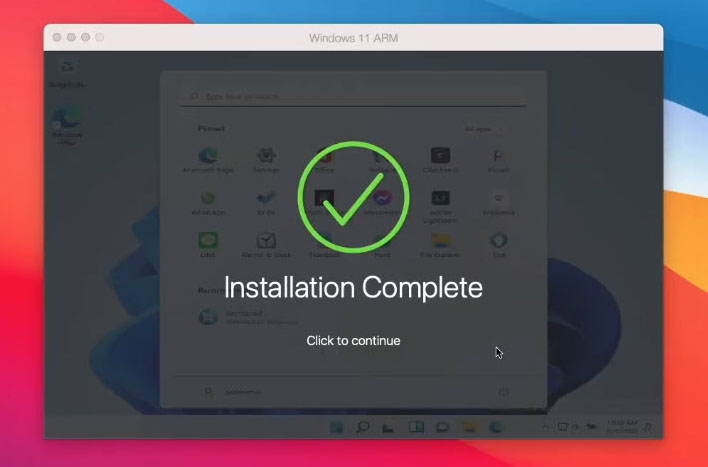
Installation Complete
Just like Windows 11, Parallels Desktop is going to download the drivers of Windows 11 by default. Once the drivers are downloaded and Installed, your PC will restart.
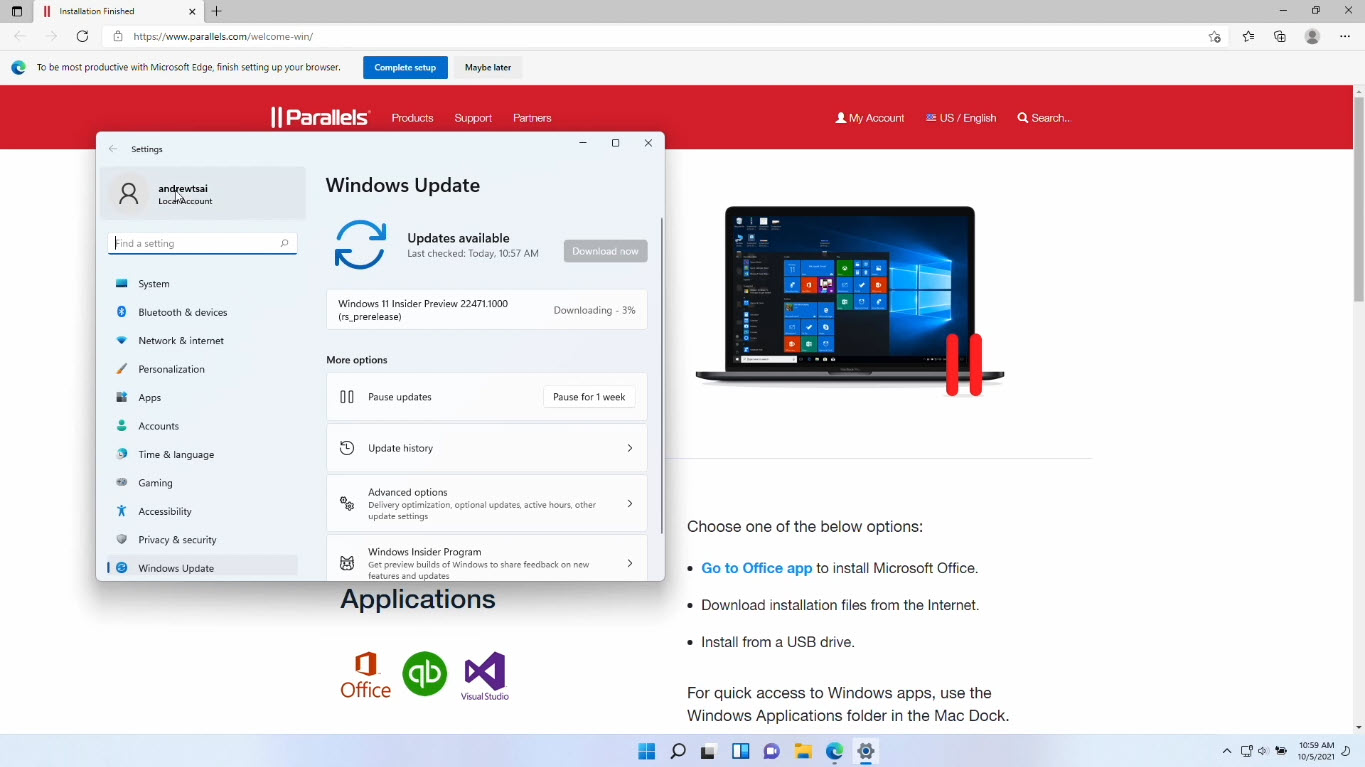
Parallel Desktop is downloading Windows is Drivers
4. Fix TPM 2.0 Issue in M1 Mac
Following the above steps, after installation of the Windows drivers, you will face the TPM 2.0 error in the Virtual Machine. So, it is a problem and you need to fix it. Just follow the below steps to fix the problem.
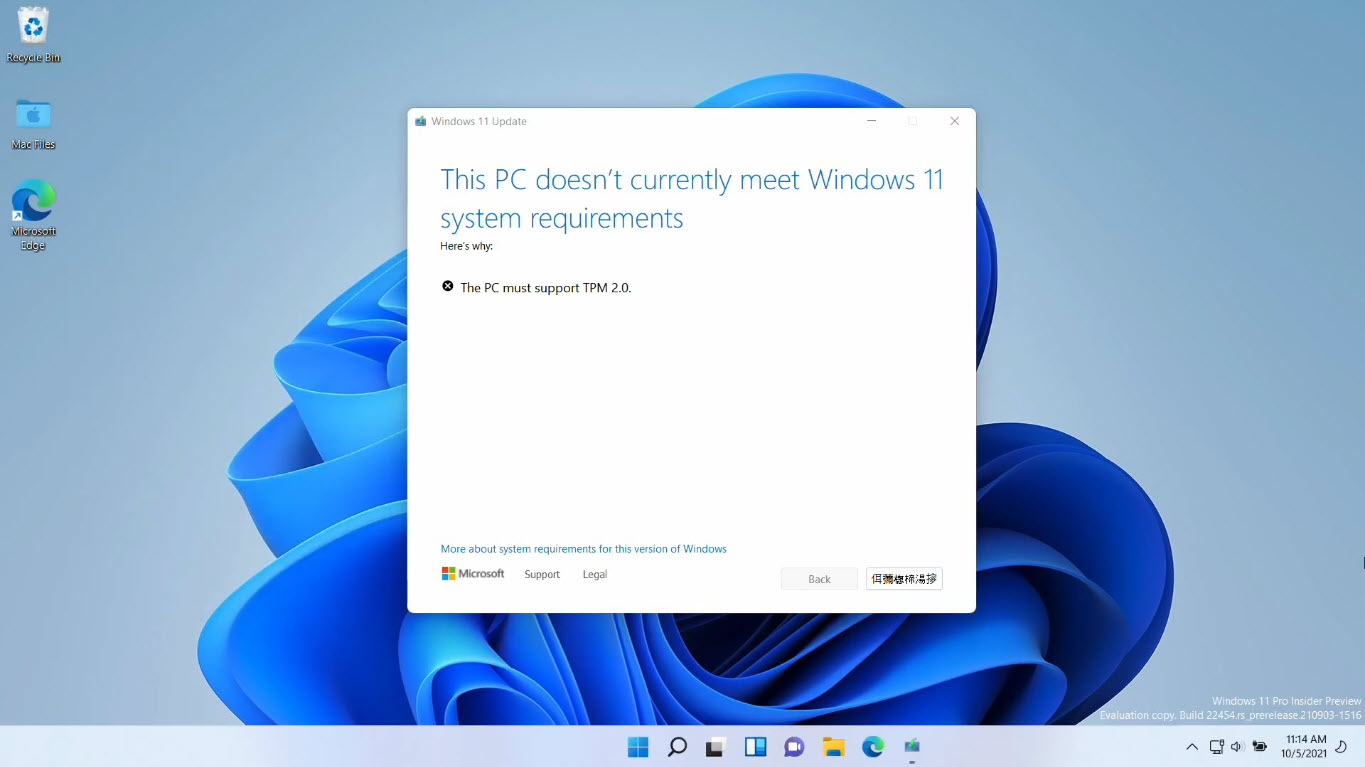
This PC is not supporting Windows 11
As I said earlier that by default the Parallels Desktop 17 and higher versions are supporting TPM 2.0, all we have to do is enable it. If you have looked into the purchase plans of the Parallels Desktop 17, than I can say that every version of it can support the TPM 2.0.
Steps to fix TPM 2.0 error:
To begin fixing the TPM 2.0 problem in M1 MacBook, first power off the Virtual Machine of Parallels Desktop. After that open the control center form the main menu.
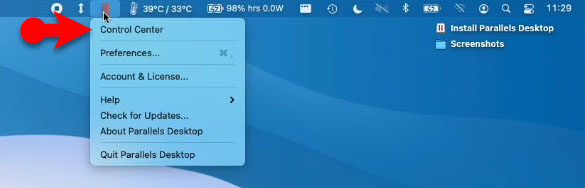
Open Parallel Desktop Control Center
Open the settings of the Virtual Machine inside the Parallels Desktop.
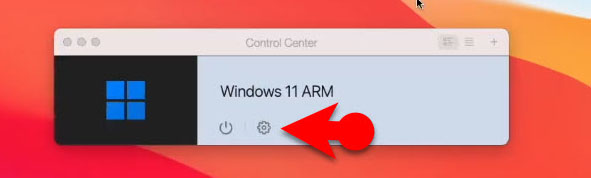
Open Settings
Following the above steps, go to the hardware tab.
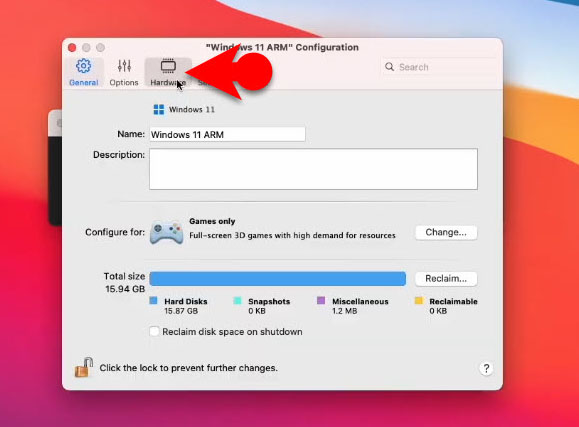
Go to the Hardware section
Their is no TPM Chip so you have to add it for the Windows 11, to do it, click on the plus icon at the bottom and select TPM Chip.
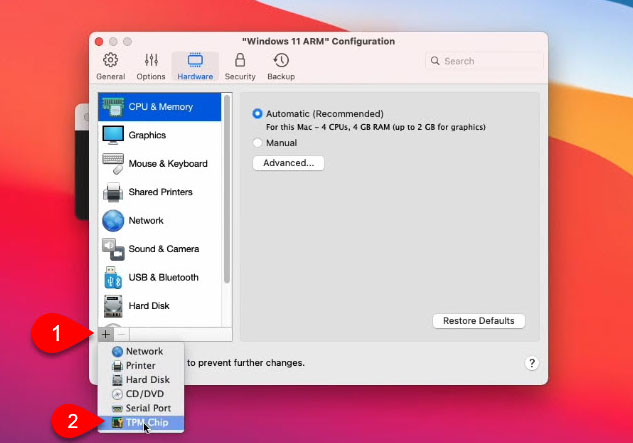
Add a New Hardware
Add the virtual TPM to the Virtual Machine.
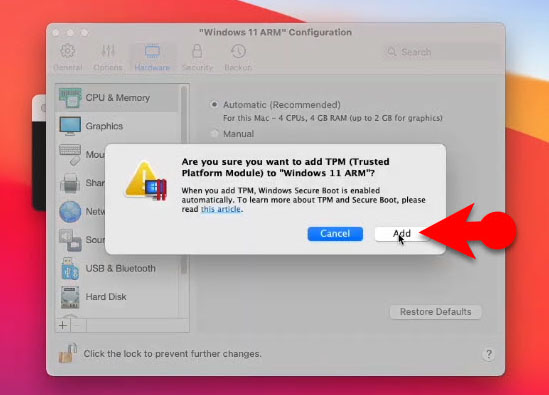
Add TPM Chip
Congratulations on successfully fixing the TPM 2.0 problem, now power on the virtual machine an enjoy using the operating system.
Conclusion:
In order to Install Windows 11 on M1 Mac, start downloading Parallels Desktop 17 and Windows 11 ARM version. Create a VM, configure the Windows drivers, fix the TPM 2.0 problem and finally enjoy using Windows 11 in your M1 Mac.
Leave a Reply