By far macOS is the best alternative for Windows, it is a bit complicated compared to windows but still it is good in terms of animation, design and features. Among those features it has a text based interface known as terminal, which can be used to create a bootable USB for any operating system, that includes the Windows 11 too. Despite having other issues, Terminal still cannot create Windows 11 bootable USB directly, for that you need to install a third party application from GitHub known as homebrew. And you have to split the Windows 11 into two files. Why, because macOS is not supporting the NTFS file system so we’ll have to use the old file system known as FAT32. So, let’s get started with How to Create Windows 11 Bootable USB in macOS? (Ventura, Monterey, Big Sur).
Steps to Create Windows 11 Bootable USB in macOS
In order to create a Windows 11 bootable USB in MacOS Ventura, macOS Monterey and older versions, you must follow each of the following steps one by one to create a successful USB installer of windows 11.
1. Download Windows 11 ISO Image
Since we are talking about creating a bootable USB for Windows 11 in macOS Ventura and macOS Monterey, the first step is to download the windows 11 ISO image. And you can get it for free from Microsoft official download page.
Open your browser and search for google.com, in the search box type download windows 11 ISO and press enter on the keyboard.
Open the first link which will take you to the download page of the windows 11 in Microsoft website.
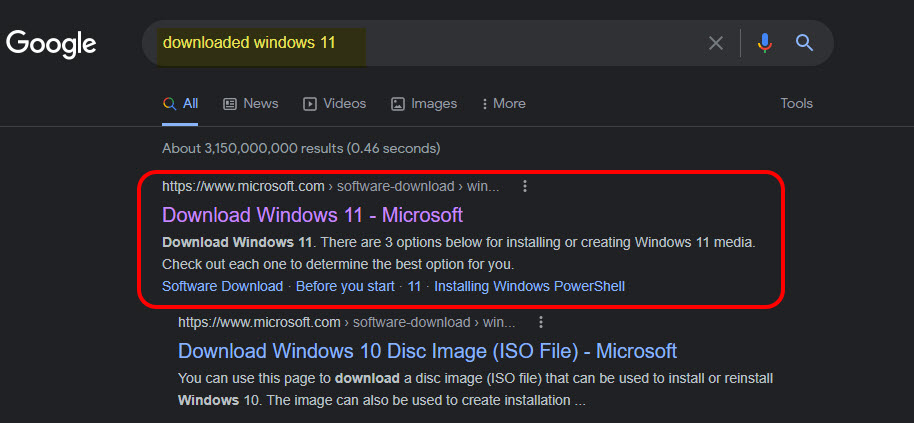
Search for Download Windows 11 ISO Image
There are a couple of methods that you can use to download the windows 11, but we are looking to download the ISO of windows 11. find it and go through the options and download the latest version directly from here.
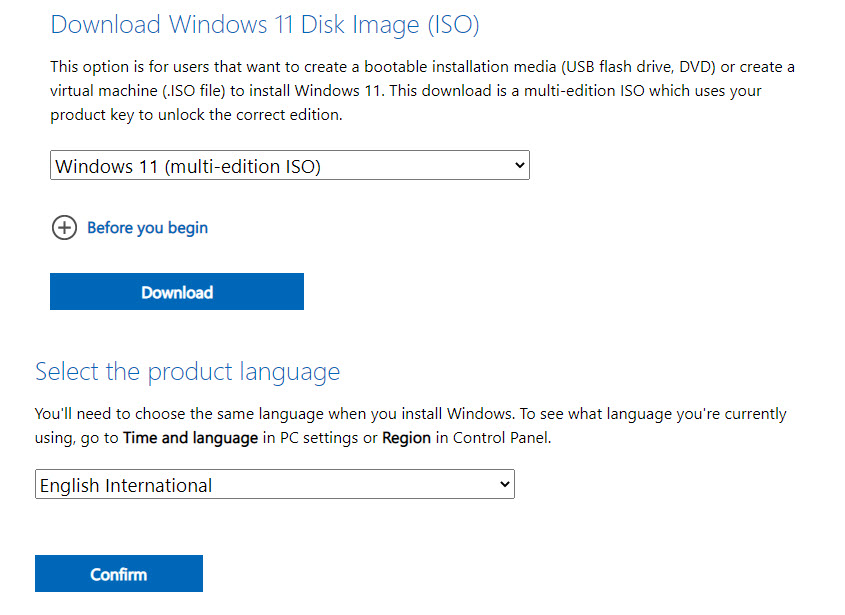
Download Windows 11 ISO Image
2. Purchase an 8 GB USB Pen Drive
An 8 GB of USB flash drive is required to create a bootable USB of Windows 11 if you are using the Windows 11 Multi edition. However if you are using only a single edition like pro, home, enterprise then 4 GB USB flash drive will do the job. But for this article since we are using the multi edition ISO of windows 11 you need to purchase at least an 8 GB USB flash drive.
Note: If it is possible please purchase a USB 3.0 because it will save a lot of time. It is not like I am saying that a USB 2.0 will not do the job, it will do but it will consume a lot of time just in the process of copying the ISO files from the ISO into the USB flash drive.
3. Erase the USB
For this step you have to insert the USB flash drive to the computer and then launch disk utility from the launchpad. Or you can simply use the spotlight and search for the Disk Utility and open it. If by default all the devices are not showing, click on view and choose show all devices. Now select the USB, click on erase and partition it with the following settings.
- Name: WINUSB
- Format: MS-DOS (FAT32)
- Scheme: Master Boot Drive
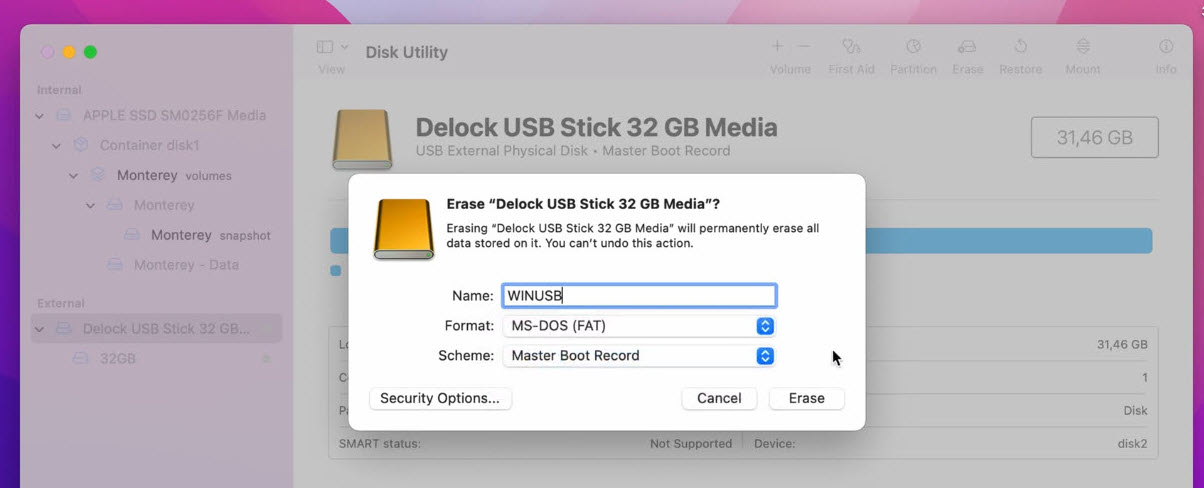
Partition the USB for Windows 11
4. Copy ISO Image
This is one of the most important part which is copying the ISO image from the downloaded ISO file of windows 11 to the USB flash drive. The first step for you is to mount the downloaded windows 11 ISO image for the stop once it is mounted a new directory will appear on the desktop named CCCOMA_X64FRE_EN-US_DV9. For you the name of directory may be different.
In any case, open it, select all the files except for the sources directory, then paste them into the USB Flash drive.
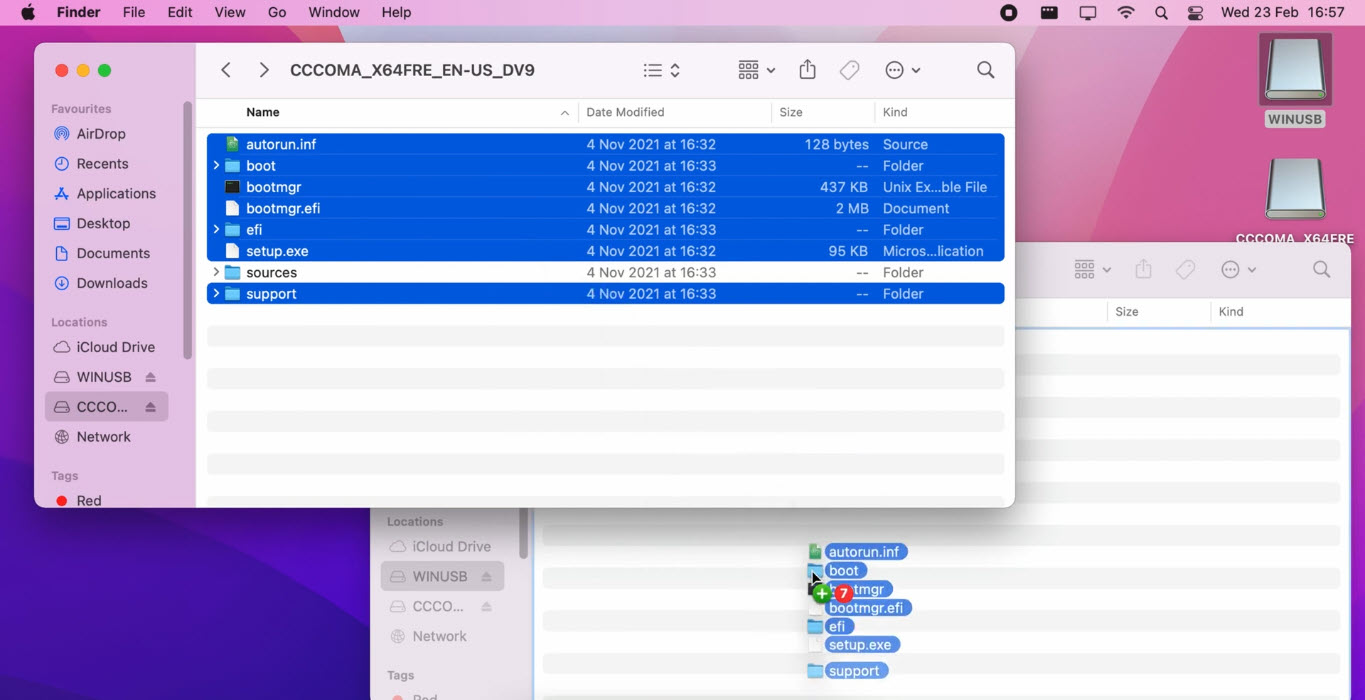
Copy Mounted Windows 11 Files into USB
After copying the files in the USB, create a New folder and name it sources.
After that go to the mounted windows 11 directory, open the source folder, copy all the files except for the Install.wim, then paste them into the source directory in the USB.
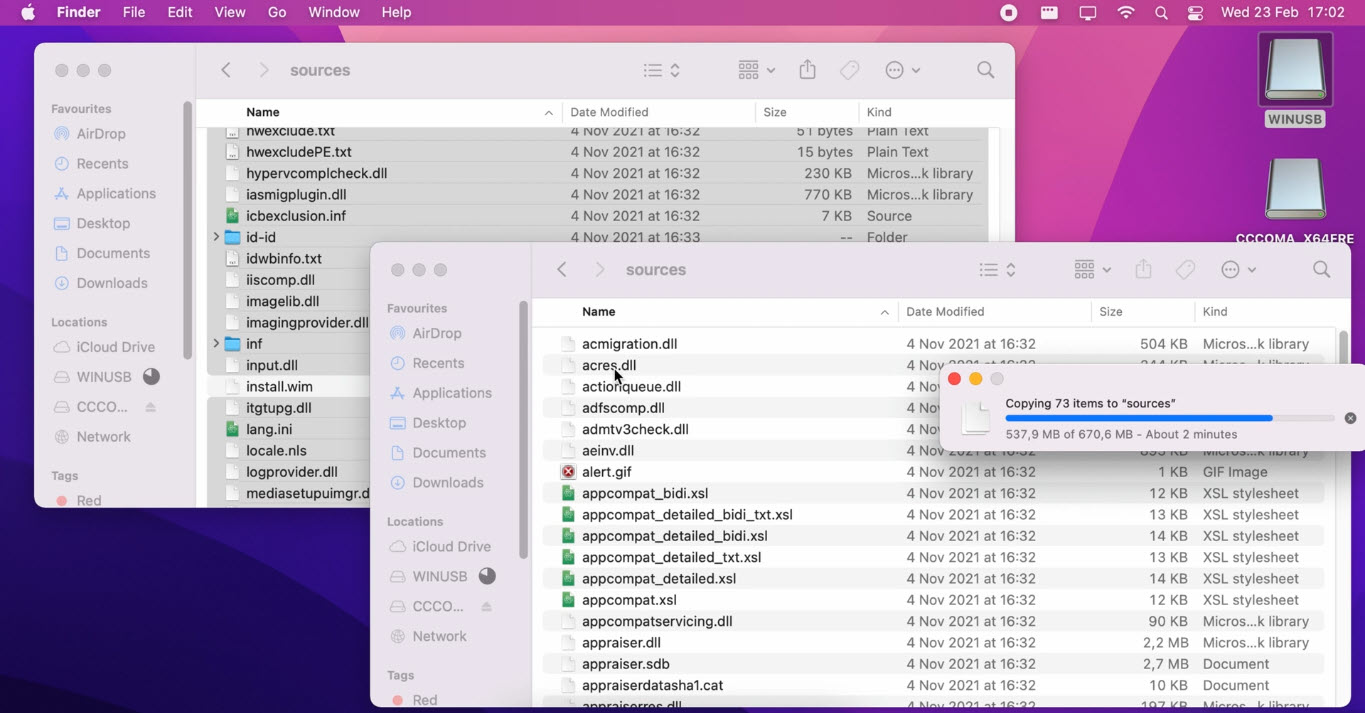
Copying Sources directory files
5. Split Install.wim and copy
Apparently all the Windows files are contained within the install.wim file and since the install.wim file is more than 4GB, you can’t copy it to the USB. Well, the FAT32 file is quite old and it cannot copy more than 4 GB files at once. So that’s why we have to split the install.wim file using the terminal and then we have to copy them into the sources directory on USB.
Unfortunately using the terminal can’t create a Windows 11 bootable USB alone, for that you have to install the homebrew tool. So execute the following command in the in the terminal and to install homebrew.
/bin/bash -c "$(curl -fsSL https://raw.githubusercontent.com/Homebrew/install/HEAD/install.sh)"
Install Homebrew
For the next step, we need to Install the Wimlib, so execute the below command.
brew install wimlibExecute the following command in the terminal to split the Install.wim.
wimlib-imagex split /Volumes/CCCOMA_X64FRE_EN-US_DV9/sources/install.wim /Volumes/WINUSB/sources/install.swm 4000
Splitting the Windows 11 Install.wim File
if you visit the sources directory into the USB flash drive, there you will see two install.swm file. (Install.wsm and Install2.swm)
6. Install Windows 11
Now everything is done. The next step for you is to attach the bootable USB to your computer> press the boot key of your PC> and boot windows 11 through the USB and start installing Windows 11 on your computer.
Conclusion:
If you’re a Windows user aside from CMD there are other third party applications such as Rufus that can be used to create a bootable USB for Windows and Linux easily. You may think, isn’t there any application in mac that can create a bootable USB for Windows just using a few simple clicks. Yes there is but they are not open source and mostly there are applications which cost monthly $29 and I’m not recommending to use them at all since this method is really simple and easy.
Leave a Reply