In this article, I’m going to show you how to create macOS Mojave Bootable USB installer via UniBeast. There are many ways to create bootable USB Installer for macOS Mojave or the previous versions of Mac Operating system. All those methods do actually the same task which makes a bootable USB installer. However, these methods have their own benefits that we can’t ignore it. Anyway, I’m not going to go into details so you’ve got the point.
Create macOS Mojave Bootable USB Installer
When you create macOS Mojave bootable USB Installer, it means you don’t need any DVD as a source of installing an operating system. You can install any operating system without DVD or CD. In this guide, I’ll only show the step by step create bootable USB installer for macOS Mojave or the later versions. Just let’s get started.
Related: Create macOS High Sierra Bootable USB installer
Related: How to Build a Hackintosh PC – macOS High Sierra
Requirements
- Mac Device (MacBook Pro/Air)
- macOS Mojave File
- UniBeast
- At least 8 USB
Step #1. First, you need to Download macOS Mojave from App Store then Download UniBeast.
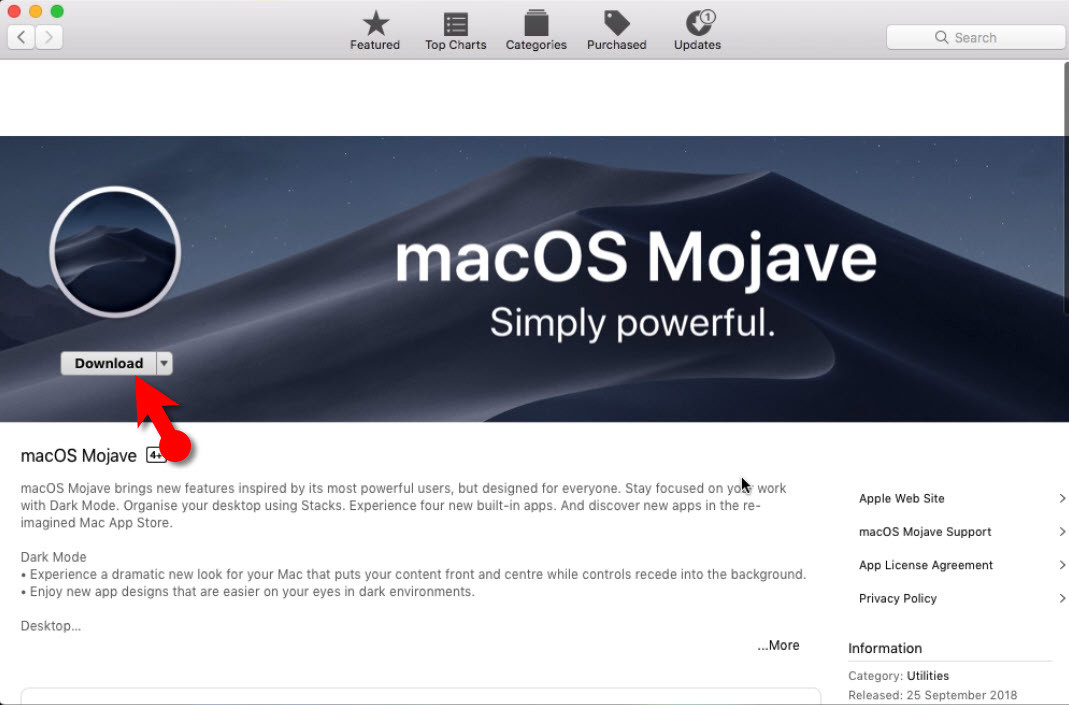
Download macOS Mojave 10.14
Tip: To Download UniBeast, you need to create an account if you don’t have.
Step #2. Press command+space to open spotlight then search Disk Utility and hit enter.
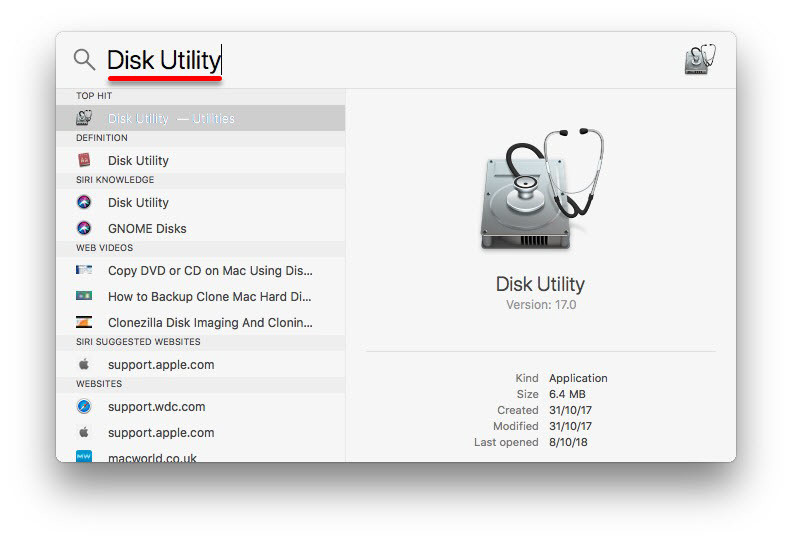
Disk Utility
Step #3. Select your USB installer then erase it with the following options.
- Name: USB
- Format: Mac OS Extended Journaled
- Scheme: GUID Partition Map
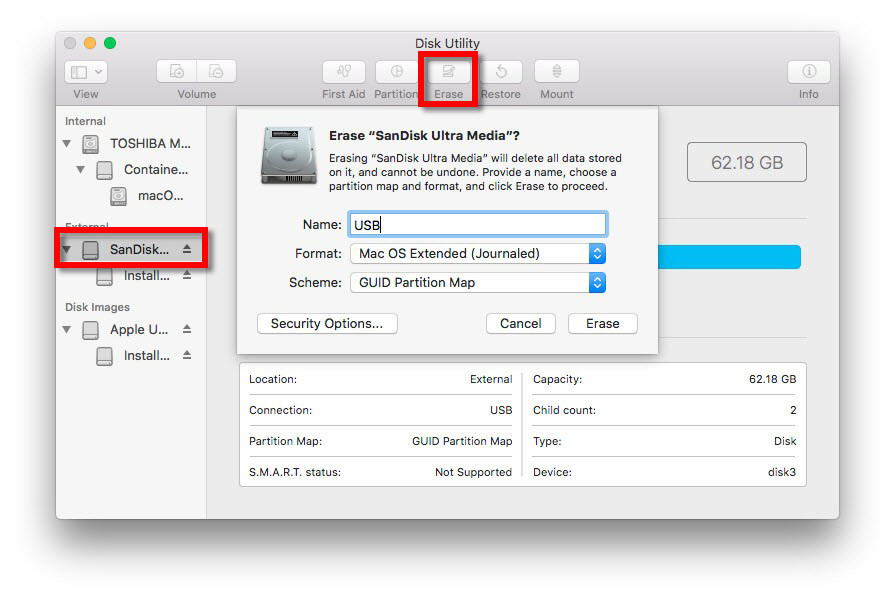
Erase USB Installer
Note: Make sure to backup your USB data if you have because everything in the USB will be deleted.
Step #4. Now open UniBeast App and click Continue for a couple of times.
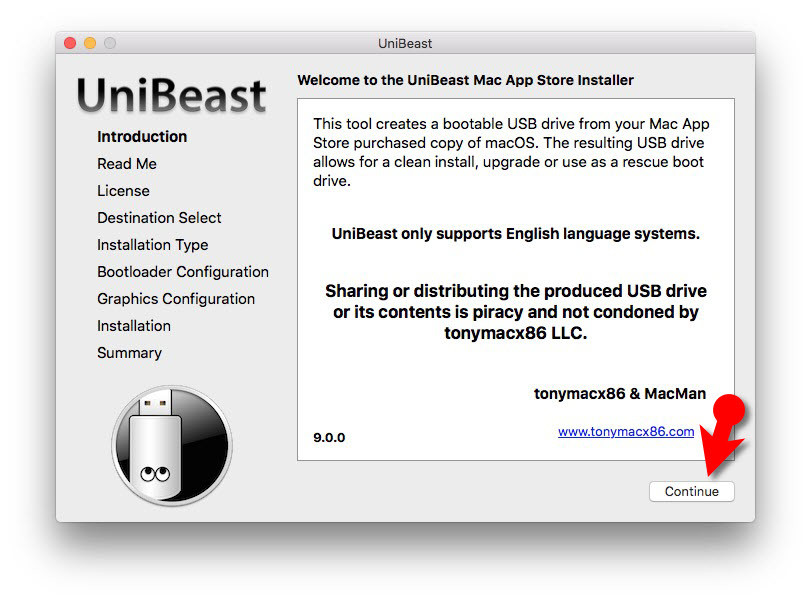
Open UniBeast for macOS Mojave
Step #5. Agree to terms and conditions.
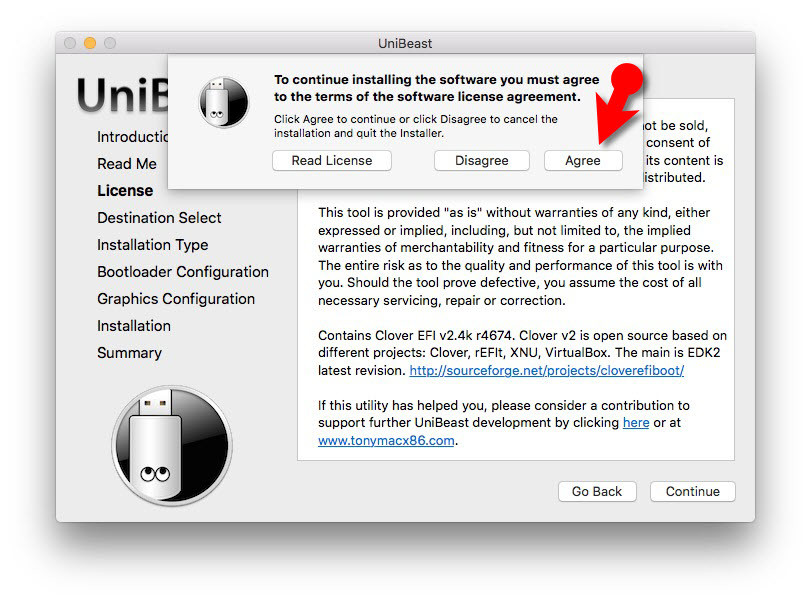
Agree to the Terms & Condition of UniBeast
Step #5. Select your USB Installer.
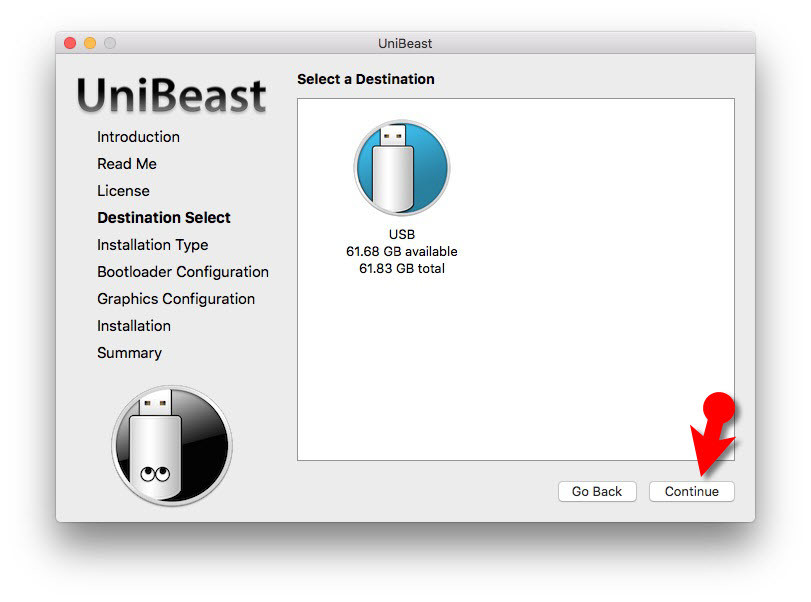
Select USB Thumb Drive
Step #6. Select macOS Mojave and click Continue.
Tip: If you didn’t see macOS Mojave on the “Select OS Installation” window then make sure macOS Mojave should be stored in Application folder on your Mac.
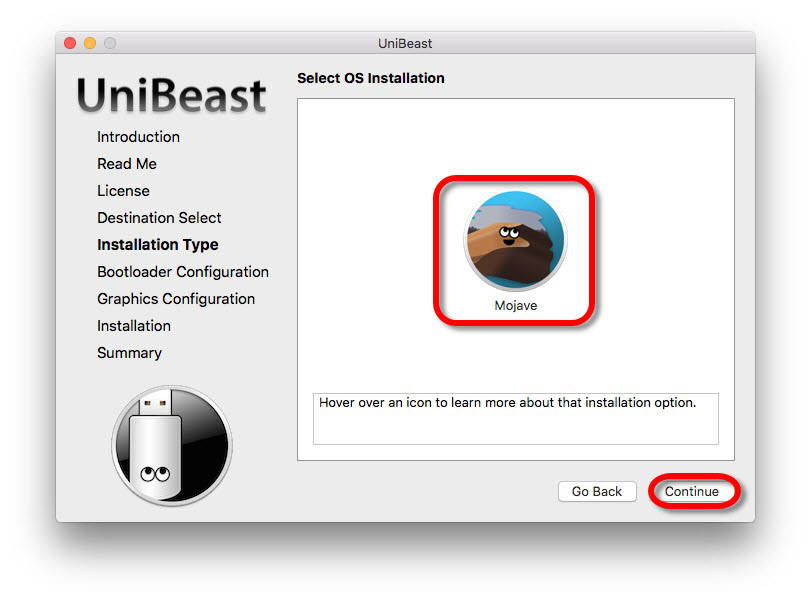
Select macOS Mojave
Step #7. As a bootloader configuration mode, it’s recommended to select UEFI Boot mode. However, if your device doesn’t support UEFI then select Legacy Boot mode.
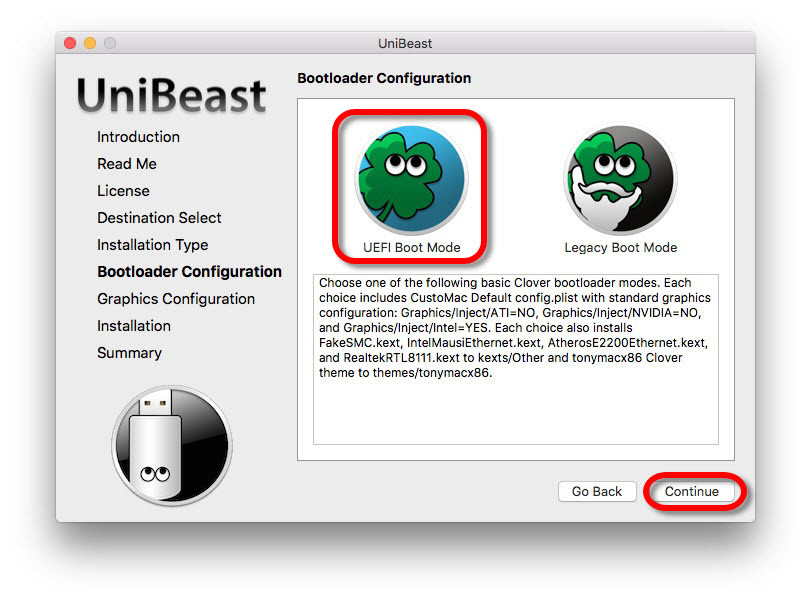
Select UEFI Boot Mode
Step #8. For older NVIDIA graphics card you can tick “Inject NVIDIA” otherwise, you don’t need to tick mark these two options.
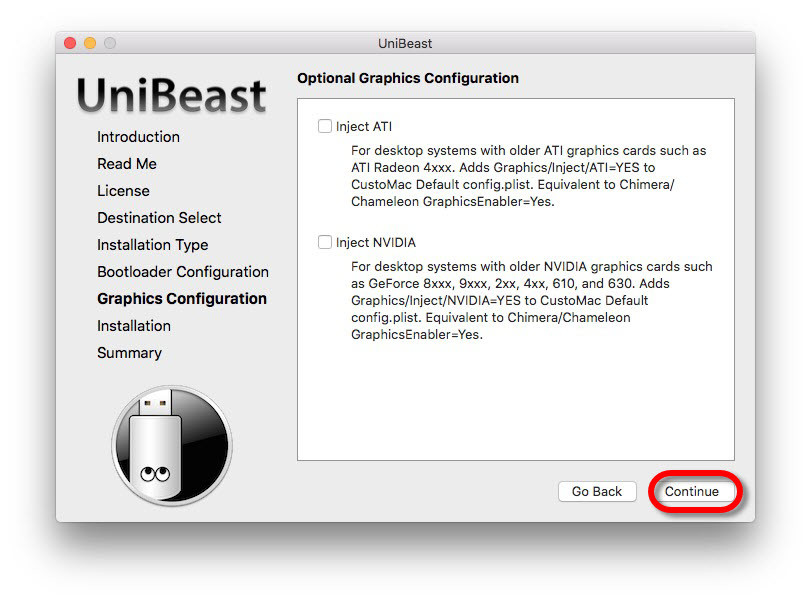
Select Graphic Card Configuration
Step #9. Verify the installation options and if you agree click Continue.
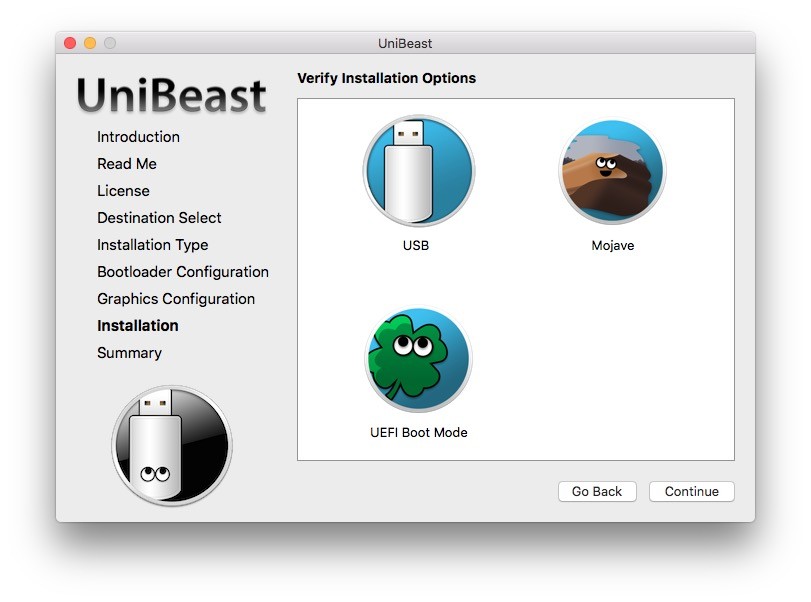
Verify Configuration Options
Step #10. Type the password for your username and click OK button.
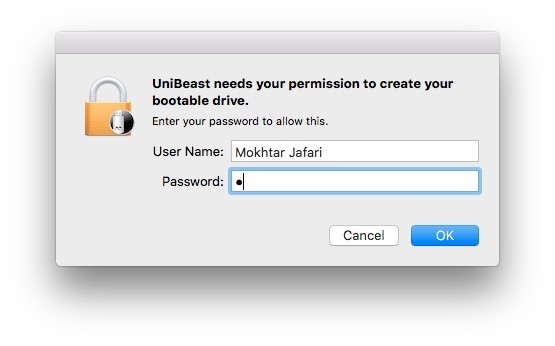
Enter Username & Password
Wait for a couple of minutes to complete the process. It’ll take some time so just be patient and wait. Also, it depends on your speed of your USB. Mostly USB 3.0 or 3.1 is much faster than USB 2.0.

Copying File to USB Flash Drive
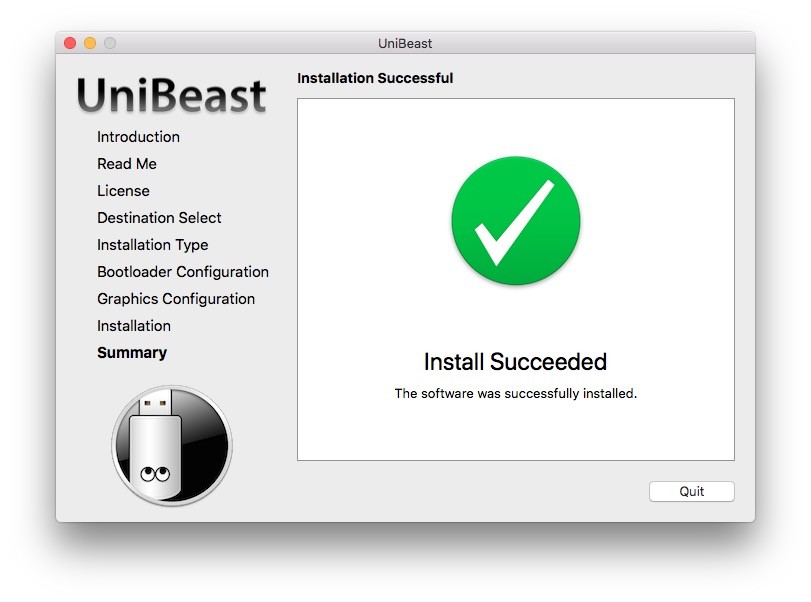
File Copied to USB Successfully
Conclusion
In this article, I’ve covered step by step guide to creating macOS Mojave Bootable USB Installer via UniBeast. I hope, you guys have enjoyed this guide and if you’ve got any problem. Feel free to share in the comment section down below.
Hello, thanks for the information in the article! I am trying to put a 2nd partition on my hard drive, and install windows on it. I am running El Capitan, which is a bit behind Mojave. My mac is a late 2008, and cannot go past El Capitan. It also will not allow me to use Boot Camp assistant to install Windows via USB, it must be from an optical drive. I just read your article on installing windows w/o Boot Camp, and it looks very promising for me, however this program (Unibeast) looks like it requires Mojave. Will it work with El Capitan? Thanks for your help!