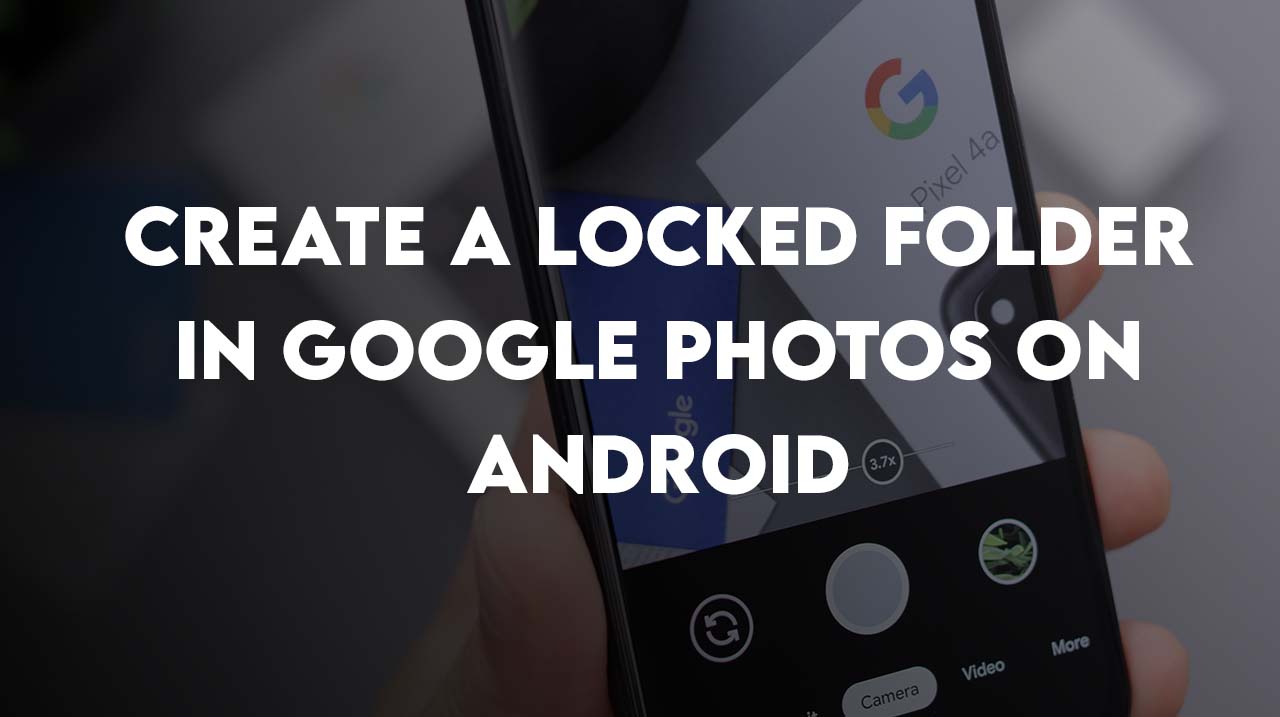
Did you that now you can create a locked folder in google photos on Android, the question is how? Why would you need it? consider it: from the past few years, millions of people have been affected by the covid-19 after that scientist made the vaccine for it, and to show that you have done the vaccination there was a document provided as proof of it. You might not keep that with every time (to keep it safe). But instead of keeping it with you everywhere, you will take a picture of it as a digital copy of it.
However, you might not like anyone to have the access to your photos or videos. For such images, you could set up a locked folder in Google photos on Android. And keep that image away for safekeeping. Once you do this, the only way you could see the image once you locked it in the locker folder will be to use the authentication (such as fingerprint, Facial Recognition, Pin or Password of your screen).
There is of course a caveat to using a locked folder. Any photo or video stored in the locked folder is not backed up to your cloud account. So, choose the pictures/videos you want to lock up in that directory.
I am going to tell you how to set up a locked folder in Google photos on Android. I am using Samsung A11 to show you the process of how to create a locked folder in google photos on Android. If you want to know how to create a locked folder in Google photos on Android? then follow the steps below to know.
How to create a Locked Folder in Google photos on Android?
- Go to google photos and open it.
- Go to the library and click on the “Utilities” directory in the top right corner.
- After accessing the utilities directory, you need to Scroll down until you find the locked folder, following that tap on it.
Note: From this point on, Android does not allow taking screenshots (because this is considered a sensitive area) so, follow the instruction, and no need to worry you can do this even without any image.
- On the next screen, tap setup at the bottom right corner of the display. You will be asked to authenticate, using your default method to log in into your Phone.
- Following the authentication process, you will be greeted with a window that says nothing here. You need to tap on “Move item” to open the locked file selector. It means you can select any of the desired photos or videos that needs protection from others. For, go on and choose the medias that needs to be in the locked folder on Google Photos.
- Following that, again you have to authenticate yourself and this time Android is giving you one last warning.
Warnings indicating:
- Related photos (including copies and edited versions) will not be moved.
- Items will be deleted if you uninstalled the google photos.
- Tap continue and finally the selected photo and videos are locked in Google Photos.
Accessing the Locked folder
Now that you have created the locked folder and added photos and videos in it, to access it, tap utilities, and scroll down until you find the locked folder option. Tap on the Locked folder and once authenticate yourself, you will be shown the photos or videos that you have added to the locked folder. Use this feature wisely and it will keep prying eyes away from the photos or videos you want to keep away from other people.
Note: Anyone can open the locked folder if he/she has access to your phone pin or password.
This feature will help you keep your photos like credit cards, vaccination cards, driving licenses, and other documents. The extra protection will prevent someone from looking upon any of your information you don’t want anyone to see.
Conclusion:
In this article, I taught you How to create a Locked Folder in Google Photos on Android. If you want to keep your photos safe from prying eyes then I highly you use this feature to keep them safe from people you want them to use.
Leave a Reply