In this article, I am going to show you how to add self-hosted email account on iOS devices. If you are an internet marketer or a blogger then you must register a custom domain and by the domain name that you’re registered such as wikigain.com you can register a self-hosted email account for your business. Self-hosted email that’s not Gmail, Yahoo, Hotmail, AOL etc. If you registered a custom domain name then you might be set up, at least, one email address for yourself at that domain. So in the article, you will learn how to add self-hosted email account on iOS devices.
Add Self-Hosted Email Account iOS Devices
Well, It’s easy to add email accounts, such as iCloud, Google, Yahoo, AOL or Outlook.com on iOS device but if you’re new to it then read the article how to add an email account on iOS devices. read clearly. If you have ever added an email account o iOS devices then adding a self-hosted email account on iOS devices is somehow the same but probably there are some differences. Follow the article to do this.
Note: These settings will work on your iPhone, iPod Touch or iPad. While the screenshots are from an iPhone running iOS the same settings should work on any iOS devices.
Step #1. Go to Settings on your device then scroll down to Mail, Contacts, Calendars and tap on it.

Mail, Contacts, Calendars
Step #2. Tap on Add Account.
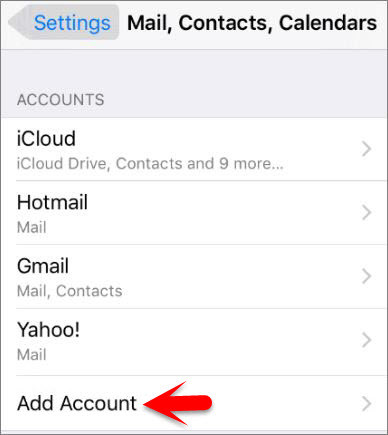
Add Account
Step #3. Now from here tap on other to add other hosted email accounts on iOS devices.
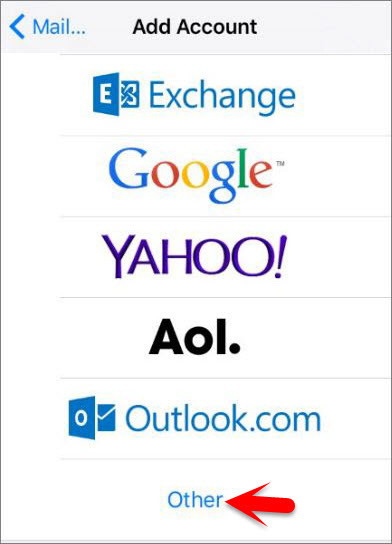
Other
Step #4. Tap on Add Mail Account from MAIL section.

Add Mail Account
Step #5. Type your Name, Email, Password and Description of your hosted account and tap on Next.
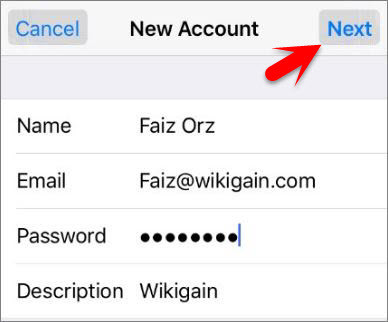
New Account
Step #6. Now on this step, you have to select your hosted type, select whether you want to set up your email account using IMAP or POP. We recommend using IMAP, which is in the default selection.
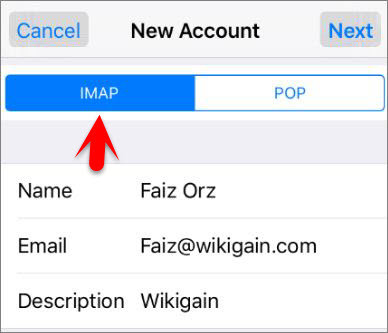
IMAP
Step #7. Type your Host Name, User Name, and Password in the “Incoming Mail Server” section. Then, enter the same information for the “Outgoing Mail Server” section. remember username and password are optional for outgoing mail server. So finally, check with the company hosting your domain and email accounts for the host names for the incoming and outgoing mail servers and tap on Next.
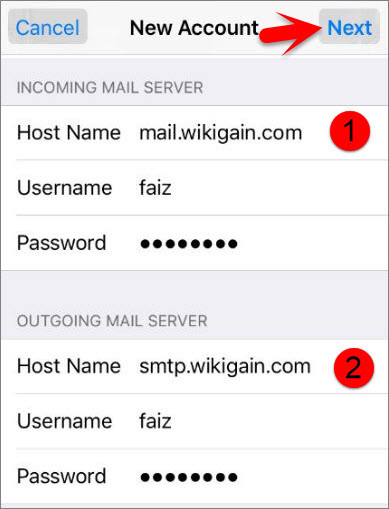
Mail Servers
Step #8. Now on the “IMAP” dialog box, choose for what your account can sync and tap on Save.
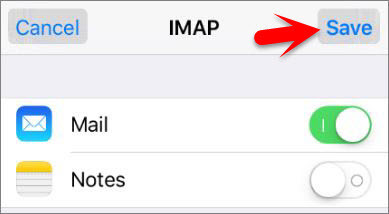
What to Sync
If you entered your account information correctly then you account is ready to use, if you fault something then read the article below to change the settings.
How to change Settings for Hosted Email Accounts
Step #1. Go to Settings > Mail, Contacts, Calendars > then from the “Accounts” section tap on the self-hosted account that wants to change the settings.

Accounts
Step #2. Under “IMAP”, tap on Account.

IMAP Account
Step #3. At the bottom of the “Account” dialog page, tap on Advanced.
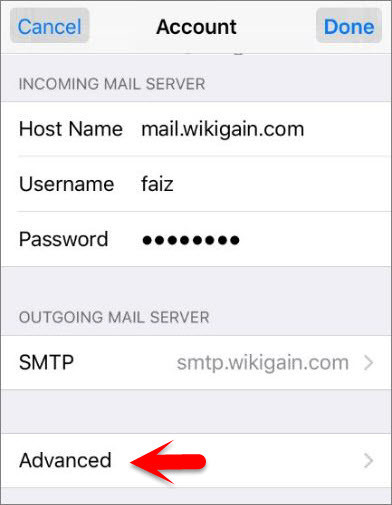
Advanced
Step #4. Now from here make your changes that you want, Such as delete messages tap on Remove from deleted messages section.

Deleted Messages
Step #5. Now make your section for choose to Mail remove the deleted messages After one day, After one week, or After one month or If you want to leave messages on the server permanently, select Never. Your messages will remain on all your devices, email clients, and on the server.
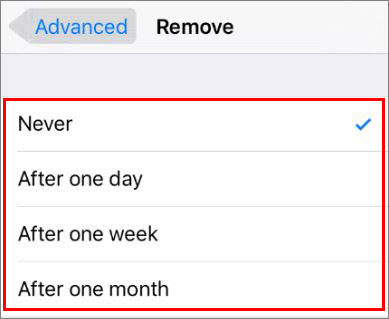
Remove Message After…
Step #6. Now after you made you changes then tap on Account from the upper-left corner of the dialog page.
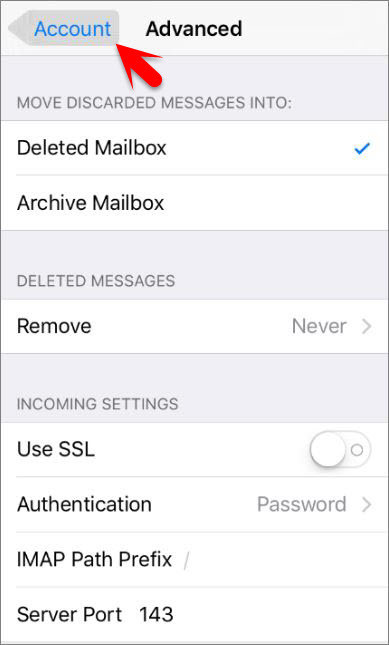
Tap Account to Go back
Step #7. To save and close it, tap on Done.
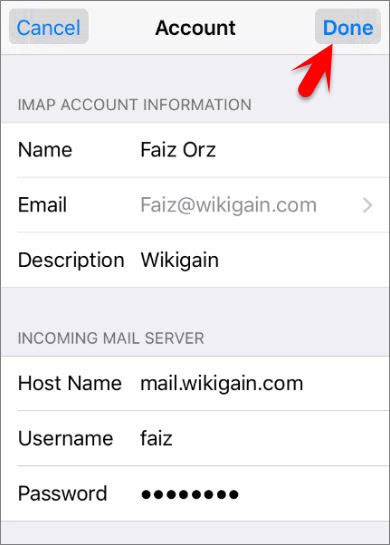
Save Changes
How to Use Self Hosted Email Accounts
Step #1. Return to home and tap on Mail app from the home screen on your device.
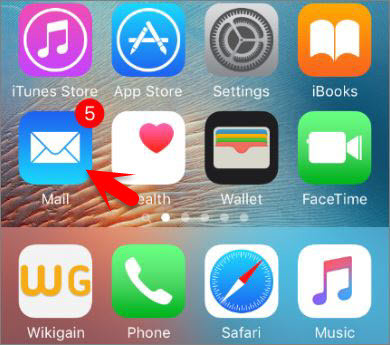
Mail App
Step #2. On the MailBoxes section tap on your self-hosted account to send and receive mail messages.
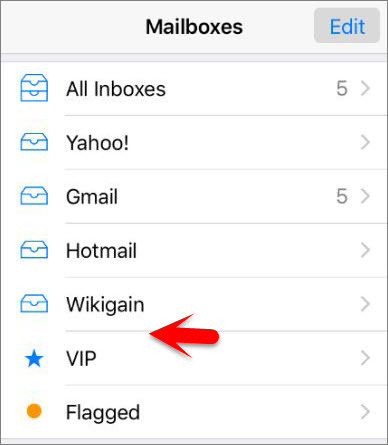
Mailboxes
Ste0 #3. If you received a mail message them you can find that here and if you want to send emails to other then do like the shot below to sent emails.
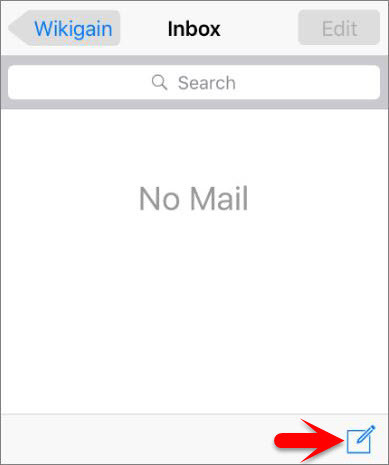
No Mail
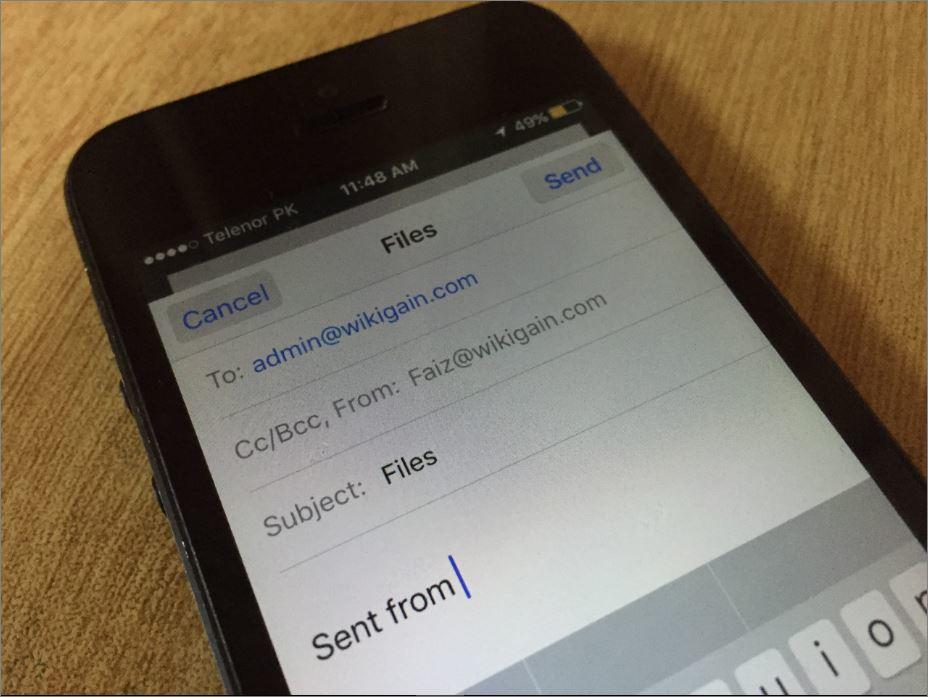
Step #4. Now from here you can see that you can send emails from your self-hosted account to another hosted email account or to mail account like Gmail, yahoo, outlook and more.
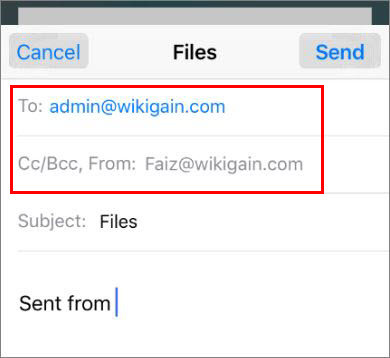
Sent Mail
This was all about, how to add self-hosted email account on iOS Devices. If you faced any problem tell us below by comment, Feel free to tell us. we’re waiting for your suggestion.
Leave a Reply