In this article, You are going to learn that. How to set page margins and change page orientation in Microsoft word 2016. In Word, you can customize or choose margins which are ready. Word automatically sets a one-inch page margin around each page. You also can set page margin for facing pages, and allow extra margin space to allow for document cover. And change how to measure page margins. To rotate a page to landscape or portrait orientation in the word. You can choose either portrait (vertical) or landscape (horizontal) orientation for all or part of your document.
Set Page Margins in Page Setup on Layout tab
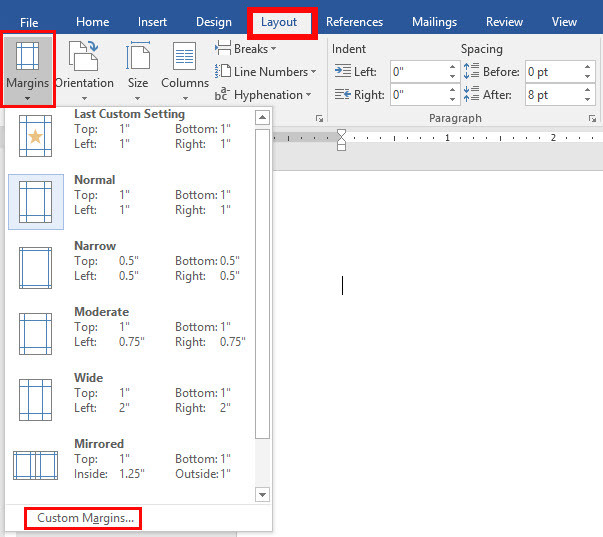
step 1#. an Introduction of Layout Tab: Layout tab is the fourth tab in Microsoft word. Which includes three groups of icons and at all through to this tab you can set some settings and bring some changes to your pages. These changes may be page margins, page orientation, size and etc…. Now in page settings group, you have some options, one of them is page margins. To set page margin, click on and you find some predefined margins. That you can directly apply them but if you don’t entrust you can customize and change the degree
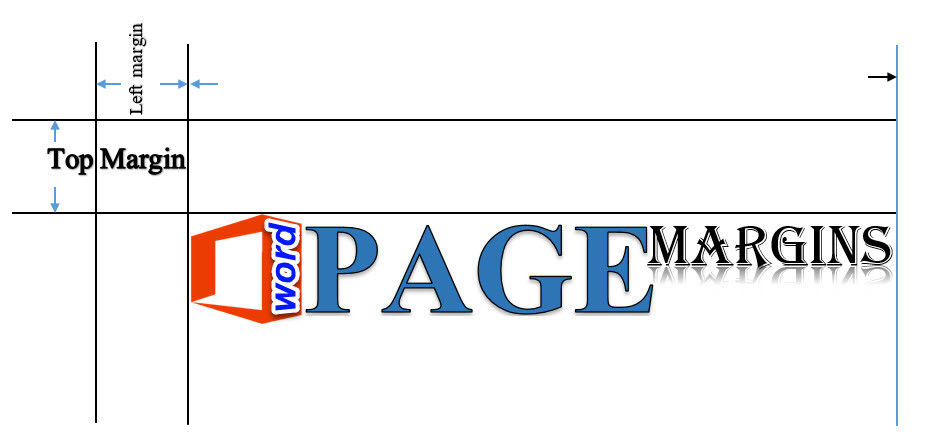
Page Margins
Customize Margins to Set a New One
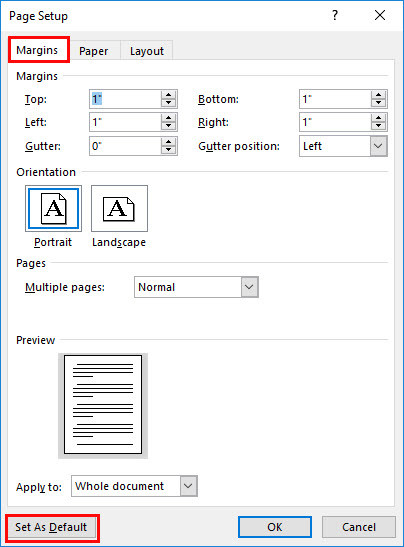
Step 2#. Customize Margins: Now in this step, you can set or customize your own margins. To set a new margin just click on Custom Margins… that is the bottom of the new window, On the new window, you have many options for setting a new margin on your page. Your new window is Page setup, this option includes three others options Margins, Paper, and layout. Margins option includes settings to determine the distance of text from the top, bottom, left, right, gutter and gutter position of your page. And here you can change page orientation and use multiple pages in your document.
Custom Margins
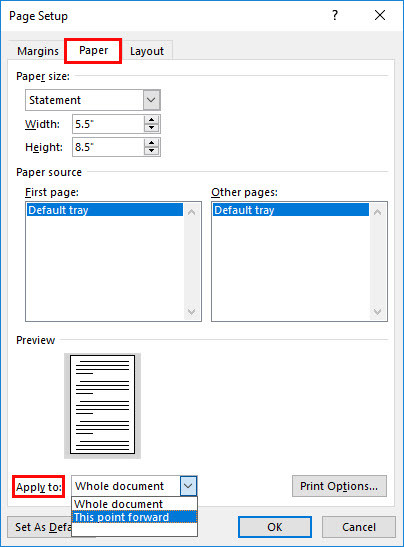
But through to Paper window you the options which can help you to set the size of your paper and source of your paper. Here you can easily see the deferent on the bottom of your page. This setting may apply to the whole document or this point forward and set this setting as a default.
Custom Paper
The Layout tab is the third option which can determine the section start of the margins and the section direction of the page. here also you can add headers and footers on your page. Then the alignment of your page, either its vertical alignment or horizontal alignment. But the bottom of your window you have an option (Line Numbers). Through to this option, you can add line numbering for each page, determine the start at then from text and count by. For each of them you can, add line number.
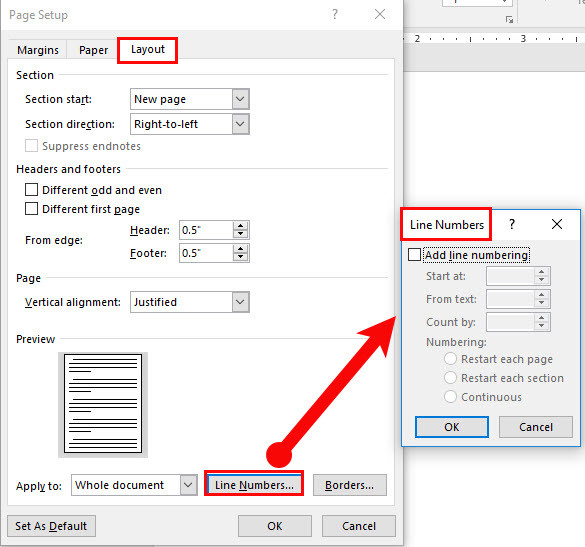
Layout Option
Change Page Orientation Second Way
Step 4#. This option is the easy one to change the orientation of your page then the first way. First way which I’ve already told you that from Custom margins, which you can select the portrait or landscape. It depends on your document that which one is better for that.
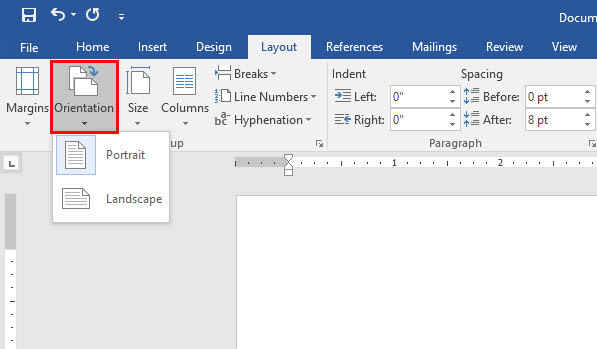
Page Orientation
Conclusion
So these all are about, that how to set page margins and how to change page orientation in Microsoft word 2016. Setting this options and changing them help you to have a good view of your document. But it depends on the type of your document also. Thanks for being with us.
Leave a Reply