There are several virtual machines available that you can use to install windows 11 and test 8 before using the final version. And among them, hyper V is the Microsoft built-in virtual machine where you can use it to test the specifically mentioned operating system. And windows 11 is among those operating systems that can support to install. So without wasting any time let’s begin How to install Windows 11 on Hyper-V Virtual machine?
Steps to install Windows 11 on Hyper-V
- Step #1. Enable Hyper-V
- Step #2. Download Windows 11 ISO Image
- Step #3. Create a New Virtual Machine
- Step #4. Install Windows 11 on Hyper-V
Step #1. Enable Hyper-V
hyper V is Microsoft’s official virtualization software and it is available on any Windows operating system that you are using. If you are looking in the start menu or inside the administrator tools it is not there because you’ll have to manually enable it from the windows features. I have written a step-by-step article where it has guided you on how to enable hyper V in windows 11 so click on the blue link to learn.
Step #2. Download Windows 11 ISO Image
At the moment Microsoft has released Windows 11 in beta version and you can test it by upgrading your Windows 10 to windows 11 using an insider account. Don’t worry, because soon enough Microsoft is going to provide the windows 11 insider preview ISO image on their main website known as a software download.
Step #3. Create a New Virtual Machine in Hyper-V
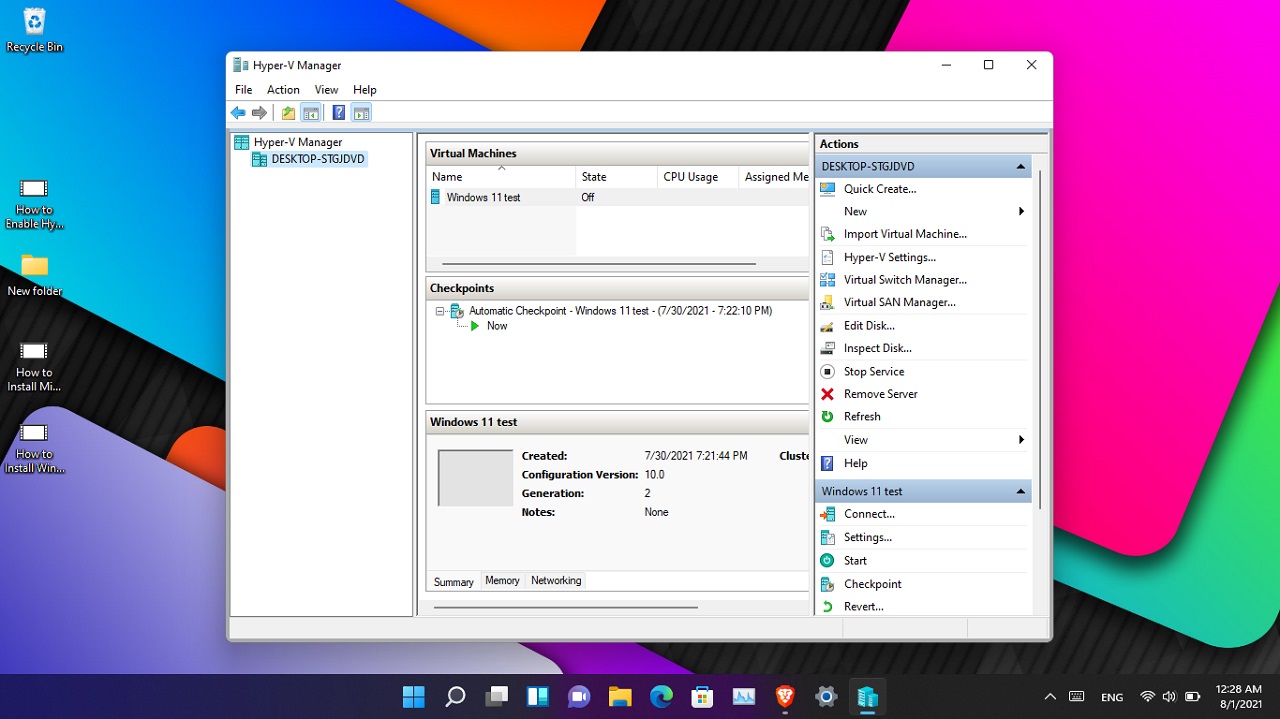
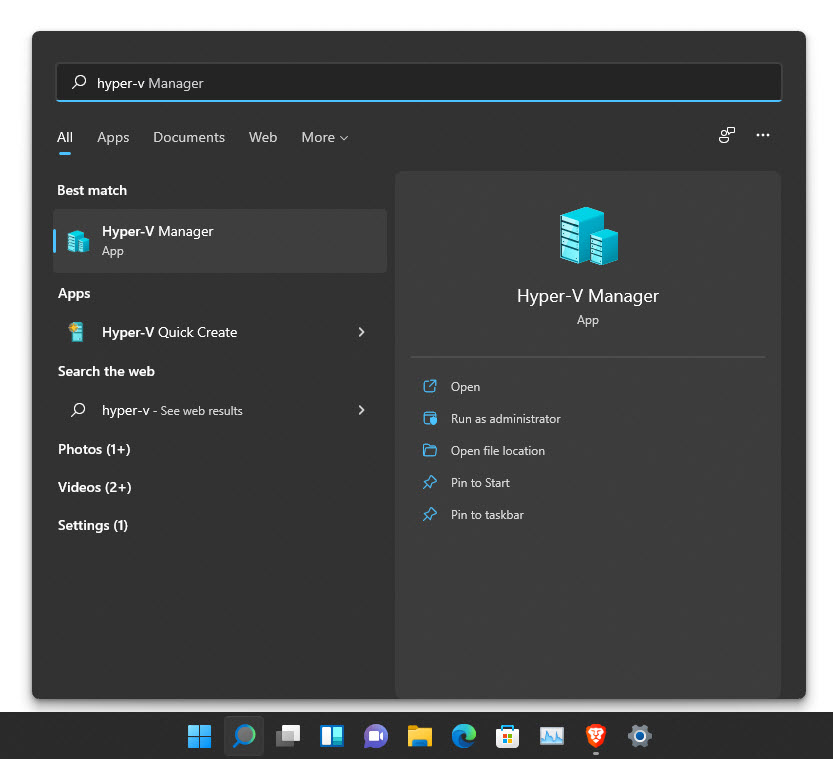
our main task of installing windows 11 in hyper V, begins by creating a new virtual machine. Once you have enabled the Hyper-V in Windows 11 using the windows feature, search for hyper V in the start menu and launch it.
Launch Hyper-V
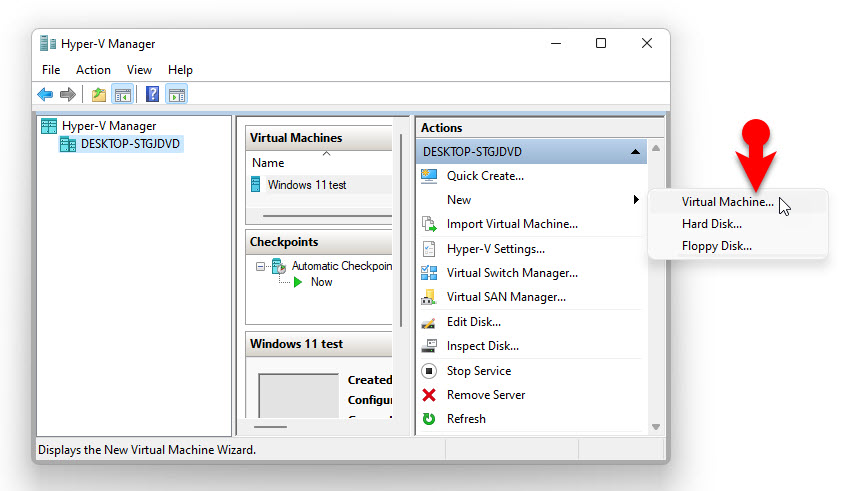
The moment you launch hyper V, expand the hyper V manager, and then you will see your computer’s name. Then under the actions panel, you will see a new option by the name of new, click on it and then you will see the option of virtual machine click on it and a dialog box will appear for you.
Create a New Virtual Machine in Hyper-V
Here you are on a page known as before you begin so simply click next and move to the next step.
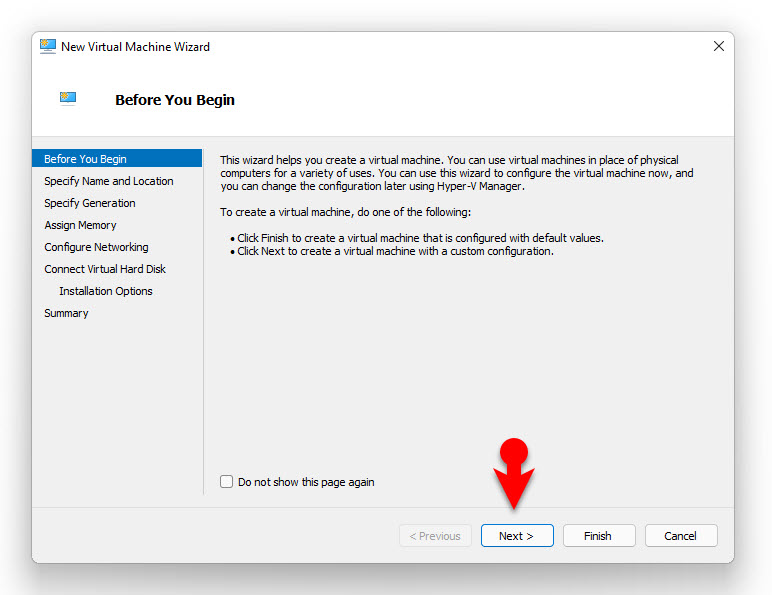
Before You Begin.jpg
You have to provide a name for the virtual machine, and if you want to save the virtual machine in any other location you can also do that by clicking browse and do it. In my case, I’m going to provide windows 11 a test tool and I’m going to save it in the new folder on the desktop.
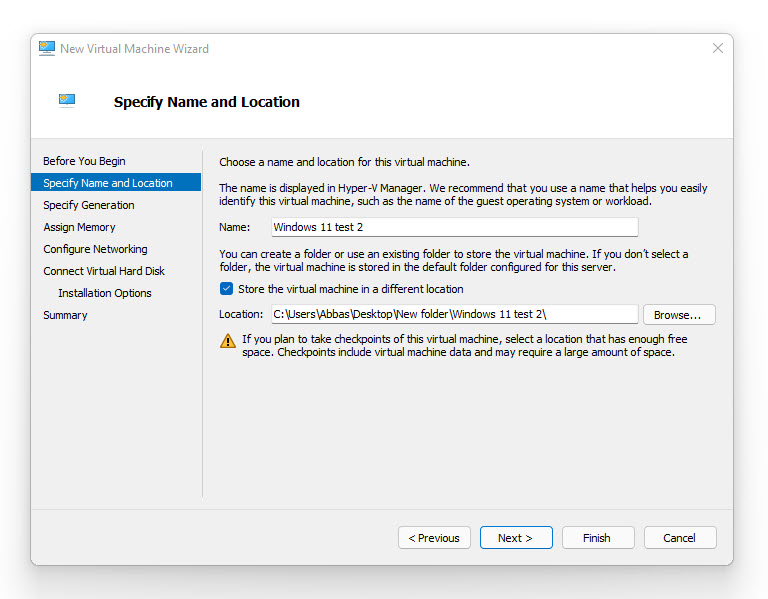
Specify the Name and Location
Hyper-V has a feature known as a generation, generation 1 is basically 32 and 64 bit, it can support both of them. However, generation 2 can only support 64 bit operating systems. In other words, we’ll have to choose generation 2 since Windows 11 is only arriving in 64 bit.
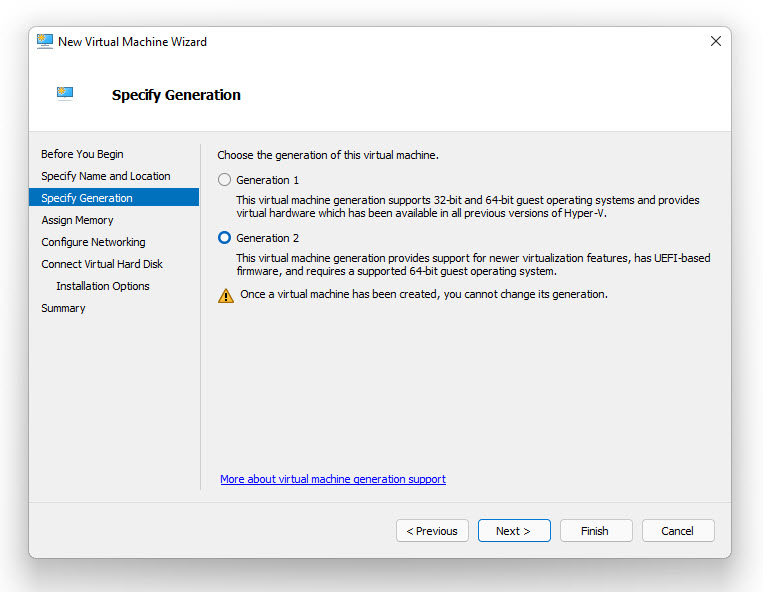
Choose Generation 2
it is time for you to assign the amount of RAM you want to provide to the virtual machine. You can go with 2GB of ram, but it will work very slow so I recommend you to use 4GB of RAM.
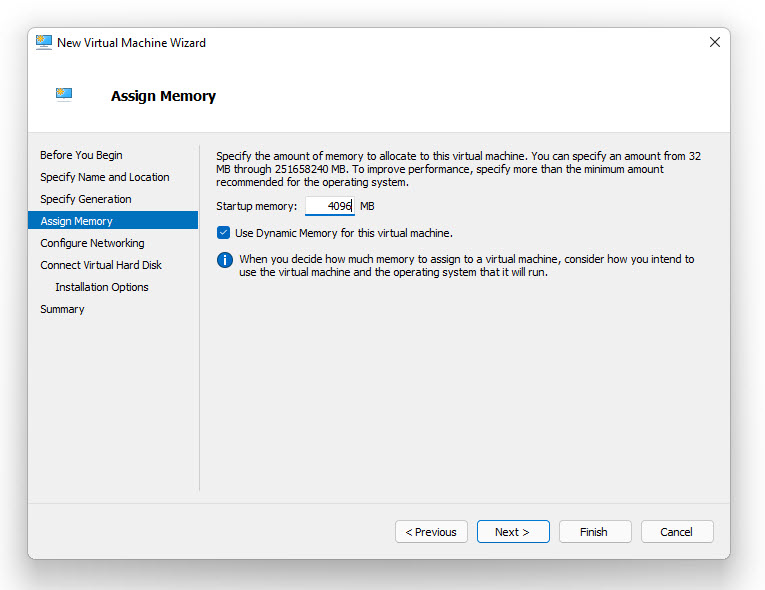
Assign RAM
The next step is to configure networking, by default there are only two options of not connected and the default switch. You have to choose default switch and click next.
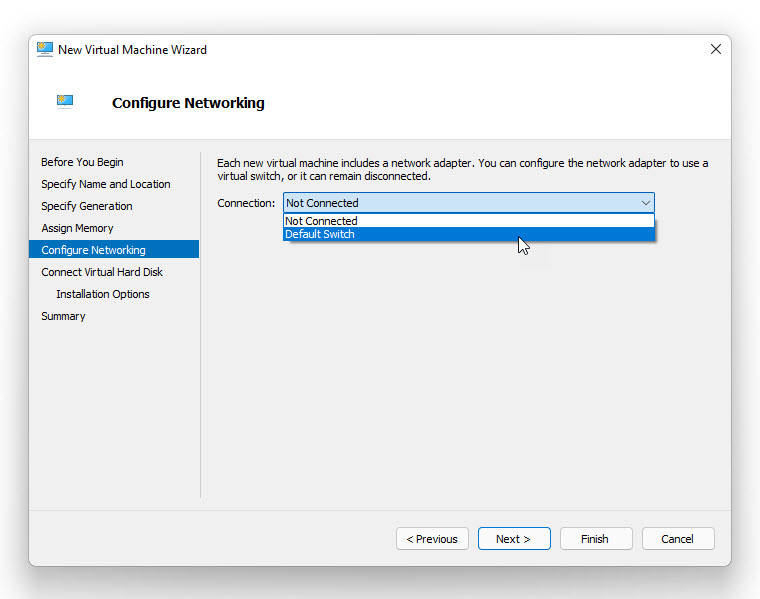
Configure Network in Hyper-V
This panel is regarding the virtual machine hard disk, so choose to create a virtual hard disk and also mentioned the amount of size. By default, it will be 127 GB but I’m going to increase it to 200GB and the location will be the same on the desktop.
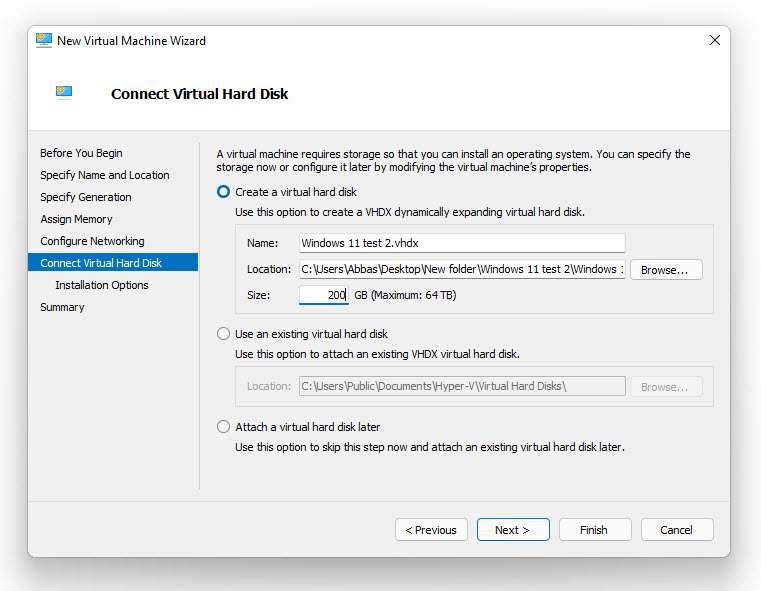
Hard Disk Configuration in Hyper-V
It is the place where you’ll have to specify the location of the windows 11 ISO that you downloaded. choose the 2nd option which is to install an operating system from a bootable image file, click Browse and locate it and then click next that’s all.
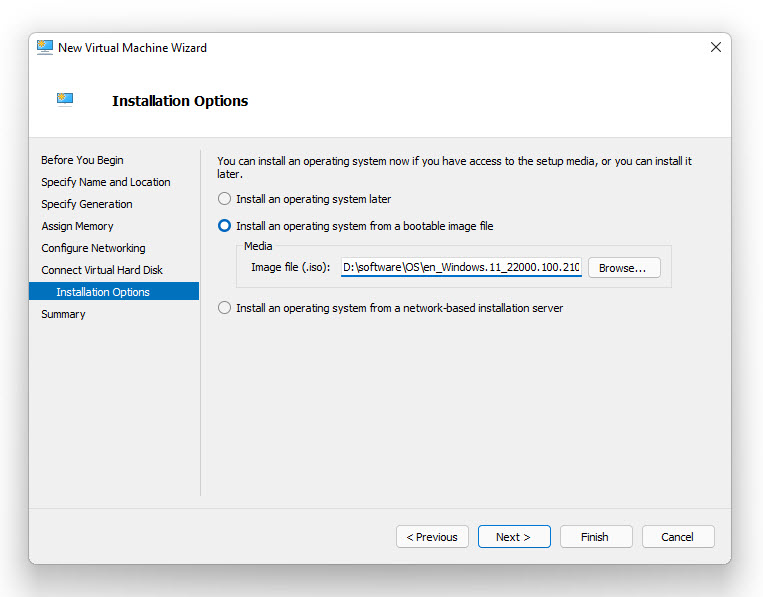
Choose Windows 11 ISO Image
Now everything is ready to go, the final window is where you can see that the currently configured settings, that you set during creating a new virtual machine. So, see if they are alright and click finish.
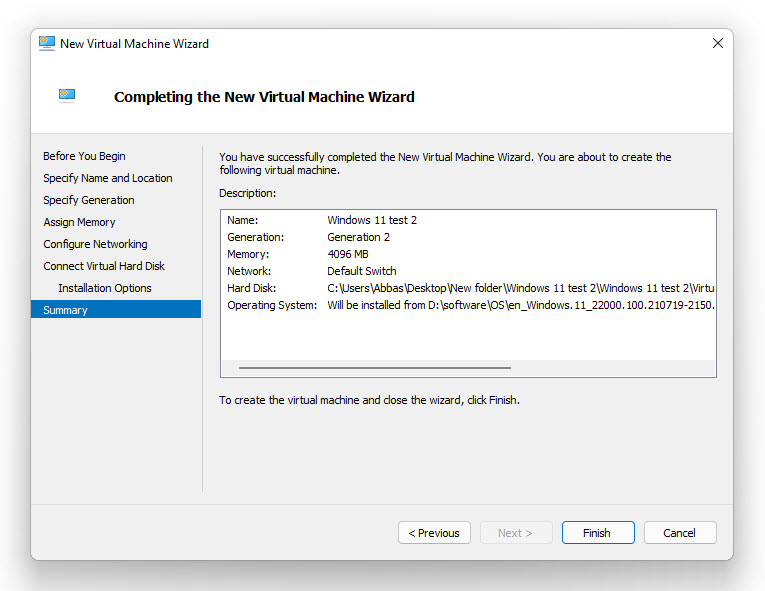
Review Hyper-V Settings
Step #4. Install Windows 11 on Hyper-V
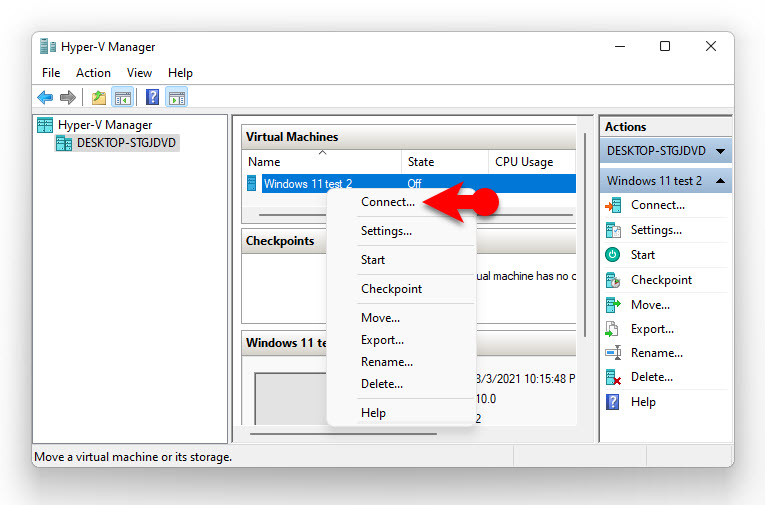
finally, we are ready to go and install windows 11 in Hyper-V in the virtual machine. When you created the virtual machine, you will see a virtual machine panel in the man window, right-click on it and choose to connect.
Launch Virtual Machine in Hyper-V
Now that the windows 11 virtual machine is open but it is not powered on, so click on the start button to power on and start installing.
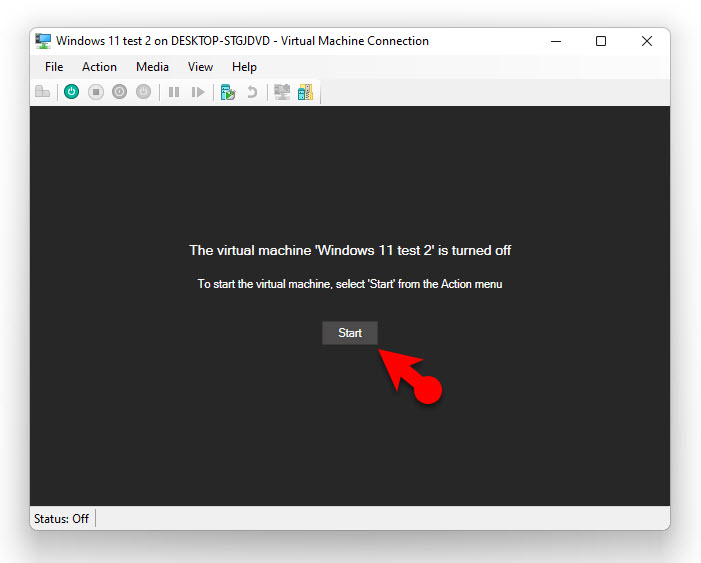
Power On the VM
Once the virtual machine is powered on, you will be on the next panel where it is saying press any key to boot from CD or DVD. Remember to press any key on the keyboard or else you will be stuck with the IPv4 or PIXE boot. If you are stuck there, under the file, Ctrl+ Alt+ Del is there, click on it, and it will restart the VM.
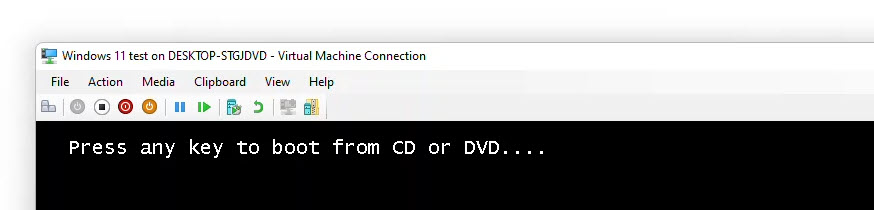
Press Any Key
The rest of the installation is not very hard, but I am guiding you through the bullet points. In the end, I will provide the screenshots in a slideshow.
- Choose a Language.
- Click on Install Now.
- Choose I don’t have a Product key.
- Choose a Windows 11 Version.
- Agree to the terms and conditions.
- Choose Custom Install.
- Partition the Virtual Hard Drive and click next.
Wait, until the computer restarts several times, after that, you are on the window, where you will have to configure the following options. Again at the end, the slideshow is available, you can use them to see the steps.
- Choose Your Country.
- Choose a Keyboard layout.
- Use a second keyboard layout if you have one.
- Name Your PC.
- Set up your computer for work or personal use. I will go to work.
- Don’t sign in With Microsoft Account.
- Name Your Device.
- Enter a Password.
- Answer the security questions.
- Configure privacy settings.
Finally, the windows 11 interface is opened, you will see a display configuration window, by Hyper-V. Click connect, it is going to set your virtual machine screen resolution to the mentioned size.
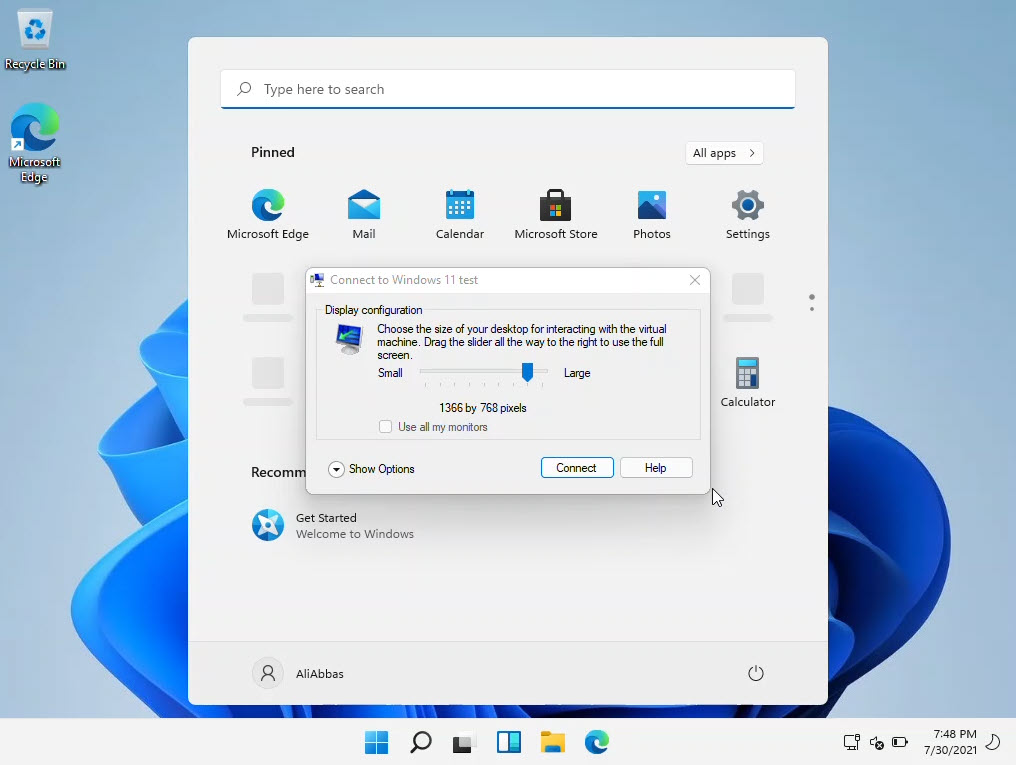
Configure display size
Summary:
In some cases, Hyper-V is better than the VirtualBox or VMware workstation player. But mostly VirtualBox is an open-source virtualization application, people are using it a lot but not Hyper-V. So, this How to install Windows 11 on Hyper-V Virtual machine, I hope you liked it.
Leave a Reply