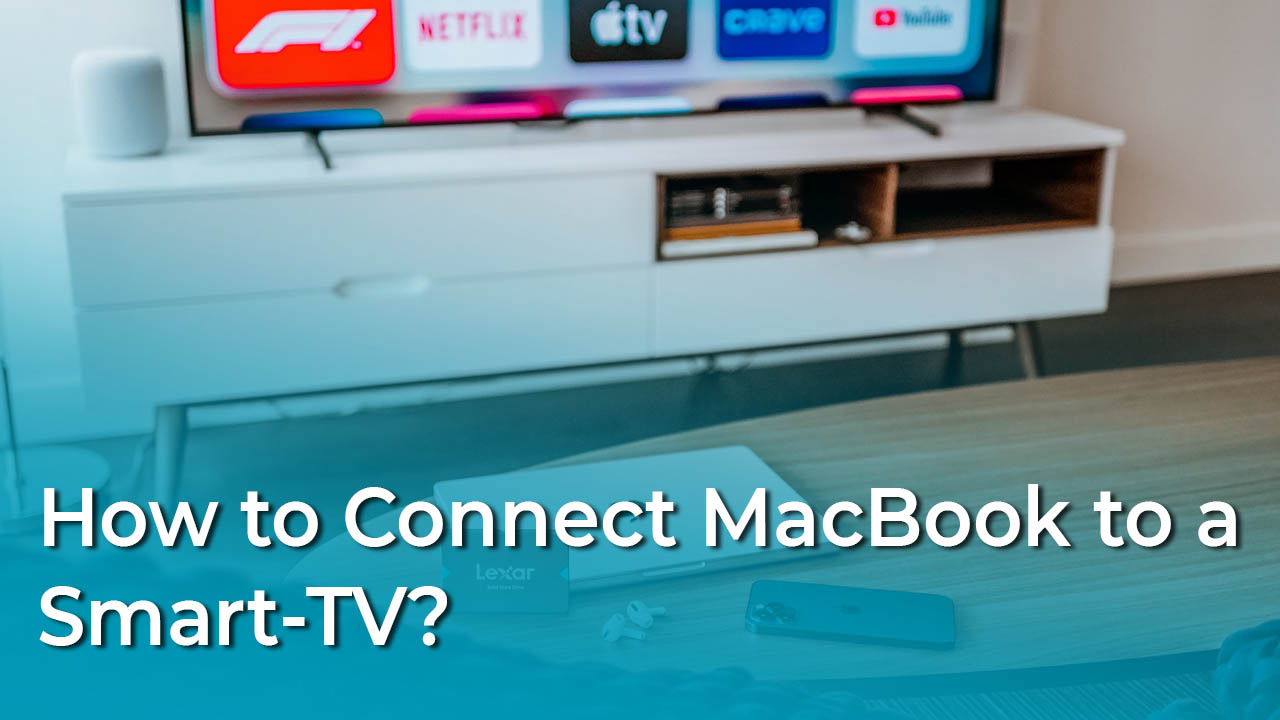
People are always enjoying a bigger screen for watching movies, playing, or even streaming. What is bigger than a TV where you can mirror your computer to a TV. The only question is, you need to learn how to connect MacBook to a TV and enjoy the bigger screen. There are several official methods available that you can use to connect MacBook to a TV, a good example is AirPlay.
Before starting to connect your MacBook to a smart TV, you should learn the below points.
- It is possible if you have connected your MacBook to a Smart TV, you will face graphical issues. Graphical issues such as if your MacBook screen has a higher resolution than the smart TV, perhaps you will see glitches and not a good quality of the movie that you wished for.
- Also connecting an old model of MacBook to a new generation of a smart TV can result in a lack of functionality, unpredictable errors, and more.
- Most people are connecting their MacBook to smart TV for playing games, is streaming videos.
1. How to Connect MacBook to a TV using AirPlay?
These days I am assuming that people are purchasing a smart TV, instead of a TV. There are many big giants such as LG, Sony, Samsung, and more. First of all, doesn’t matter which manufacturer’s smart TV you are using, as long as you have a MacBook and you wish to connect your Mac book to the smart TV, you have to follow the below procedures.
- Check the compatibility: In order to connect your MacBook to a TV, the first step is to check the compatibility of the smart TV. Brands such as Sony, LG, Samsung, and Vizio are usually compatible with the MacBook. However if in case the smart TV is not compatible you can always go for the streaming box option. Streaming boxes such as Apple TV, Roku, Google Chromecast, Amazon Fire, and more. Also, it is not very clear but some smart TVs require you to download the Apple TV application on your Mac.
- Power On: Connect your smart TV to a power source and then using the remote control turn it on. At the same time please make sure that the MacBook is running too.
- Enable AirPlay: To connect your MacBook to the smart TV, you have to enable airplay first. To enable Airplay to open the system preference> Display. Once you are inside the Display, at the bottom check the box “show mirroring options in the menu bar being available”.
- Connect to Network: Connect your MacBook and smart TV to the same Internet Network or rather the same Wifi.
- Mirror Built-in display: Once the AirPlay is enabled, in the main menu at the top you will see its icon, click on it. Once you clicked on the AirPlay icon, find the Mirrit built-in Display and click on it.
- Connect: After that Easily enter your AirPlay password. That time on your TV screen, insert the AirPlay Password too.
2. How to Connect MacBook to a TV using Cable?
By far airplay is the most important feature for connecting a MacBook to a smart TV. The catch is if both devices have airplay, then you are good to go, it means you can easily connect your MacBook to a smart TV. However, there are cases where some smart TVs do not have airplay, so it is against the rules. The question is how do you intend to connect your Mac book to a smart TV. The answer is simple you have to use the cable.
Unfortunately, there are some macs that only come with the Thunderbolt port. If you are trying to connect your MacBook through a cable to the smart TV, the cable must fit either the MacBooks Thunderbird, DVI, or HDMI port. The small 13-inch MacBooks have only a single adapter of Thunderbolt. It means you will need an additional adapter to connect your Mac to a cable to the smart TV. A good example is the Mac book 2015 and later which only requires a USB-C to HDMI adapter.
You have to purchase the cable, you can purchase the cable provided by Apple which is a lot expensive or you can use the other manufacturer’s cable. Also if your Mac has an HDMI port, you can just purchase a regular HDMI cable from any manufacturer.
Anyway once you figure out which cable is required to connect your MacBook to the smart TV, purchase it right away and follow the below steps to connect your MacBook to the smart TV.
- Turn on both the smart TV and your MacBook.
- Attach the USB type C cable to your MacBook and the HDMI side to the smart TV.
- Now, take the remote of your smart TV, go to the settings and switch from the TV mode to the HDMI port.
- Go ahead and enjoy using your Mac through the smart TV.
3. How to Connect MacBook to a TV using Apple TV?
You may have purchased the Apple TV you want to connect both MacBook and Apple TV together. Well, you are in luck, since both products are created by the same company and they are very compatible with each other and work really smoothly. To understand how to connect MacBook to a TV using Apple TV, follow the below procedures.
- Before trying to connect Apple TV to the MacBook, make sure that you have set up the Apple TV. What I mean is you have to make sure that before starting to use airplay for mirroring the MacBook, make sure that the Apple TV is connected properly to the TV.
- Connect all your devices to the same Wi-Fi or network connection. Make sure your MacBook and Apple TV must be connected to the same network or else you can’t mirror your screen.
- Enable airplay on the TV, even though usually it is enabled by default but still, you have to check it out. Go to the settings> airplay> and see if it is turned on. If it is turned on also please make sure that “everyone” is selected so anyone can make the connection to the TV.
- Now easily go to your Ma book and click on the icon of AirPlay at the top. Then from the menu select TV and start mirroring.
Conclusion:
These are all the official methods that you can use to connect MacBook to a TV, however unofficial methods are also available that you have to purchase the application to use it. A good example is “Juststreame”, it is a fine and extraordinary application that is available for Windows and Mac and you can use it to stream your MacBook to a smart TV. The only downside is that it only the demo account is only giving you 20 minutes of free usage of screen mirroring, more than that you have to purchase.
Leave a Reply