
In this article, I am going to show you how to backup windows 10 data. backing up is very easy in windows 10 and 8.1 with file history and Todo backup, well file history is developed by Microsoft, an easy way to backup personal files with file history and it’s totally free. it’s better to save your backup files to an external hard disk, not on the same disk because if your hard disk drive get damaged so you will lose your files with its backup.
Backup windows 10 Data Using File History
#1. Go to Control Panel, first change the view to the category then click on the Save backup copies of your files with File History. if you didn’t find it simply search File History trough Windows search box.

Control Panel–File History
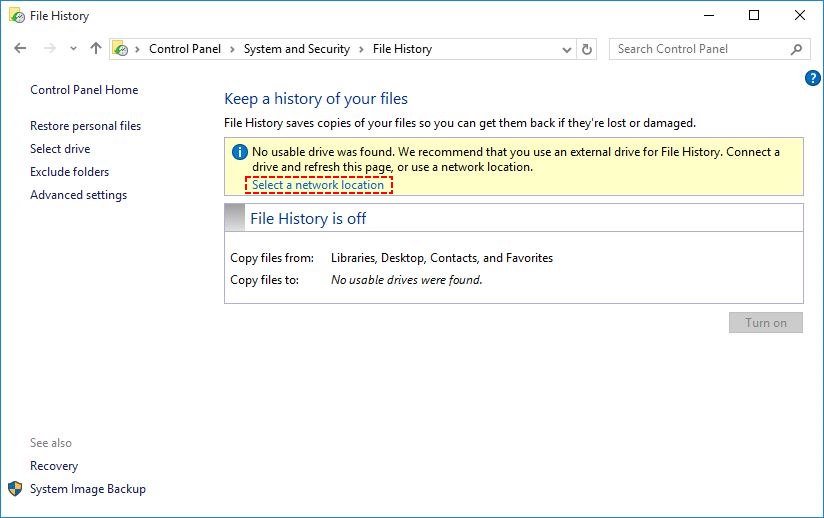
#2. Before to turn on file history you must select a network location or a USB flash drive to save the backups on it.
- On the File history window to save the backups data on a network location click on the Select a network location, it better to save the data on an external disk or drive.
-

Select a network location
- Then click on Add a network location.
-
Add Network Location
- Select your network location or share folder on another PC and choice the path also, then click on Select Folder.
-
Select folder to add a network location
- After selection Network location, then finally, click OK.
-
Click on OK
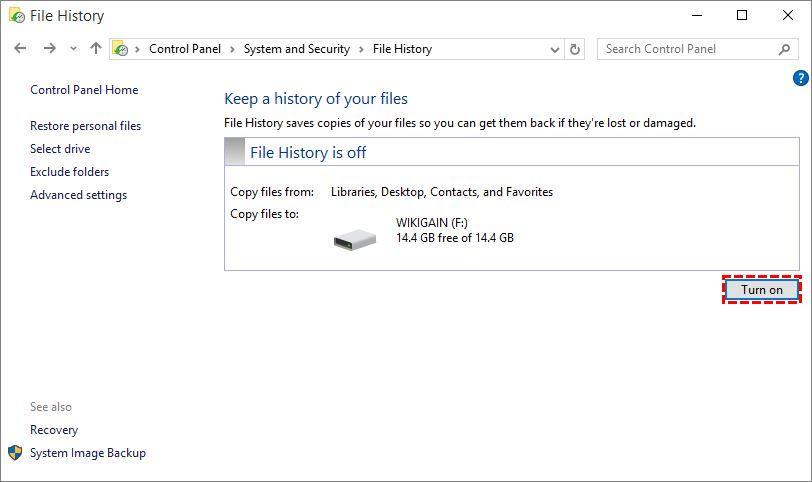
- Now click on Turn on and the file history will save the backup files to the network location as you selected.
-
Turn on


- Connect a USB Flash Drive it I will automatically detect the USB flash drive after refreshing the page and click on Turn on and on that time your backups will save in the USB flash drive.
-
Backup Data with File History
#3. Now you file history is turned on, to turn off file history click on the Turn Off.

Turn Off File History
#4. If you want to stop the file history from backing up your files simply click on Stop link under the selected disk for backup and to start it again click on Run now.
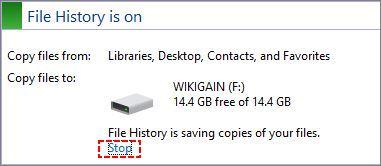
Stop
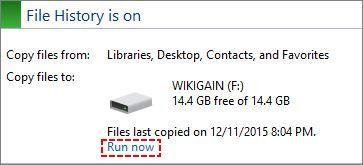
Run Now
#1. Change File History Backup Disk
On the File history window to change the current backup disk to another one click on the Select drive.

Click on Select Drive
To change the backup drive, select the new disk or drive and click OK to change it. now if you have backed ups before to change the drive then the file history ask you, do you want to move the previous files to the new drive also or not, if you want to move then click on Yes if no then click on NO.

Change File History Backup Disk
after this, the back are scheduled to move on the new drive.
#2. Stop Backing up Exclude Folders
On the File history window to stop backing up exclude folders click on the Exclude Folders, and simply add the folders you don’t need to backup the contents, then finally click on Save changes.
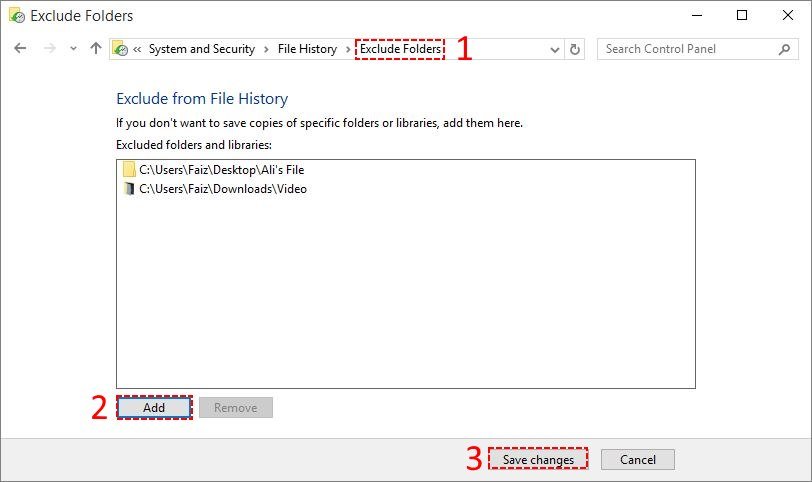
Stop Backing up Exclude Folders
#3. Advanced Settings of File History
On the File history window to edit the advanced settings of file history simple click on Advanced settings. so from here you can set file history for backup schedules, opening file history event logs and if you’re part of a homegroup, you can recommend this drive to other homegroup members, after all, editing click on Save changes.

Advanced Settings of File History
#4. Restore File History Backups
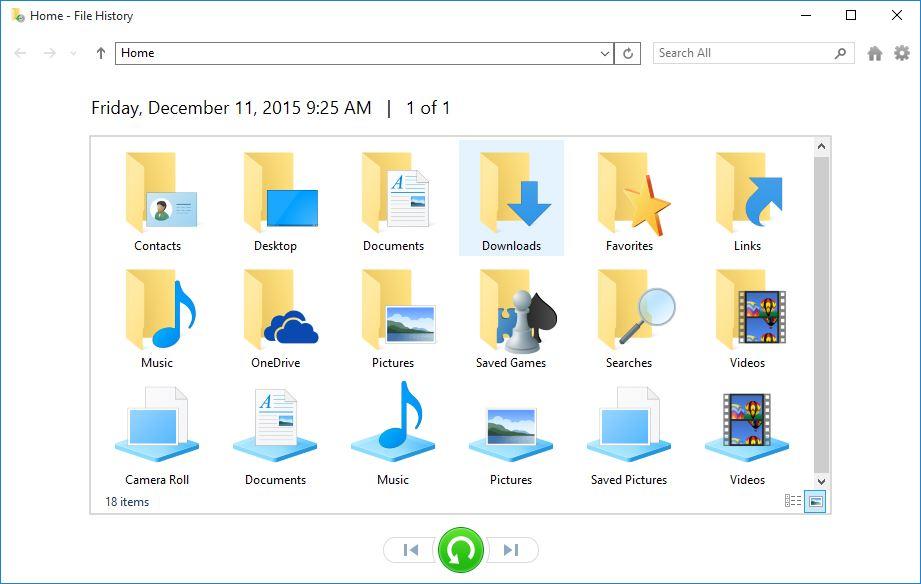
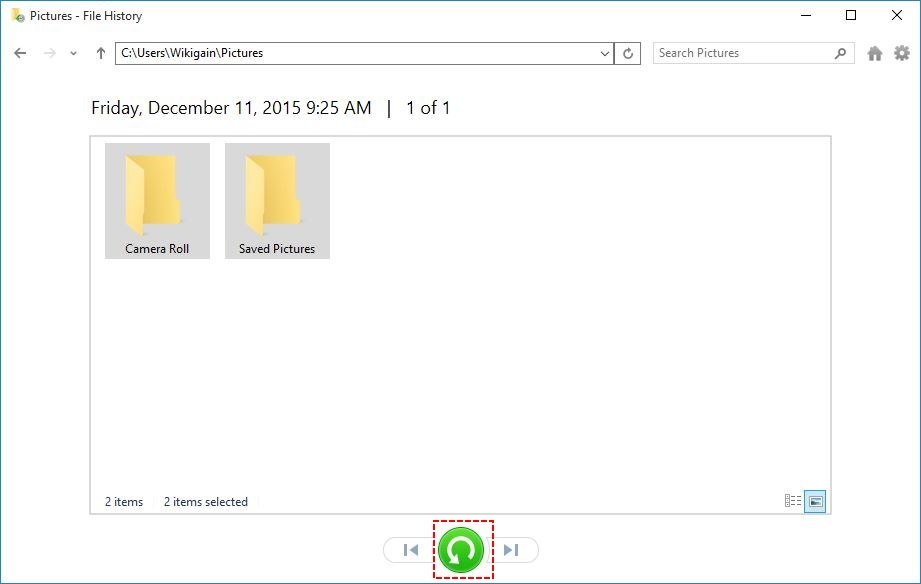
If you get your files lose or delete so there are two ways to get them back first way to recover them the secound way to restore them by them taken the backup, it’s possible to restore files with backup if you didn’t backup your data so use the step above to backup them.On the file history window to restore the lost or delete files click Restore Personal Files. Then select the exact version and files you need to restore.
Restore
Select your delete folder or the file that want to restore then click on the Green restore icon.
Restore Files
How to backup data using Todo backup app.
As a reliable backup & recovery software, EaseUS Todo Backup provides safe and powerful solutions to backup computer OS, disk or partitions, important files, database, etc and restore them when the disaster happens.
Supported OS: Windows 10/7/8/vista/XP and Windows Server 2003/2008/2012

Todo Backup
EaseUS Todo Backup is an award-winning backup and restores software for Windows 10/8/7Vista/XP with good reason: with detailed instruction wizards, your computer will be in a safe condition within minutes without the help of an IT specialist to backup your system state, files, folders, partition, and disk.
This was all about how to backup windows 10 data. If you faced any problem tell us below by comment, feel free to tell us. we’re waiting for your suggestion.